Making these no bake date nut bites is almost like a small meditation in the kitchen. Each step invites you to slow down, feel the sticky sweetness of dates, and crush nuts with your hands, grounding you in the moment. It’s a tiny ritual that turns a simple snack into a mindful act of self-care, especially when life feels hurried or chaotic.
There’s something satisfying about shaping these bites by hand, pressing them into shape with your fingers, feeling the textures shift under your touch. It’s a tactile break from screens and noise, a chance to reconnect with the basics of food—its smell, its feel, its quiet transformation. This process turns the act of snacking into a quiet, almost meditative pause that I keep coming back to.
Focusing on the meditative, almost ritualistic process of making these bites by hand, emphasizing the tactile satisfaction and mindful pauses that turn a simple snack into a small act of self-care.
The tactile joy of hand-formed bites
- Making these bites feels like a small act of rebellion against overly processed snacks.
- I love how the sticky dates bring back childhood memories of sticky fingers and sweet messes.
- There’s a quiet pride in shaping each bite by hand, turning simple ingredients into something special.
- These little bites have become my go-to for quick energy, especially on chaotic mornings or late-night cravings.
- Sometimes, I just pause and admire the glossy, nut-studded surface, feeling a tiny sense of accomplishment.
The inspiration behind these bites
I stumbled upon this recipe during a hectic week when I needed something quick, satisfying, and wholesome. The simplicity of it, combined with the rich, chewy texture of dates and the crunch of nuts, made me realize how often I overlook the beauty of minimal ingredients. It’s become my go-to for a moment of calm, a small ritual that brings balance amid chaos.
Historical and cultural roots
- These bites originate from a tradition of simple, energy-dense snacks in Mediterranean cultures, where dates and nuts are staples.
- Historically, similar no-bake treats were made by nomadic tribes using minimal ingredients that could be carried easily.
- The act of shaping these by hand connects to ancient practices of tactile food preparation, emphasizing mindfulness and connection to food.
- In recent years, raw and no-bake recipes like this have surged in popularity as part of the clean eating movement, emphasizing natural ingredients.
Ingredient breakdown: key components
- Dates: I love their natural caramel sweetness and sticky texture, which makes the bites feel indulgent. If you prefer a milder flavor, try Medjool dates—they’re soft and rich, perfect for blending smoothly.
- Mixed Nuts: I use a combination of almonds and walnuts for crunch, but you can swap in cashews or pecans. Toasted nuts add an extra smoky note that really boosts flavor.
- Sea Salt: Just a pinch heightens everything—the sweetness, the nuttiness. If you want a sweeter bite, skip the salt, but I find a little salt makes it more addictive.
- Cocoa Powder: Adds a subtle depth and richness—think dark chocolate undertones. For a lighter flavor, omit or use carob powder for a different twist.
- Vanilla Extract: A splash of vanilla rounds out the flavors, making the bites taste more like a treat. If you’re out, a tiny drop of almond extract can add an interesting alternative.
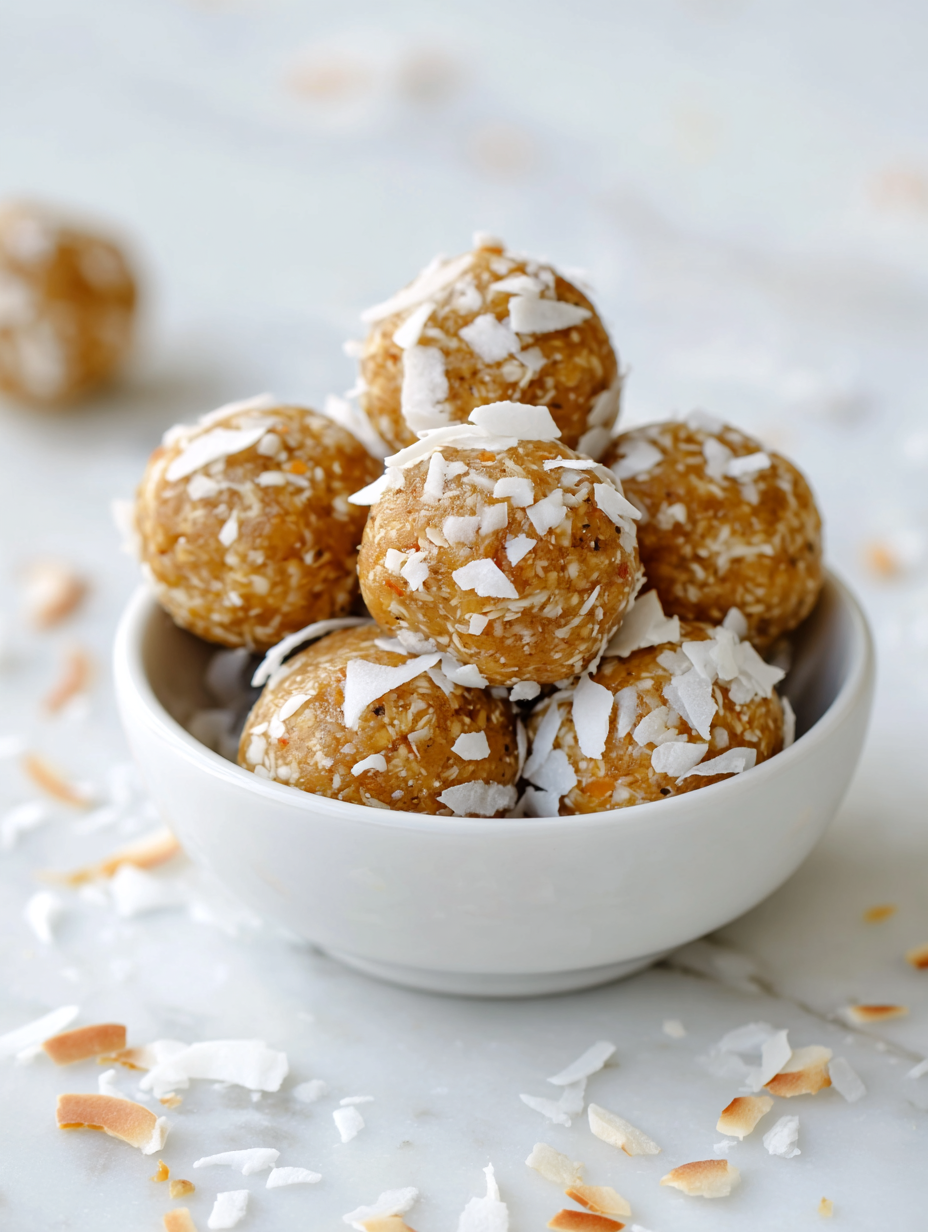
- Coconut Oil: Helps the mixture hold together and adds a slight sheen. Use a mild flavor if you want the nuts and dates to shine through, or go for toasted coconut oil for more aroma.
Spotlight on key ingredients
Dates:
- I love their natural caramel sweetness and sticky texture, which makes the bites feel indulgent. If you prefer a milder flavor, try Medjool dates—they’re soft and rich, perfect for blending smoothly.
- Mixed Nuts: I use a combination of almonds and walnuts for crunch, but you can swap in cashews or pecans. Toasted nuts add an extra smoky note that really boosts flavor.
Mixed Nuts:
- Nuts: Their crunch and richness define these bites. Toasting brings out a toasty aroma and makes them crunchier, but raw nuts work fine if you’re short on time.
- Sea Salt: Just a pinch enhances sweetness and nuttiness. A tiny bit makes all the difference—don’t skip it, even if you think it’s too much.
Notes for ingredient swaps
- Dairy-Free: Use coconut or nut butters instead of dairy spreads. Keep in mind, they add different richness and may alter the flavor profile.
- Nuts: Swap almonds or walnuts for cashews or pecans. Pecan will add a sweeter, buttery note, while cashews keep it mild and creamy.
- Sweetener: If you want a less sticky bite, reduce the date amount or add a splash of honey or maple syrup—this can make the mixture easier to shape.
- Cocoa Powder: Use cacao powder for a slightly more bitter, richer flavor. Carob powder offers a sweeter, milder alternative without caffeine.
- Oil: Swap coconut oil for light olive oil or avocado oil if you prefer a more neutral fat, but expect a subtle change in aroma and texture.
- Flavor Boost: Add a pinch of cinnamon or chili powder for a warm, spicy kick—just a small pinch, as these can overpower the nutty sweetness.
Equipment & Tools
- Mixing bowl: Combine and mash ingredients easily.
- Sturdy spatula: Mix and press ingredients together.
- Small skillet: Toast nuts evenly and bring out flavor.
- Parchment paper: Prevent sticking and easy removal.
- Refrigerator: Set and firm up the bites.
Step-by-step guide to no bake bites
- Gather your equipment: a mixing bowl, a sturdy spatula, a small baking tray, and parchment paper. These help you mix, shape, and set the bites easily.
- Pit the dates if needed, then chop them into smaller pieces. This makes blending smoother and faster. About 5 minutes.
- Toast the nuts lightly in a dry skillet over medium heat (around 160°C/320°F) for 3-4 minutes. Smell that nutty aroma and watch for a golden hue.
- In the mixing bowl, combine the chopped dates and toasted nuts. Use the spatula to mash and mix until roughly combined, about 2-3 minutes.
- Add a pinch of sea salt, a teaspoon of vanilla extract, and a tablespoon of coconut oil. Mix again until the mixture is sticky and holds together.
- If the mixture feels too dry or crumbly, add a tiny splash more coconut oil or a splash of water—just enough to make it tacky. If too sticky, dust with a little extra chopped nuts.
- Scoop out small portions and roll between your palms into about 1-inch spheres or press into a lined tray to cut later. Feel free to shape into bars if preferred.
- Place the formed bites onto the parchment-lined tray. Chill in the fridge for at least 30 minutes until firm and set. The bites should feel firm but not hard.
- Once set, remove from fridge. For a nicer finish, roll in extra chopped nuts or a dusting of cocoa powder if desired. Serve immediately or store.
Chill the bites for at least 30 minutes to firm up. Serve directly from the fridge for best texture. For presentation, roll in extra nuts or cocoa powder before plating.
How to Know It’s Done
- Bites feel firm and hold shape when pressed lightly.
- Nuts are golden and aromatic after roasting.
- Mixture is sticky but not overly wet, ideal for shaping.
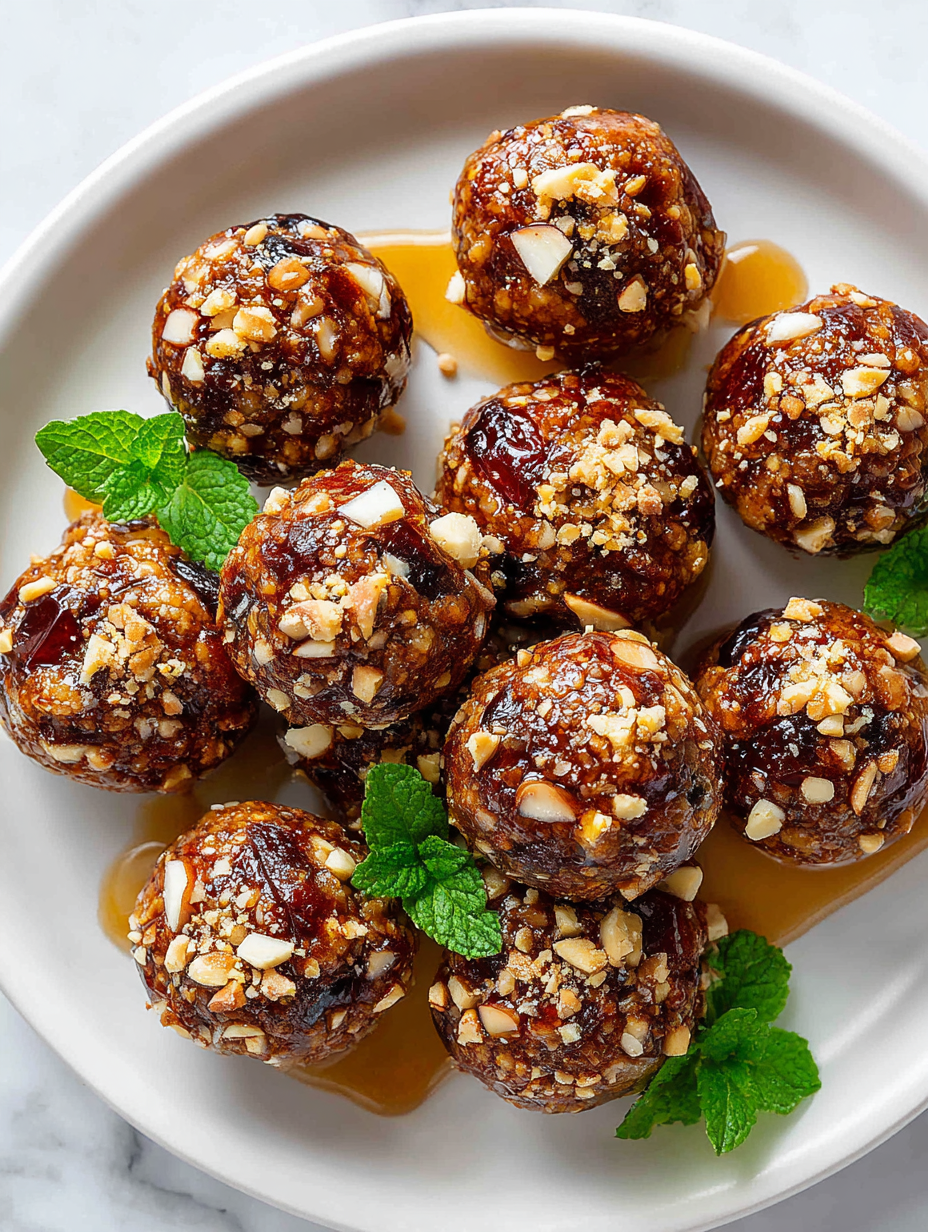
No Bake Date Nut Bites
Ingredients
Equipment
Method
- Start by chopping the dates into smaller pieces; this helps them blend smoothly and speeds up the process.
- Lightly toast the mixed nuts in a dry skillet over medium heat until fragrant and golden, about 3-4 minutes, then let them cool slightly.
- Add the chopped dates and toasted nuts to a mixing bowl. Use a sturdy spatula to mash and combine the mixture until it starts to hold together, about 2-3 minutes. The dates should become sticky and the nuts slightly broken down.
- Stir in the sea salt, vanilla extract, and melted coconut oil, mixing until everything is evenly incorporated and the mixture is sticky and cohesive.
- Sprinkle in the cocoa powder and fold it into the mixture, ensuring it’s evenly distributed and gives the bites a rich, dark color.
- Using your hands, scoop small portions of the mixture and roll them into approximately 1-inch balls. Feel free to press them into bars if you prefer.
- Place the shaped bites onto a parchment-lined tray, then refrigerate for at least 30 minutes to let them firm up and set.
- Once chilled, remove the bites from the fridge. Optionally, roll them in extra chopped nuts or cocoa powder for added texture and visual appeal.
- Serve these chewy, nutty bites straight from the fridge for a satisfying, mindful snack or energy boost.
Pro tips for perfect bites
- Bolded Mini-Head: Use slightly warm hands when shaping the bites — it helps the mixture stick together better.
- Bolded Mini-Head: Toast your nuts until fragrant — this amplifies their flavor and adds a smoky depth.
- Bolded Mini-Head: When blending dates, chop them into small pieces first — it speeds up the process and ensures even mixing.
- Bolded Mini-Head: Chill the mixture for at least 30 minutes — it firms up the bites and makes shaping easier.
- Bolded Mini-Head: Use a spatula to press the mixture firmly into the tray — this prevents air pockets and creates a dense bite.
- Bolded Mini-Head: For a glossy finish, roll finished bites in extra chopped nuts or cocoa powder — it adds visual appeal and texture.
- Bolded Mini-Head: If the mixture feels too sticky, dust your hands with a little extra chopped nuts — it keeps sticking at bay.
Common mistakes and how to fix them
- FORGOT to chop dates finely → Do so for easier blending and uniform texture.
- DUMPED in all ingredients at once → Mix gradually, tasting and adjusting for stickiness.
- OVER-TORCHED nuts → Toast until golden and fragrant, not burnt, to avoid bitterness.
- SKIPPED chilling step → Chill for at least 30 minutes for firm, clean bites.
Quick fixes and pantry swaps
- When mixture is too sticky → Splash in a tiny bit more water or coconut oil.
- If bites are crumbly → Patch with a small drizzle of honey and knead until sticky.
- DUMPED in all ingredients at once → Rescue by mixing gradually for even texture.
- Over-torched nuts → Shield from burning by removing from heat immediately after golden hue appears.
- When bites aren’t firm enough → Splash fridge with a quick 5-minute chill, then retry shaping.
Prep, store, and reheat tips
- Preparing the mixture a day ahead allows the flavors to meld and the texture to firm up in the fridge, making shaping easier the next day.
- Store the assembled bites in an airtight container in the fridge for up to 5 days; the dates keep them soft and chewy, with a rich aroma that intensifies slightly.
- For longer storage, freeze the bites for up to 3 months; wrap individually in parchment, and let thaw in the fridge for a soft, fragrant treat.
- Refrigerate or freeze the bites, then let them sit at room temperature for a few minutes before serving—watch the nuts intensify in aroma, and feel for a soft, sticky bite.
Top questions about no bake bites
1. Can I use other dried fruits instead of dates?
Use Medjool or dates with a softer, more caramel-like texture for easier blending and richer flavor.
2. Can I substitute the mixed nuts with something else?
Yes, you can swap in different nuts like cashews or pecans, but toasted nuts really bring out the best flavor.
3. How do I know when the bites are firm enough?
Chill the bites for at least 30 minutes until they feel firm and hold shape well; they shouldn’t be sticky.
4. My mixture is too crumbly or too sticky—what now?
If mixture feels too dry, add a small splash of water or coconut oil; if too sticky, dust with more chopped nuts.
5. Can I shape these bites into bars instead of balls?
Use a sharp knife to cut into bars or slices after chilling; or roll into small balls for easier snacking.
6. How long do these bites stay fresh?
Store in an airtight container in the fridge for up to 5 days or freeze for longer storage.
7. My bites are too soft even after chilling—what should I do?
If bites are too soft after chilling, give them an extra 10-15 minutes in the fridge or freezer to firm up.
8. Can I customize the flavor with spices or extracts?
You can add a pinch of cinnamon or a splash of vanilla for extra flavor, depending on your taste.
9. Is a food processor necessary for this recipe?
Use a food processor for a quicker, more even blend, but mixing by hand works just fine too.
10. Can I omit the coconut oil?
Yes, adding a tiny bit of coconut oil helps the mixture stick together and gives a nice sheen.
Making these no bake date nut bites is a small act of mindfulness, a way to slow down and reconnect with simple, honest ingredients. Each bite carries a quiet satisfaction, a reminder that sometimes, the best snacks are the ones we shape by hand, feeling their sticky, nut-studded surface under our fingertips.
In a world that’s constantly rushing, these bites offer a moment of calm—a tactile, flavorful pause. They’re perfect for when you need a quick, nourishing treat that feels just right, no matter the season or situation.