This recipe is inspired by my late grandmother’s secret trick for quick energy bites, which she made in a flash during busy mornings. It’s a nostalgic nod to those simple, honest flavors that don’t need fuss or fancy ingredients. I love how these bites bring back her warmth and the scent of toasted coconut wafting through the kitchen.
Making these no bake coconut bites feels like a small act of comfort. They’re perfect for when I want a sweet treat that’s honest, no-nonsense, and comes together in minutes. Plus, they’re a little reminder that sometimes, the best desserts are the simplest.
This recipe is inspired by my late grandmother’s secret trick for quick energy bites, which she made in a flash during busy mornings. It’s a nostalgic nod to those simple, honest flavors that don’t need fuss or fancy ingredients. I love how these bites bring back her warmth and the scent of toasted coconut wafting through the kitchen.
A Nostalgic Treat with a Modern Twist
- Making these bites always takes me back to lazy Sunday afternoons at my grandma’s house, where the smell of toasted coconut filled the air.
- I used to hide a few in my bag for quick energy during long days, and they’d melt in my mouth just right, a secret little joy.
- There’s a strange comfort in how simple ingredients like coconut and honey can turn into something so satisfying, no oven required.
- Whenever I make these, I feel a little closer to childhood, when treats didn’t come with any fuss or guilt.
The story behind this recipe
- This recipe came from a chaotic weekend when I needed something quick, sweet, and satisfying. I was scavenging my kitchen and found a handful of shredded coconut, a bit of honey, and some almond butter. It hit me—these could be turned into bites that don’t require any baking or fuss. The simplicity of it all felt like a tiny rebellion against overly complicated treats.
- I remember the first time I made them, the smell of toasted coconut filling the kitchen, and how that instant aroma made everything feel warmer. It’s a recipe born out of necessity but became a little ritual when I needed a quick boost. Now, they’re my go-to for lazy afternoons or when I want something honest and no-fuss.
- heading: ‘The story behind this recipe’
Trivia and Origins
- These no bake coconut bites draw inspiration from traditional tropical treats, simplified for quick enjoyment without fuss.
- The concept of energy bites dates back to ancient snacks, but modern versions like these gained popularity in health-conscious circles in the early 2000s.
- Using shredded coconut and honey is a nod to old-world methods of preservation and flavoring, giving these bites a nostalgic, time-tested appeal.
Ingredient breakdown
- Coconut flakes: I love the chewy texture and toasted aroma they bring. If you want more chew, add a handful more.
- Honey: It binds everything together with a sweet, slightly floral note. For a less sticky bite, use a touch less honey.
- Almond butter: It adds richness and smoothness, but peanut or cashew butter work just as well if you prefer.
- Shredded coconut: Provides the primary coconut flavor and texture. Use fine or shredded for different mouthfeel.
- Vanilla extract: I find a splash enhances the overall flavor, making it brighter. Skip if you prefer a more straightforward coconut taste.
- Sea salt: Just a pinch heightens all the flavors. Don’t skip it, or the bites may taste flat.
- Optional add-ins: Dried fruit, chocolate chips, or chopped nuts can personalize your bites. Mix them in for extra texture and flavor.
Spotlight on key ingredients
Coconut flakes:
- I love how they turn chewy and fragrant when toasted, creating a rich, smoky aroma that fills the kitchen.
- They also add a satisfying bite and a hint of sweetness that balances the honey and nut butter.
Honey:
- It’s the glue here, giving the bites their sticky, luscious texture and a floral sweetness that’s not overpowering.
- When warmed slightly during mixing, it becomes oozy and easier to distribute, making the bites come together smoothly.
Notes for ingredient swaps
- Dairy-Free: Use coconut oil or vegan butter instead of honey for binding. The texture might be slightly less sticky, but still delicious.
- Sweetener: Maple syrup or agave nectar can replace honey. They offer a different flavor profile but keep the bites sweet and sticky.
- Nut Butter: Cashew or sunflower seed butter are good alternatives. They bring different richness but work similarly as a binder.
- Coconut Flakes: Toasted rice cereal or chopped nuts can add crunch if you’re not a big coconut fan or want variation.
- Flavor Boost: A dash of cinnamon or a sprinkle of cardamom can add warmth and complexity. Adjust to taste, but keep it subtle.
- Add-ins: Dried cranberries, chopped dark chocolate, or chopped dried apricots can be mixed in for extra flavor and texture.
- Binder: If honey isn’t your thing, mashed ripe banana can work in a pinch, though it will add moisture and a different flavor.
Equipment & Tools
- Mixing bowl: To combine and mix the ingredients thoroughly.
- Spatula: To fold ingredients and scrape the bowl.
- Baking sheet lined with parchment: To hold the formed bites without sticking and for easy cleanup.
- Measuring cups/spoons: To measure ingredients accurately.
- Skillet: To toast extra coconut for finishing.
Step-by-step guide to coconut bites
- Gather your equipment: a mixing bowl, a spatula, and a baking sheet lined with parchment. No oven needed, so keep it handy.
- In the bowl, combine 1 ½ cups shredded coconut, ½ cup honey, and ¼ cup almond butter. Mix well until the mixture is sticky and cohesive, about 2 minutes.
- Fold in ½ teaspoon vanilla extract and a pinch of sea salt. The aroma should brighten and the mixture should be evenly flavored.
- Using a tablespoon or small scoop, portion out the mixture. Roll each into balls about 1 inch in diameter, pressing gently if needed. Place on the prepared baking sheet.
- Refrigerate the bites for at least 30 minutes. They should firm up and become slightly chewy. If they feel too soft, leave them a bit longer.
- For a toasted coconut finish, lightly toast additional shredded coconut in a dry skillet over medium heat (about 3-4 minutes). Watch closely and stir constantly to prevent burning.
- Optional: Roll the chilled bites in the toasted coconut for extra flavor and texture. Press gently to help coating adhere.
- Serve directly from the fridge. They should be firm, with a chewy interior and a slightly crispy coconut exterior. Enjoy the aroma of toasted coconut with each bite.
Chill the bites in the fridge for at least 30 minutes to set. Serve straight from the fridge for the best chewy texture and aroma of toasted coconut. Store leftovers in an airtight container for up to a week.
How to Know It’s Done
- Bites are firm but not hard, with a slight jiggle when touched.
- The coconut coating (if added) is golden and fragrant, not burnt.
- The mixture is well combined, sticky but scoopable without crumbling.
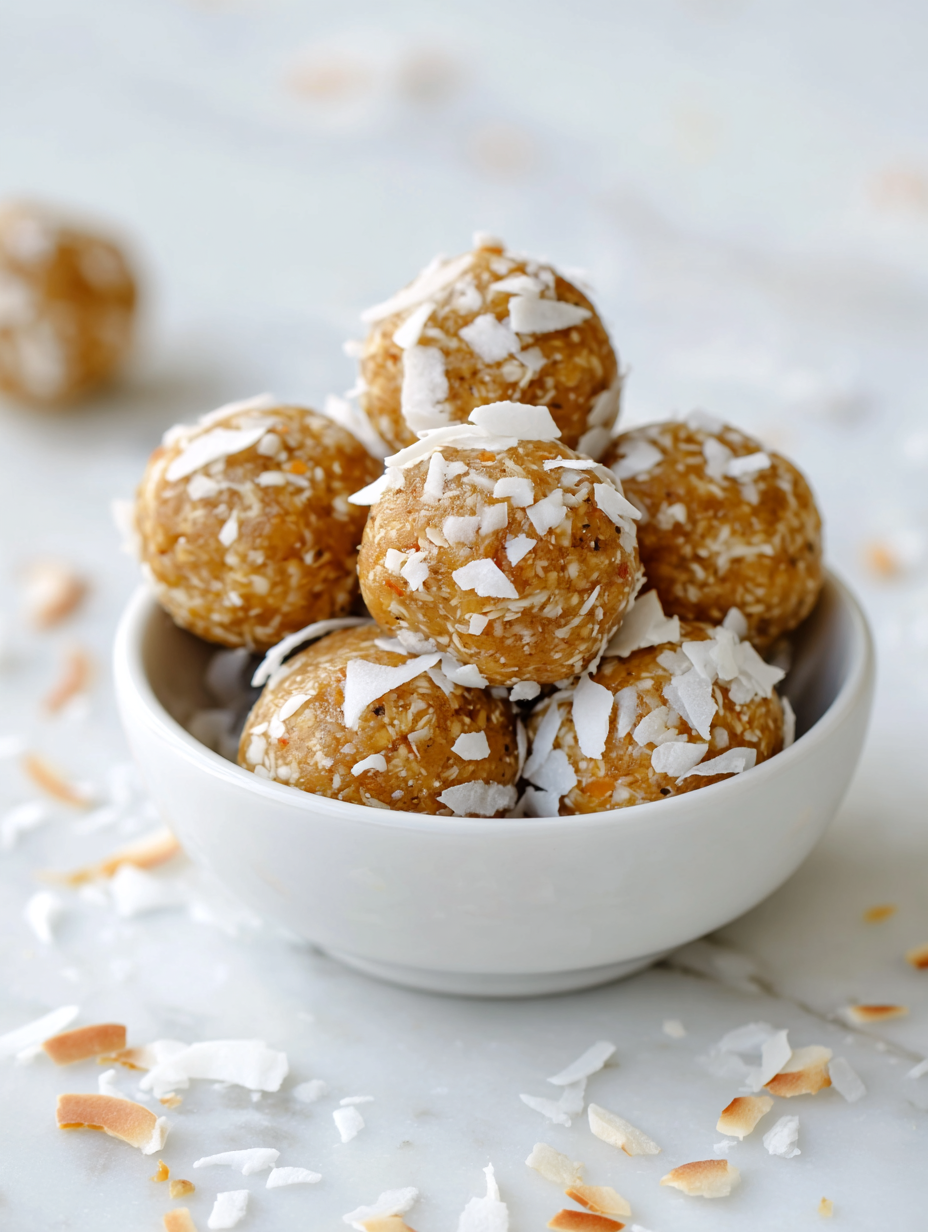
No Bake Coconut Energy Bites
Ingredients
Equipment
Method
- Toast extra shredded coconut in a dry skillet over medium heat until golden and fragrant, then set aside to cool.
- In a large mixing bowl, combine the shredded coconut, honey, and almond butter. Mix with a spatula until the ingredients are thoroughly integrated and the mixture feels sticky and cohesive, about 2 minutes.
- Add a splash of vanilla extract and a pinch of sea salt to the mixture. Stir well to evenly distribute the flavors. The mixture should smell sweet and nutty, with a hint of vanilla.
- Using a tablespoon or small scoop, portion out the mixture and roll each into a ball about 1 inch in diameter. Gently press to form smooth, round bites, then place them on the prepared parchment-lined baking sheet.
- Refrigerate the bites for at least 30 minutes to allow them to firm up and develop a chewy texture. If they feel too soft, leave them a bit longer.
- While they chill, lightly toast additional shredded coconut in a dry skillet over medium heat until golden and fragrant, stirring constantly to prevent burning.
- Once chilled and firm, optional: roll the coconut bites in the toasted coconut for extra flavor and crunch. Gently press the bites into the toasted coconut to help it stick.
- Serve the coconut bites straight from the fridge for a chewy, cool treat. They can be stored in an airtight container in the fridge for up to a week.
Notes
Tips for perfect coconut bites
- Boldly mix: Use your hands or a sturdy spatula to really combine the ingredients until sticky and smooth, almost like kneading dough.
- Chill thoroughly: Let the mixture rest in the fridge for at least 30 minutes; it firms up, making it easier to form into balls.
- Toast coconut: Lightly toast extra shredded coconut in a dry skillet until golden and fragrant for a richer flavor and crunch coating.
- Adjust sweetness: If the bites feel too sticky or soft, add a little more shredded coconut or chill longer before shaping.
- Prevent sticking: Lightly dampen your hands or coat with a tiny bit of coconut oil when rolling to keep the mixture from sticking.
- Add texture: Mix in chopped nuts or dried fruit for an extra dimension of chew and surprise bursts of flavor.
- Store smart: Keep these bites in an airtight container in the fridge; they stay chewy and fresh for up to a week, or freeze for longer storage.
Common mistakes and how to fix them
- FORGOT to measure ingredients precisely → Use a scale for accuracy, especially with sticky mixes.
- DUMPED in too much honey → Adjust honey quantity for desired stickiness, not overpower sweetness.
- OVER-TORCHED coconut → Toast coconut over medium heat, stir constantly, remove once golden and fragrant.
- MISSED mixing thoroughly → Ensure even distribution of ingredients to prevent dry or overly sticky bites.
Quick Fixes and Pantry Swaps
- If mixture is too sticky, splash in a little more shredded coconut to firm it up.
- When bites fall apart, patch with a tiny dab of honey and reshape gently.
- Splash a few drops of water if the mixture feels dry or crumbly during mixing.
- Shield burnt coconut by removing from heat immediately and tossing with fresh coconut.
- When in doubt, rescue a soft batch by refrigerating for 15 minutes before shaping.
Prep, store, and reheat tips
- Prepare the mixture in advance: combine coconut, honey, and nut butter the day before. The flavors meld better overnight, and the mixture becomes easier to scoop.
- Store the mixture in an airtight container in the fridge for up to 24 hours. It will firm up and be ready for shaping when you are.
- Once formed into bites, keep them in the fridge for up to a week. The cool temperature preserves their chewy texture and fresh coconut aroma.
- For longer storage, freeze the bites in a single layer on a tray, then transfer to a zip-top bag. They’ll keep for up to a month.
- Reheating isn’t necessary; serve chilled or at room temperature. If you prefer softer bites, let them sit out for 10 minutes to soften slightly, releasing a faint toasted coconut scent.
Top questions about coconut bites
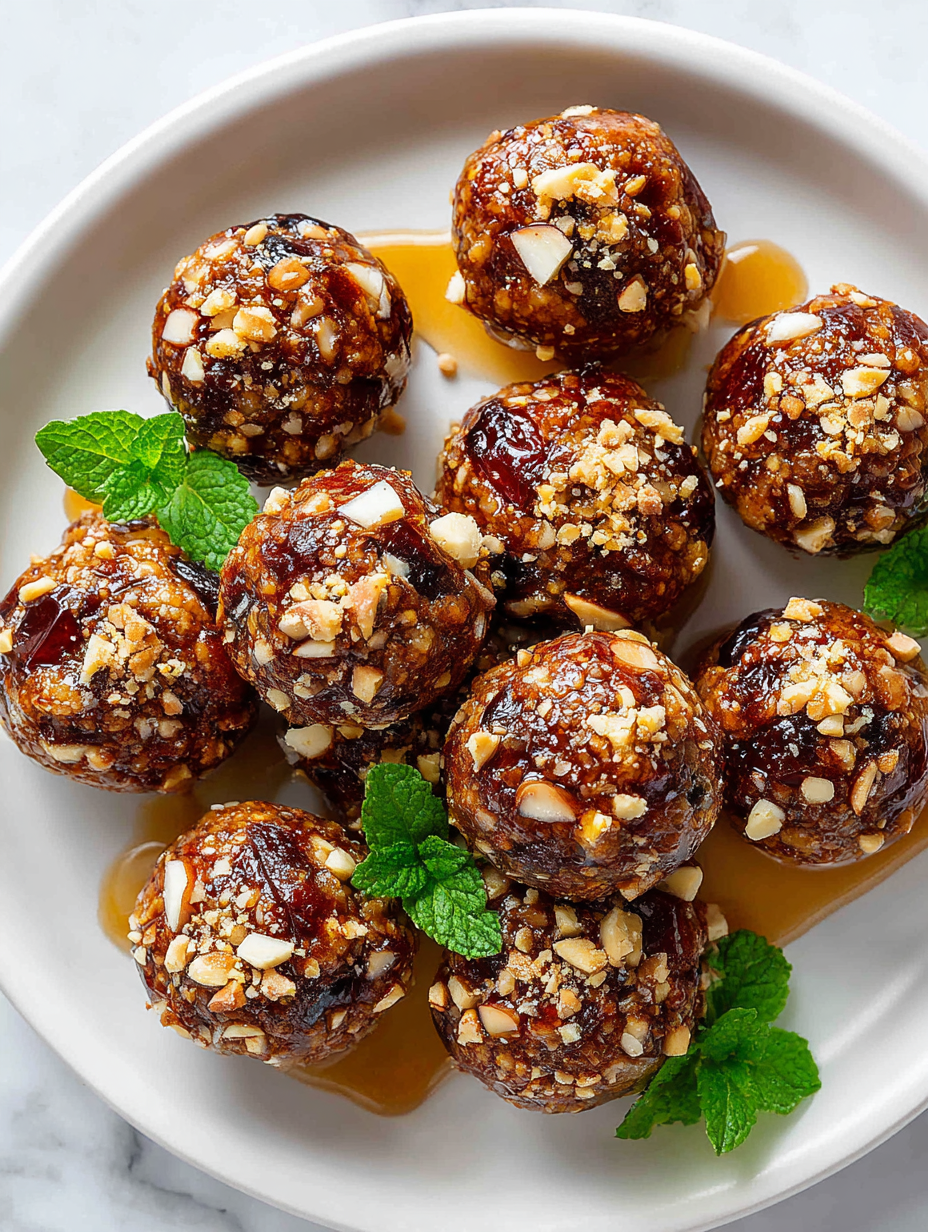
1. Can I add dried fruit?
Yes, you can use shredded dried fruits like apricots or cranberries for a chewy, tangy twist. Just chop finely.
2. Can I use a different sweetener?
Absolutely, swapping honey for maple syrup or agave works well. Expect a slightly different sweetness and texture.
3. Can I substitute the nut butter?
Yes, almond, cashew, or sunflower seed butter all work. They might change the flavor slightly but keep the binding.
4. Should I toast the coconut?
Using toasted coconut enhances flavor and crunch. If you skip it, the bites will be less aromatic and crispy.
5. How should I store leftover bites?
Refrigerate in an airtight container for up to a week. For longer storage, freeze for about a month.
6. Can I flavor these differently?
Yes, you can add a pinch of cinnamon or vanilla for extra warmth and aroma. Keep it subtle to avoid overpowering.
7. What if the mixture is too sticky or dry?
If mixture is too sticky, add more shredded coconut. If too dry, splash in a tiny bit of water or honey.
8. Can I prepare the mixture in advance?
Chill the mixture for at least 30 minutes before shaping. It helps firm up and makes rolling easier.
9. Should I serve them cold or at room temp?
Yes, serve straight from the fridge for a chewy, cool treat. Let sit for 10 minutes if you want softness.
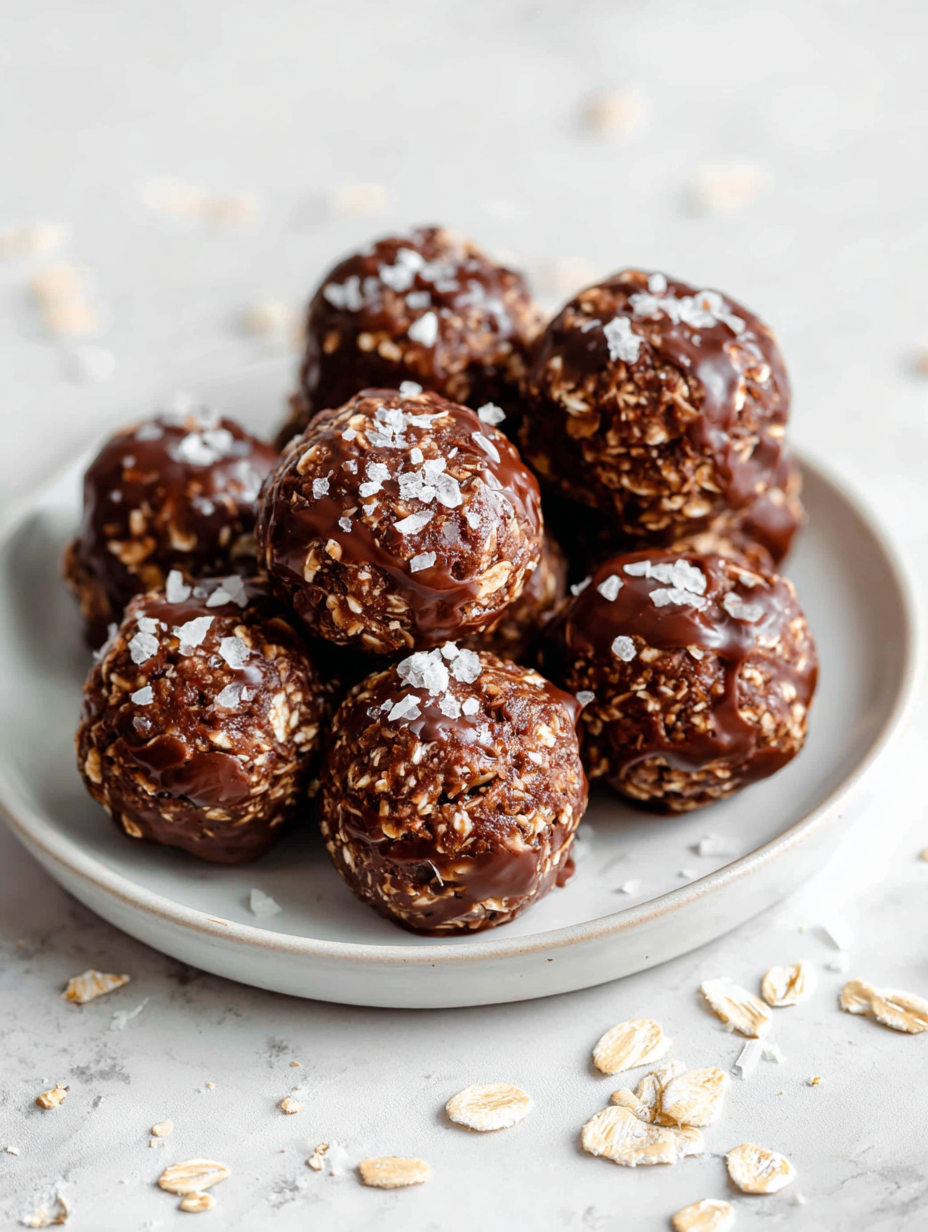
10. How do I melt chocolate for topping?
When melting chocolate chips, use a double boiler or microwave in short bursts. Stir often to prevent burning.
These no bake coconut bites are a little reminder that sometimes simple ingredients create the most satisfying treats. They come together quickly and are perfect for when I need a sweet fix without much fuss. The aroma of toasted coconut and the chewy bite always take me back to quiet afternoons in my kitchen.
Storing them properly keeps the texture just right, and they hold up well in the fridge or freezer. No matter when I reach for one, I appreciate how honest and straightforward this recipe is—just like the good moments in life.