This no-bake chocolate truffles recipe is all about embracing simplicity without sacrificing richness. It’s the kind of treat that fills your kitchen with the warm, inviting aroma of cocoa, instantly making you feel cozy. Perfect for those moments when you want a quick, satisfying dessert that feels indulgent but requires minimal effort.
What I love most is how flexible it is—no fancy equipment needed, just a bowl, a spoon, and your hands. It’s a recipe that’s been passed around my family, each of us putting our own little twist on it, making each batch a bit more special. And honestly, it’s a lifesaver when you need a sweet fix fast, especially during hectic weeks or last-minute gatherings.
This recipe is inspired by the idea of turning a simple, no-bake treat into a sensory experience—focusing on the rich aroma of cocoa and the creamy texture that melts on your tongue, all while being quick enough to make with kids or during a busy weeknight.
A Sensory Journey in Every Bite
- This recipe reminds me of making treats with my grandma, the smell of cocoa filling the whole house.
- I love how quickly I can whip these up after a hectic day, the rich aroma instantly calming me down.
- There’s a tiny thrill in rolling these into perfect little balls—like a secret, sweet ritual.
- Every time I make these, I feel a nostalgic warmth, like I’m sharing a piece of my childhood.
- I get oddly proud watching others’ faces light up when they realize how easy and decadent these are.
The inspiration behind these truffles
- Making these no-bake chocolate truffles takes me back to my early baking experiments, where I discovered that good things can be simple and fast. I remember one rainy afternoon, experimenting with leftover cocoa and cream, trying to create something that felt indulgent but didn’t require turning on the oven. That first batch was a little messy, but the aroma—rich, smoky cocoa—made it worth trying again and again.
- Over time, I found that these little bites became my go-to for quick comfort and unexpected guests. They’re not fancy, but they carry a quiet, honest joy that’s hard to beat—just chocolate, butter, and a dash of patience. Whenever I make them, I feel a tiny thrill, knowing I can whip up something so satisfying without fuss. It’s a reminder that sometimes, simplicity is the best kind of indulgence.
- heading: ‘The story behind this recipe’
History and Trivia of No Bake Truffles
- Legend has it that early 20th-century Parisian chocolatiers crafted simple, no-bake confections as a quick luxury for busy patrons.
- These truffles evolved from European aristocratic kitchens, where turning on the oven was reserved for grand feasts, not quick treats.
- During wartime rationing, inventive cooks used minimal ingredients to create rich desserts like these, making them a symbol of resilience.
- The idea of rolling chocolate into bite-sized morsels dates back centuries, but the no-bake version gained popularity in the mid-1900s with home cooks.
Key Ingredients and Their Secrets
- Dark chocolate: I love using high-quality, 70% cocoa dark chocolate—its deep, slightly bitter flavor really shines through. If you prefer sweeter, go for 60%, but avoid milk chocolate here for that rich cocoa punch.
- Heavy cream: I find that the cream’s velvety texture makes the truffles melt perfectly. If you’re out, full-fat coconut milk works well—just expect a slightly coconutty note that’s surprisingly delightful.
- Butter: A splash of butter adds richness and helps the mixture set smoothly. If you want to keep it vegan, try coconut oil—but the texture might be slightly firmer.
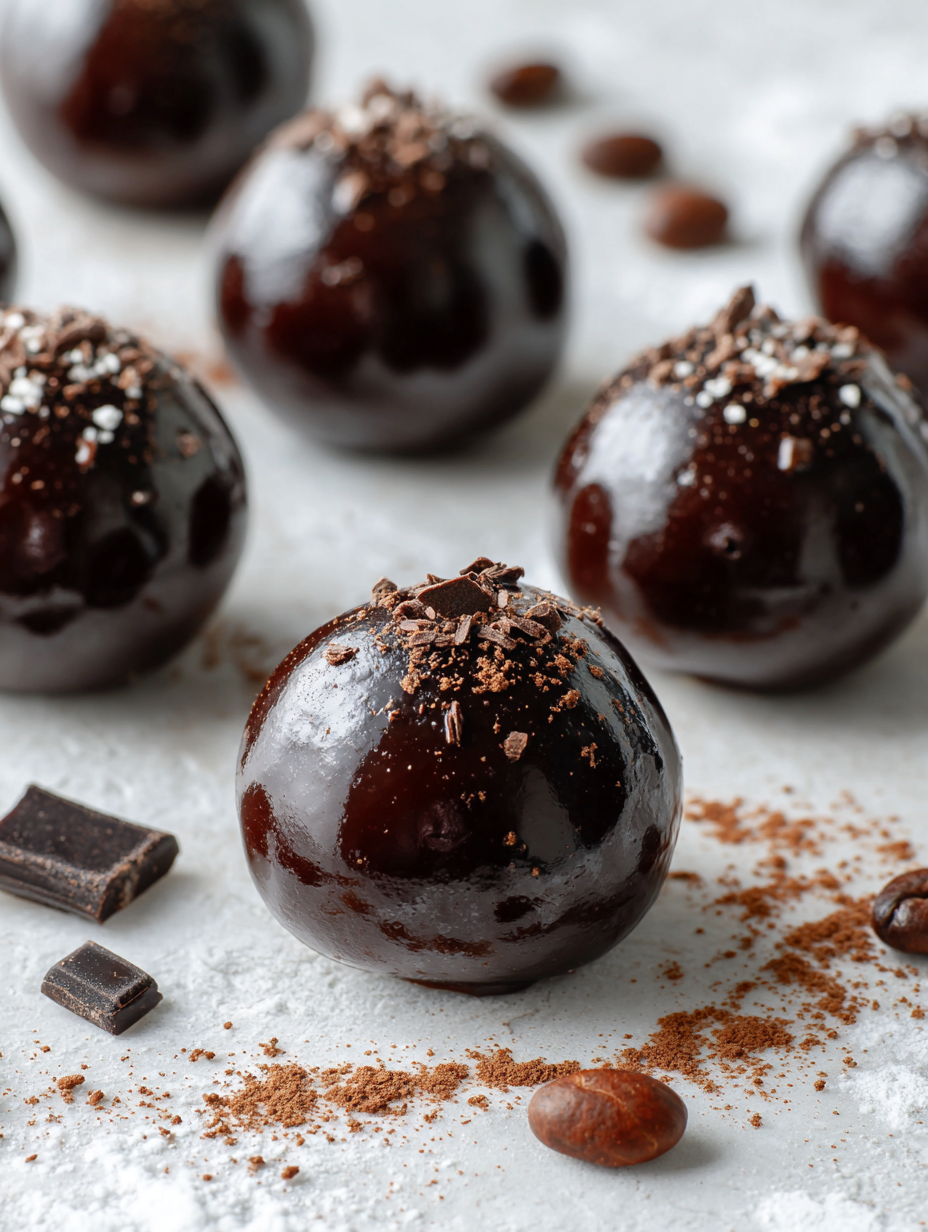
- Cocoa powder: I sift mine to avoid clumps and to get that intense, oozing chocolate aroma. Using Dutch-process cocoa gives a richer, less acidic taste, but natural cocoa works just fine.
- Optional flavorings: A pinch of sea salt or a splash of vanilla can elevate these. I sometimes add a dash of espresso powder for a smoky, mocha twist—try it for a bold punch.
- Sweetener (if needed): I usually rely on the chocolate’s natural sweetness, but if you like yours sweeter, a drizzle of honey or maple syrup can be mixed in—just be mindful of the texture.
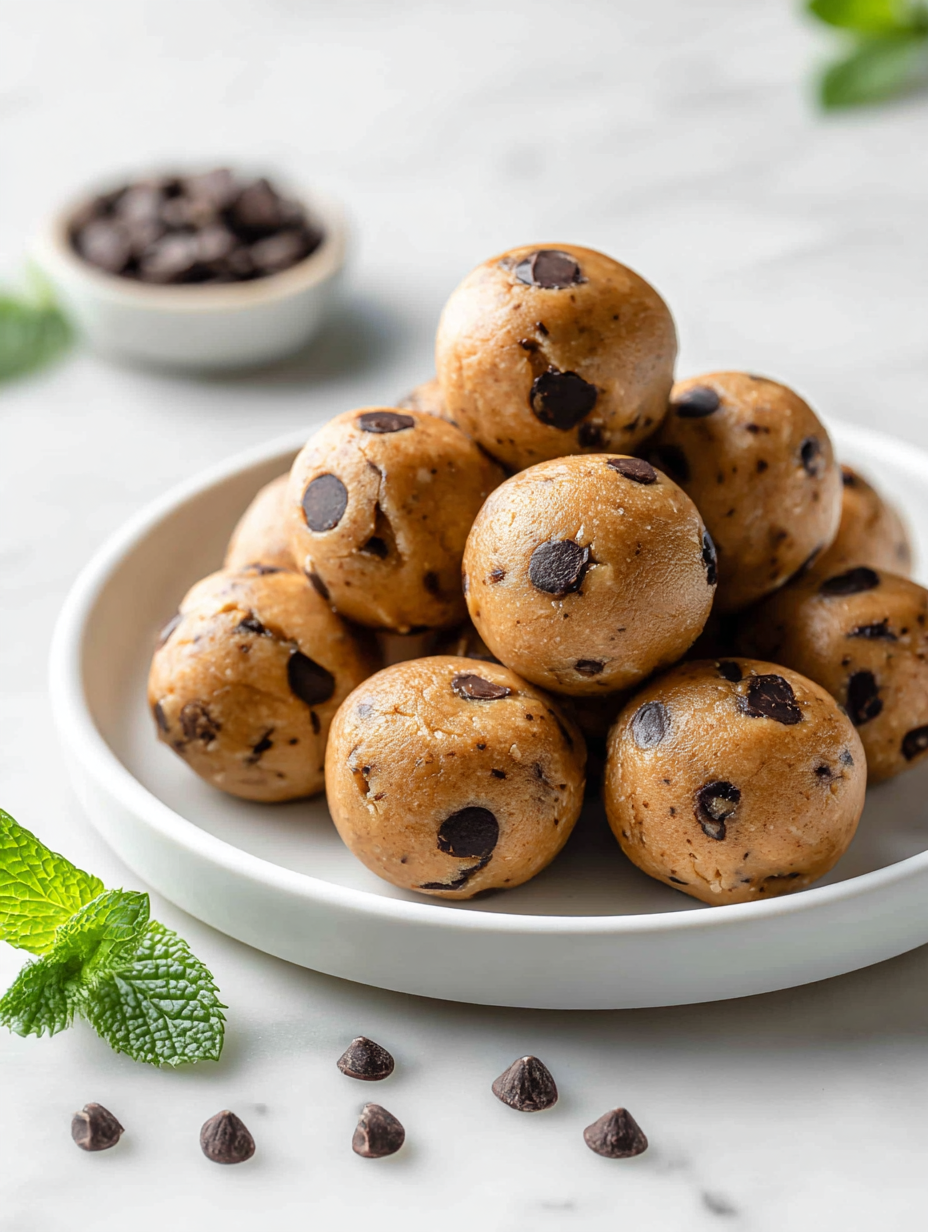
- Coatings: Cacao nibs, crushed nuts, or shredded coconut make pretty, crunchy coatings. I prefer rolling them in sifted cocoa powder for a classic finish—simple, elegant, and intensely chocolaty.
Spotlight on key ingredients
Dark chocolate:
- I love using high-quality, 70% cocoa dark chocolate—its deep, slightly bitter flavor really shines through. If you prefer sweeter, go for 60%, but avoid milk chocolate here for that rich cocoa punch.
- Heavy cream: I find that the cream’s velvety texture makes the truffles melt perfectly. If you’re out, full-fat coconut milk works well—just expect a slightly coconutty note that’s surprisingly delightful.
- Cocoa powder: I sift mine to avoid clumps and to get that intense, oozing chocolate aroma. Using Dutch-process cocoa gives a richer, less acidic taste, but natural cocoa works just fine.
Butter:
- A splash of butter adds richness and helps the mixture set smoothly. If you want to keep it vegan, try coconut oil—but the texture might be slightly firmer.
- Optional flavorings: A pinch of sea salt or a splash of vanilla can elevate these. I sometimes add a dash of espresso powder for a smoky, mocha twist—try it for a bold punch.
Notes for ingredient swaps
- Dairy-Free: Swap heavy cream for full-fat coconut milk. Expect a slightly coconutty flavor, but the texture remains rich and creamy.
- Vegan Chocolate: Use dairy-free dark chocolate and coconut oil instead of butter. The result is just as velvety with a subtle coconut note.
- Sweetener Options: If you prefer sweeter truffles, add a touch of honey or maple syrup to the ganache. Adjust to taste, but keep in mind it may slightly alter the texture.
- Cocoa Powder: Dutch-process cocoa offers a richer, less acidic flavor. Natural cocoa powder will give a brighter, more tangy chocolate aroma.
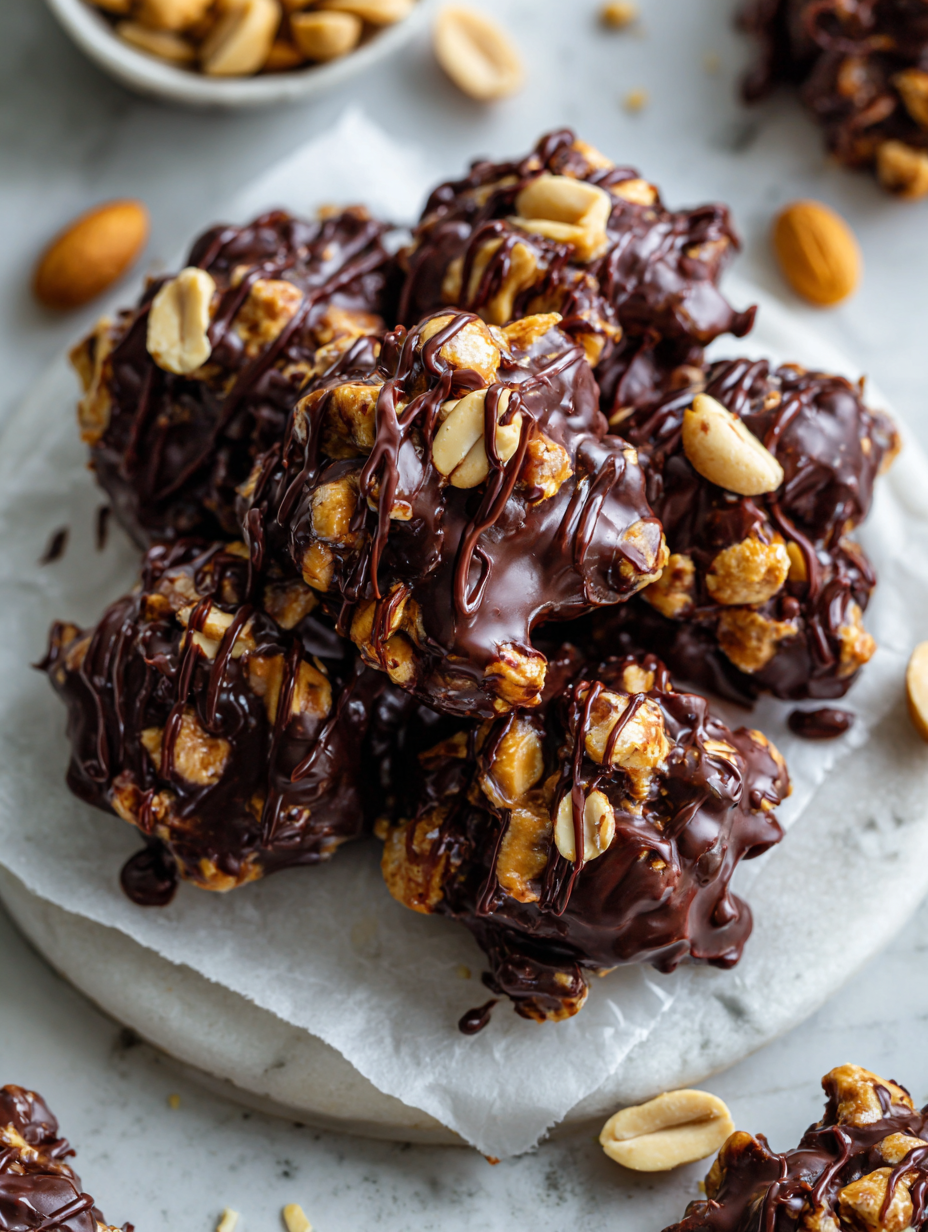
- Nut Coating: Instead of crushed nuts, try crushed cookies or cacao nibs for different textures and flavor profiles. Toasted nuts add a smoky crunch.
- Flavor Boosters: Add a splash of vanilla extract or a pinch of sea salt to enhance depth. For a mocha twist, stir in a tiny bit of espresso powder.
- Chocolate Variations: For a different flavor, experiment with milk or white chocolate, but keep in mind they set differently and are less intense.
Equipment & Tools
- Medium mixing bowl: For melting and combining ingredients.
- Spatula or spoon: To stir and shape the ganache.
- Baking sheet: To hold truffles while they set.
- Parchment paper: To prevent sticking and make cleanup easier.
- Microwave or double boiler: To gently melt chocolate without scorching.
- Refrigerator: To chill and set the truffles.
Step-by-step guide to making truffles
- Gather your equipment: a medium mixing bowl, a spatula or spoon, a baking sheet, and parchment paper. The bowl is for mixing, the sheet for chilling, and parchment keeps everything tidy.
- Chop your chocolate: break into small, uneven chunks. The smaller they are, the quicker and more evenly they melt—about 2-3 minutes in a microwave or a double boiler over low heat (around 60°C/140°F).
- Heat the cream: pour into a small saucepan, warm over low heat until it just starts to steam (around 70°C/160°F). Don’t let it boil or it’ll scorch, filling the kitchen with a rich, milky smell.
- Combine chocolate and cream: pour the hot cream over the chopped chocolate. Let sit for 1 minute, then stir gently until smooth and glossy. If the mixture looks streaky, microwave for 10 seconds and stir again—avoid overheating.
- Add butter: stir in a tablespoon of butter until melted and incorporated, giving the ganache a silky sheen and extra richness. If it seizes or gets grainy, warm very gently over a double boiler—no more than 40°C/105°F.
- Chill the mixture: cover the bowl with plastic wrap. Refrigerate for 1-2 hours, until the ganache is firm enough to scoop but still soft enough to roll. The aroma should be deep, chocolatey, and inviting.
- Shape the truffles: scoop small spoonfuls of ganache, about 1 teaspoon each. Roll quickly between your palms to form smooth balls, trying not to melt the chocolate with your warmth. Place on parchment-lined sheet.
- Coat or decorate: roll in cocoa powder, crushed nuts, or shredded coconut. For a shiny finish, you can also dip in melted chocolate or drizzle with contrasting cocoa.
- Rest and set: refrigerate the shaped truffles for at least 30 minutes to firm up. They’ll develop a slight sheen and a satisfying, melt-in-your-mouth texture.
- Serve or store: keep chilled until ready to serve. They’re best eaten within 3 days if kept in the fridge, or frozen for up to 2 weeks. Bring to room temperature before indulging for maximum aroma and softness.
Refrigerate the shaped truffles for at least 30 minutes. Serve directly from the fridge or let sit at room temperature for 10 minutes for softer, more aromatic bites. Arrange on a pretty plate or store in an airtight container.
How to Know It’s Done
- The ganache should be smooth, shiny, and firm enough to scoop after chilling.
- The balls should be uniform in size, with a matte, even coating after rolling.
- The final coating should have a slight crackle when bitten and a rich cocoa aroma.
No-Bake Chocolate Truffles
Ingredients
Equipment
Method
- Place the chopped dark chocolate in a heatproof mixing bowl. Use a microwave or double boiler to gently melt the chocolate, stirring every 30 seconds until smooth and glossy. The chocolate should be just melted and fragrant.
- Meanwhile, warm the heavy cream in a small saucepan over low heat until it just begins to steam—avoid boiling to keep it smooth and creamy.
- Pour the hot cream over the melted chocolate and let sit for about 1 minute. Then, gently stir with a spatula or spoon until the mixture becomes a smooth, shiny ganache.
- Stir in the tablespoon of butter until fully melted and incorporated, giving the ganache a silky, glossy finish. This enriches the flavor and helps it set smoothly.
- Cover the bowl with plastic wrap and refrigerate for 1 to 2 hours, or until the ganache is firm enough to scoop and shape. You'll notice the aroma deepen as it chills.
- Once chilled, use a teaspoon or small scoop to portion out the ganache. Roll each piece between your palms to form a smooth, round ball—work quickly to prevent melting from your warmth.
- Place the cocoa powder in a shallow dish. Roll each truffle in the sifted cocoa powder until evenly coated, pressing gently to adhere the coating.
- Arrange the coated truffles on a parchment-lined baking sheet. Chill for another 30 minutes to set the coating and enhance the flavor.
- Serve these decadent bites straight from the fridge or let them sit at room temperature for about 10 minutes to soften slightly and release their rich aroma.
Notes
Pro tips for perfect truffles
- Use high-quality cocoa powder for a deeper, more pungent chocolate aroma that really hits your nose.
- Warm the cream just until it steams—no hotter—to prevent scorching and preserve that smooth, silky texture.
- Stir the ganache gently and consistently to avoid introducing air bubbles, keeping the surface glossy and smooth.
- Chill the mixture thoroughly—at least 2 hours—so it’s firm enough for easy, clean rolling without sticking.
- Roll the truffles quickly with slightly chilled hands to prevent melting the ganache, ensuring a perfect ball shape.
- Dip or coat in coatings just after shaping—warm, not hot—so they set quickly and develop that satisfying crackle.
- Store the finished truffles in airtight containers in the fridge, but let them sit at room temp for a few minutes before serving to enhance aroma.
Common mistakes and how to fix them
- FORGOT to temper chocolate → Use gentle heat to prevent blooming.
- DUMPED in all ingredients at once → Mix gradually for smooth, glossy ganache.
- OVER-TORCHED the chocolate → Melt slowly over low heat or microwave in short bursts.
- FAILED to chill properly → Refrigerate until firm but not hard for easy shaping.
Quick fixes and pantry swaps
- When the ganache looks grainy → Splash in a bit more warm cream and stir gently.
- If the mixture won’t set → Patch with a few more minutes in the fridge, then re-roll.
- DUMPED in too much cocoa powder → Shield with a light coat of powdered sugar for a softer finish.
- Over-melted the chocolate → Rescue by adding a small spoon of hot cream and stirring vigorously.
- When truffles crack open → Splash with a tiny bit of warm chocolate and re-dip for a glossy finish.
Prep, store, and reheat tips
- Prepare the ganache up to 2 days ahead; keep covered in the fridge to preserve its rich aroma and prevent drying out.
- Shape the truffles and coat them at least 1 hour before serving, storing them in an airtight container to maintain freshness.
- Truffles will keep well in the fridge for up to 3 days; for longer storage, freeze for up to 2 weeks and thaw in the fridge when needed.
- Refrigerated truffles may develop a slight sheen; let them sit at room temperature for 10 minutes to soften and enhance flavor before serving.
- Avoid reheating; if you want to soften chilled truffles, let them sit out until they reach your desired softness—no microwave necessary.
Top questions about no bake truffles
1. Can I melt the chocolate without burning it?
Yes, using a double boiler or microwave in short bursts prevents overheating the chocolate, which can cause graininess or seizing. Stir constantly for smoothness.
2. How hot should the cream be?
Absolutely. Keep the cream just steaming—around 70°C or 160°F—so it melts the chocolate gently without scorching.
3. Why is my ganache too soft or too hard?
If the ganache is too soft, chill it longer, around 2 hours, until it’s firm enough to scoop. If too hard, let it sit at room temp for 10 minutes.
4. Can I flavor the truffles?
Yes, you can add flavors like vanilla, espresso, or a pinch of chili powder. Mix in after melting for a customized taste.
5. How do I shape the truffles without melting them?
Rolling with slightly chilled hands helps prevent melting. Use a teaspoon for uniform size, and work quickly to keep the mixture firm.
6. How long can I keep these?
Store in an airtight container in the fridge for up to 3 days. For longer, freeze for 2 weeks, then thaw in the fridge to preserve flavor.
7. My truffles have cracks, what now?
If the coating cracks, dip the truffles in slightly warm chocolate or cocoa powder to restore gloss and seal cracks.
8. What kind of cocoa powder should I use?
Use high-quality cocoa powder for a deep, intense aroma. Sift before coating for a smooth, glossy finish that melts on your tongue.
9. My chocolate is grainy, how do I fix it?
If the chocolate seizes or becomes grainy, gently reheat with a splash of warm cream and stir vigorously to smooth it out.
10. Can I add other ingredients for flavor?
Adding a pinch of sea salt or vanilla enhances flavor and balances the richness. A tiny espresso powder gives a mocha depth.
Making these no-bake chocolate truffles is a small act of comfort that doesn’t require much fuss. The rich cocoa aroma and melt-in-your-mouth texture make them a go-to whenever I need a quick, satisfying treat.
They remind me that sometimes, simple ingredients and honest effort come together to create something unexpectedly delightful. No matter how hectic the day, a batch of these can turn things around in just a few minutes.