Peas often get overlooked in the vegetable lineup, but when cooked right, they can surprise you with their sweet, bright flavor. This butter garlic peas recipe is a quick, honest way to turn those humble pods into something a little more special, a little more nostalgic. It’s the kind of dish that makes you appreciate simple ingredients, done well, with a whisper of garlic and a good pat of butter.
I first made this when I was after a side that didn’t demand much fuss but still delivered flavor. The smell of garlic sizzling in butter, that fresh green pop of peas, it’s oddly satisfying and unexpectedly comforting. It’s not flashy, but it’s dependable, a little secret weapon for busy nights or when you want to feel grounded in something familiar and fresh at the same time.
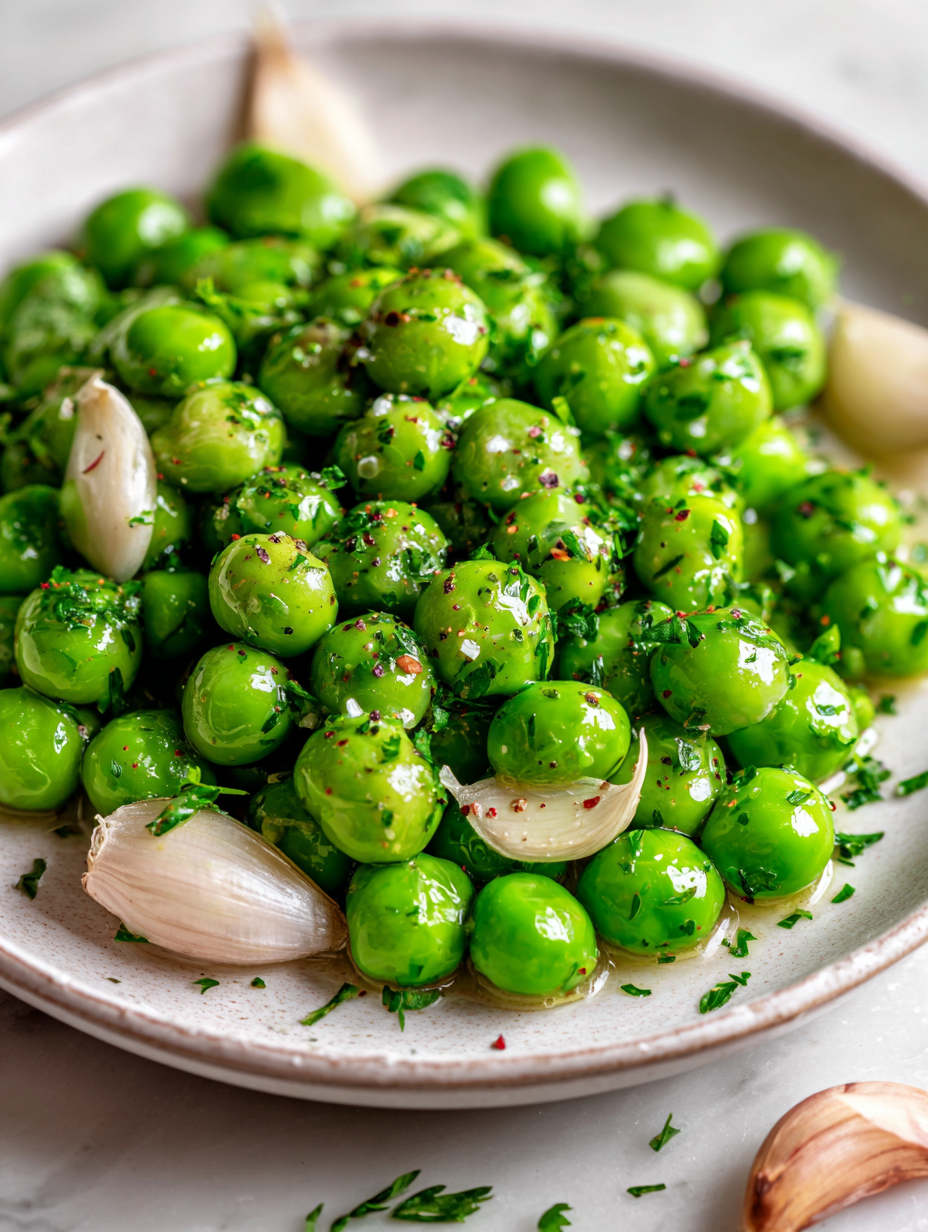
Focusing on the overlooked beauty of simple ingredients, this recipe elevates peas with a buttery garlic charm that transforms a humble side into a flavorful moment of comfort and nostalgia.
The story behind this recipe
- This recipe came together on a whim one busy evening when I needed something quick, bright, and satisfying. I wanted to highlight how simple ingredients—peas, garlic, butter—can shine if treated right. It’s a reminder that you don’t need fancy or complicated to make a meal feel special, just a little care and patience.
- The first time I made this, I was struck by how the peas seemed to come alive in that buttery garlic bath—almost like they were sharing a secret. It’s become a go-to when I want something easy but flavorful, a little nostalgic, and truly comforting. Honestly, it’s proof that the simplest things often taste the best when done with a bit of love.
Ingredient breakdown: key components
- Peas: I love the pop and sweetness of fresh peas, but frozen works just as well—just defrost and drain thoroughly to avoid excess water.
- Butter: I use good European-style butter for richness, but if you want a lighter touch, half butter, half olive oil smooths out the flavor.
- Garlic: Thin-sliced garlic crisps up beautifully, releasing a nutty aroma; don’t rush, and keep an eye to prevent burning—smoky garlic is bitter.
- Salt: I prefer sea salt flakes for texture, but regular table salt is fine—just be cautious with the amount, as it can quickly overpower the delicate peas.
- Lemon juice: A splash brightens everything, adding a fresh zing—skip if you’re after a more subdued, buttery base, but don’t skip the zest if you want pop.
- Black pepper: Freshly cracked adds a subtle heat and complexity—grind it just before serving for maximum aroma and punch.
- Optional herbs: A sprinkle of chopped mint or dill lifts the dish, but if you’re short on time, just a squeeze of lemon keeps it lively.
Spotlight on key ingredients
Peas:
- Their bright green hue and sweetness burst in your mouth, especially when fresh; frozen peas are more tender, still sweet, but slightly softer.
- During cooking, they keep a slight crunch if not overdone, and their aroma becomes subtly grassy and fresh—perfect for a quick sauté.
Garlic:
- As it hits the hot butter, it releases a warm, nutty aroma, turning golden and crispy quickly—watch for burn spots that turn bitter.
- Thin slices toast evenly, creating tiny crispy bits that add texture and a mellow, roasted garlic flavor—don’t rush this step.
Notes for ingredient swaps
- Dairy-Free: Swap butter for coconut oil or vegan margarine. Expect a slightly different richness and a hint of coconut aroma.
- Garlic: Use garlic powder or roasted garlic for a milder, less pungent flavor—add at the end to avoid bitterness.
- Peas: Fresh peas can be replaced with frozen peas—just defrost and drain thoroughly to prevent excess water.
- Lemon Juice: Lime juice or a splash of vinegar can brighten the dish similarly, but may alter the flavor profile slightly.
- Herbs: Fresh mint or dill can be swapped with parsley or basil, depending on your preference; dried herbs work in a pinch but are less vibrant.
- Salt: Sea salt flakes offer texture, but table salt is fine—just use a little less to avoid oversalting.
- Pepper: Black pepper can be replaced with white pepper for a subtler heat, or omit for a milder taste.
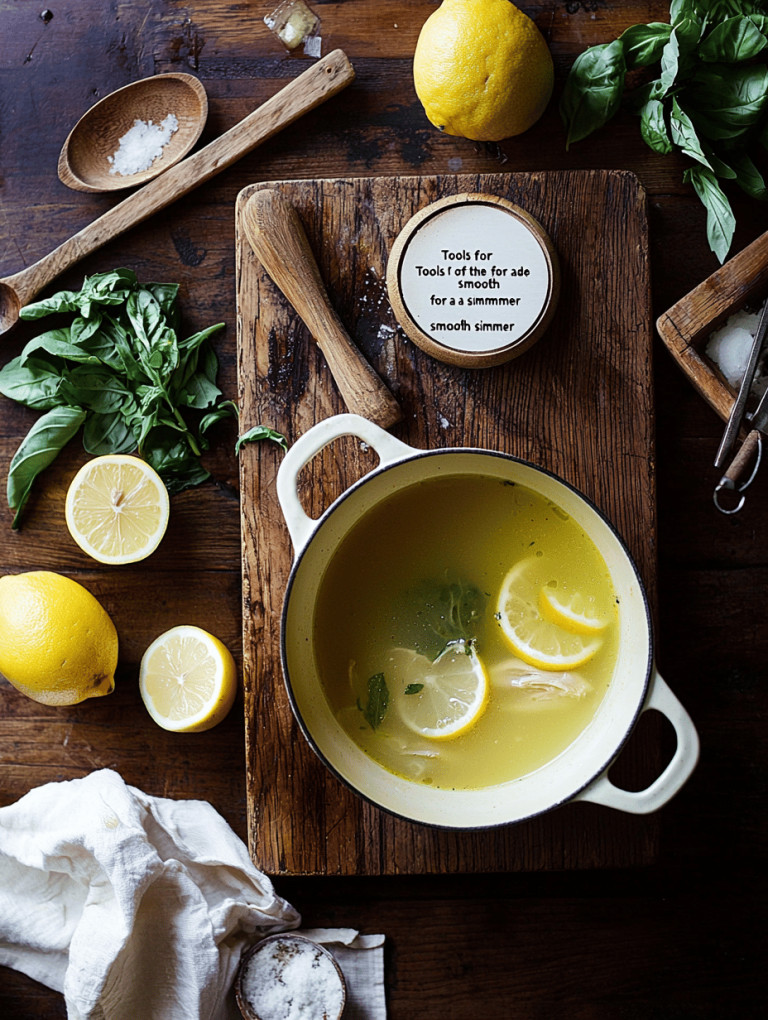
Equipment & Tools
- Medium skillet: Cook peas evenly and allow garlic to toast.
- Spatula or spoon: Stir ingredients to prevent sticking and ensure even cooking.
- Sharp knife: Slice garlic thinly for quick, even toasting.
- Cutting board: Prep garlic and other ingredients safely.
Step-by-step guide to butter garlic peas
- Equipment & Tools: Use a medium-sized skillet (preferably non-stick) for even heat distribution. Have a spoon or spatula ready for stirring, and a cutting board with a sharp knife for garlic prep.
- Warm the skillet over medium heat (about 160°C / 320°F). Add 2 tablespoons of butter and let it melt until it starts to foam slightly, releasing a rich, nutty aroma.
- Add 3-4 thinly sliced garlic cloves. Cook gently for 1-2 minutes, stirring often, until fragrant and just beginning to turn golden. Watch closely to prevent burning.
- Toss in 2 cups of fresh or thawed frozen peas. Stir to coat evenly in the garlic butter. Raise heat slightly to medium-high (around 180°C / 355°F).
- Cook peas for 2-3 minutes, stirring occasionally. They should turn bright green, and you’ll hear a gentle crackle. If they start to brown, reduce heat.
- Season with a pinch of sea salt and freshly cracked black pepper. Squeeze a teaspoon of lemon juice over the top for brightness. Stir again and cook for another 30 seconds.
- Check peas for tenderness—should be al dente with a slight crunch and vibrant color. If they’re still too firm, cook for another minute. If overcooked, they can become mushy, so keep an eye.
- Remove from heat. Let rest for 1 minute to allow flavors to meld. Transfer to a serving dish, perhaps garnished with a sprinkle of fresh herbs if desired.
- For serving, the peas should glisten with butter, with garlic aroma gently lingering. They’re best enjoyed immediately while bright and fresh.
Serve immediately, garnished with herbs if desired. Rest for 1 minute off heat to let flavors settle. Drizzle with extra butter or lemon if you like a richer finish.
How to Know It’s Done
- Peas are bright green and tender but still hold a slight crunch.
- Garlic is fragrant and toasted but not burnt—avoid bitterness.
- Butter is melted and slightly foamy, coating peas evenly.
Butter Garlic Peas
Ingredients
Equipment
Method
- Place a medium skillet over medium heat and add the butter, letting it melt and foam gently, filling the kitchen with a rich, nutty aroma.
- Add the thinly sliced garlic to the skillet and cook for 1-2 minutes, stirring often until fragrant and just beginning to turn golden, avoiding burning.
- Toss in the peas, stirring to coat them evenly with the garlic butter. Increase the heat slightly to medium-high and cook for 2-3 minutes, allowing the peas to brighten in color and develop a slight sizzling sound.
- Season with a pinch of sea salt and freshly cracked black pepper, then squeeze in a teaspoon of lemon juice for a fresh, zesty kick. Stir gently to combine.
- Cook for another 30 seconds until the peas are tender yet still have a slight crunch, and the mixture is glossy and fragrant.
- Remove the skillet from heat and transfer the peas to a serving dish, garnishing with chopped herbs if desired, and serve immediately while bright, tender, and coated in buttery garlic goodness.
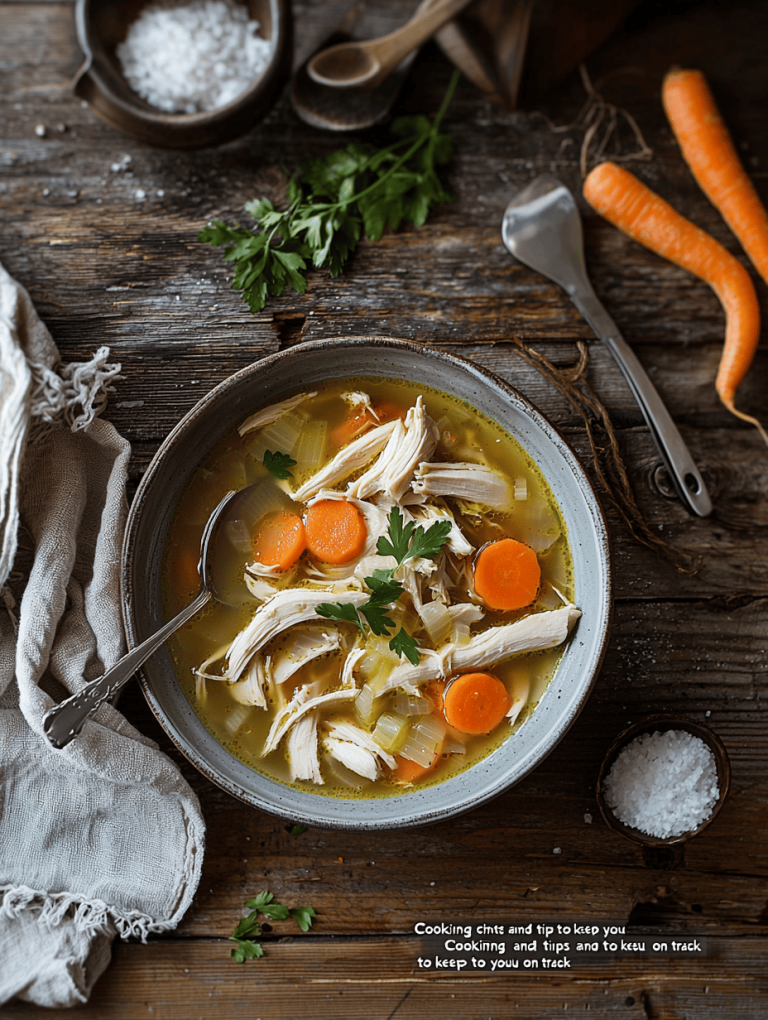
Pro tips for perfect peas
- Bolded mini-head: Use fresh garlic when possible—its aroma is sharper and more fragrant, making the dish smell irresistible.
- Bolded mini-head: Keep an eye on garlic—once it turns golden, remove it promptly to prevent bitterness and burnt flavors.
- Bolded mini-head: Toss peas in when the butter is just melted—this helps them retain their bright color and snap.
- Bolded mini-head: Stir gently but frequently—this ensures even cooking and prevents garlic from sticking or burning.
- Bolded mini-head: Finish with a squeeze of lemon—brightens the flavor and balances the richness of butter and garlic.
- Bolded mini-head: If peas seem too dry, add a splash of water or broth during cooking—helps keep them moist and lively.
- Bolded mini-head: For extra flavor, toast a few extra garlic slices separately—add at the end for crunchy, aromatic bites.
Common mistakes and how to fix them
- FORGOT to adjust heat → Peas turn mushy or burn if heat is too high.
- DUMPED all garlic at once → Add garlic gradually for even toasting and aroma.
- OVER-TORCHED garlic → Remove early if it turns dark to prevent bitterness.
- MISSED to season properly → Taste and adjust salt and lemon for balanced flavor.
Quick fixes and pantry swaps
- If peas look dull, splash them with lemon juice to brighten their color and flavor.
- When garlic burns quickly, patch the situation by removing the pan from heat immediately.
- Splash cold water on overcooked peas to halt further cooking and refresh their texture.
- DUMPED all garlic at once? Add it gradually next time for even toasting and aroma.
- When in doubt, swap frozen peas for fresh—they shimmer more vibrantly and hold their shape better.
Prep, store, and reheat tips
- Peas: Defrost fresh or frozen peas ahead of time. Keep in airtight container in the fridge for up to 2 days to maintain freshness and vibrant color.
- Garlic: Mince or slice garlic in advance. Store in a small jar or airtight container in the fridge; use within 2 days for optimal aroma and flavor.
- Butter: Measure out butter and keep it chilled or at room temperature if only for quick melting. Fresh butter keeps for weeks in the fridge, or freeze for longer storage.
- Reheating: Gently rewarm peas in a skillet over low heat, stirring occasionally. Expect slight moisture loss—add a splash of water or butter to revive the shine and flavor.
- Flavor Changes: When reheated, the sweetness and brightness of peas may mellow slightly. Re-season with a pinch of salt and a squeeze of lemon to refresh.
Top questions about butter garlic peas
1. Can I use frozen peas for this recipe?
Fresh peas are brighter and have a sweeter, crisper bite, but frozen peas work just as well if defrosted thoroughly.
2. Should I thaw frozen peas before cooking?
Yes, just defrost and drain excess water to prevent sogginess. Frozen peas tend to be softer, but still flavorful.
3. What kind of butter is best?
Use good quality butter for richness and flavor. It melts smoothly and adds a silky texture to the dish.
4. How do I prevent garlic from burning?
Thinly sliced garlic crisps up evenly in hot butter, releasing a nutty aroma; avoid burning it to prevent bitterness.
5. Can I skip the lemon juice?
A splash of lemon juice brightens the dish, balancing the richness of butter and enhancing the peas’ sweetness.
6. How do I know when peas are done?
Overcooked peas become mushy and dull in color. Cook until bright green and slightly tender for the best texture.
7. Can I use dried herbs instead of fresh?
Fresh herbs like mint or dill add freshness, but parsley or basil also work well for a different flavor profile.
8. What if I burn the garlic?
If garlic turns dark and bitter, remove it immediately to prevent it from ruining the dish.
9. Any tips for even cooking?
Stir gently and often to prevent sticking and ensure even cooking. Keep heat moderate to avoid burning garlic and overcooking peas.
10. How should I reheat leftovers?
Reheat in a skillet over low heat, adding a splash of water or butter to revive moisture and flavor. Peas may mellow slightly but remain vibrant.
This butter garlic peas recipe is a quiet reminder that simple can be stunning. It’s the kind of dish that makes a humble side feel like a small celebration, especially when the garlic aroma fills the kitchen. Sometimes, it’s these straightforward, honest flavors that stay with you long after the plate is empty.
No matter how often I make it, I always appreciate the way fresh peas pop with brightness and the buttery garlic adds just enough richness. It’s a little dish, but it’s got a lot of personality—perfect for those nights when you want comfort that’s quick, honest, and just a little bit special.