This no bake Greek yogurt cheesecake is my go-to when I need something sweet, but don’t want to heat up the kitchen or feel sluggish afterward. It’s a fresh take on dessert, leaning on tangy yogurt, bright lemon, and a whisper of honey, all set on a simple, buttery crust. Honestly, it’s the kind of treat that feels just right after a busy day or when friends drop by unexpectedly.
What I love is how forgiving it is—no oven, no fuss. Just mix, press, chill, and you’re done. It’s surprisingly satisfying for such minimal effort, and it’s perfect for those times I want something creamy but not heavy, with that satisfying tang that makes every bite feel like a little celebration. Plus, it’s a dessert I can whip up at the last minute, no problem.
This recipe is a perfect antidote to the heavy, processed desserts that dominate grocery store shelves. It’s all about embracing simple, real ingredients—Greek yogurt, fresh lemon, a touch of honey—and turning them into something creamy and satisfying without turning on the oven. Sometimes, I crave a sweet finish that’s light enough to keep me from feeling sluggish, but flavorful enough to really enjoy.
A Fresh Take on Classic Cheesecake
- I love how this cheesecake feels like a little escape — tangy, creamy, yet so simple to make.
- There’s a nostalgic rush whenever I scoop the first bite, reminding me of lazy summer afternoons.
- Feeling proud when I serve this to friends; it’s proof that minimal ingredients can still impress.
- Honestly, it’s a relief to whip up something fancy without turning on the oven in summer heat.
- Every time I make it, I’m reminded how a few good ingredients can turn into a dessert that feels special.
The story behind this recipe
- This recipe was born out of a craving for something light but still indulgently creamy, especially on hot summer days when turning on the oven feels wrong. I was experimenting with how Greek yogurt could replace cream cheese and still hold up as a cheesecake filling. It’s funny how a little bit of lemon zest and honey can transform tangy yogurt into something dessert-worthy.
- One afternoon, I had a bowl of leftover Greek yogurt and a handful of graham crackers, and suddenly this no-bake idea clicked. I liked the idea of a dessert that’s straightforward, no fuss, and feels like a treat but isn’t weighed down. It’s my way of turning simple ingredients into something special, without the usual baking fuss.
- heading: Short personal story or inspiration behind the recipe
Trivia and Origins
- This recipe draws inspiration from traditional Greek desserts like galaktoboureko, but simplifies the process with no baking required.
- Greek yogurt’s popularity soared in the West during the 2000s, transforming it from a staple in Greece to a pantry essential worldwide.
- The tangy flavor of Greek yogurt in desserts became a favorite for those seeking a healthier, probiotic-rich treat, especially in the last decade.
Key ingredients and tips
- Greek yogurt: I love how it adds that tangy, creamy texture—use full-fat for richness, or low-fat if you prefer lighter. It’s the star, so don’t skimp on quality.
- Graham cracker crust: I press it in tightly and chill before filling. For a nuttier flavor, try digestive biscuits or even Oreo crumbs—just tweak the sweetness accordingly.
- Lemon zest: Brightens everything and cuts through the creaminess; zest before juicing to get the full citrus aroma. Skip if you’re not a lemon fan.
- Honey: I prefer raw honey for depth, but maple syrup works too if you want a different sweet note. Adjust to taste—less if you like it tangier.
- Gelatin (if using): Just a touch helps set the cheesecake without making it rubbery. Dissolve well in warm water, then blend smoothly into the filling.
- Vanilla extract: A splash lifts the flavor—use good quality, or try almond extract for a different twist. Don’t overdo it, a little goes a long way.
- Optional toppings: Fresh berries, mint, or a drizzle of honey add contrast. I like a sprinkle of crushed pistachios for a nutty crunch.
Spotlight on key ingredients
Greek yogurt:
- I love how it adds that tangy, creamy texture—use full-fat for richness, or low-fat if you prefer lighter. It’s the star, so don’t skimp on quality.
- Graham cracker crust: I press it in tightly and chill before filling. For a nuttier flavor, try digestive biscuits or even Oreo crumbs—just tweak the sweetness accordingly.
- Lemon zest: Brightens everything and cuts through the creaminess; zest before juicing to get the full citrus aroma. Skip if you’re not a lemon fan.
Gelatin:
- Honey: I prefer raw honey for depth, but maple syrup works too if you want a different sweet note. Adjust to taste—less if you like it tangier.
- Gelatin (if using): Just a touch helps set the cheesecake without making it rubbery. Dissolve well in warm water, then blend smoothly into the filling.
Notes for ingredient swaps
- Dairy-Free: Swap Greek yogurt for coconut yogurt or cashew-based cream. Expect a slightly different tang and creaminess, but still satisfying.
- Sweetener: Honey can be replaced with maple syrup or agave nectar. These add a different note but keep the cheesecake sweet and smooth.
- Crust Base: Instead of graham crackers, try digestive biscuits or crushed almonds for a nuttier, denser crust.
- Lemon Flavor: Lime zest or orange zest can replace lemon to give a different citrus twist—try and see which brightens your palate best.
- Gelatin: Use agar-agar or a vegetarian gelatin substitute if you prefer plant-based setting agents. Adjust quantity accordingly for firmness.
- Sweetener Intensity: Adjust honey or syrup depending on your sweetness preference—less for tangier, more for richer flavor.
- Add-ins: Incorporate chopped nuts, dried fruit, or spices into the crust or filling for a personalized touch.
Equipment & Tools
- Springform pan: To assemble and chill the cheesecake easily.
- Mixing bowl: To whisk and combine ingredients.
- Spatula: To smooth the filling evenly.
- Saucepan: To gently melt and dissolve gelatin if used.
- Rolling pin: To crush graham crackers into fine crumbs.
Step-by-step guide to no bake cheesecake
- Gather your equipment: a 20cm (8-inch) springform pan, a mixing bowl, a spatula, and a small saucepan for melting butter.
- Crush the graham crackers: place them in a zip-top bag and use a rolling pin to crush into fine crumbs, about 1 cup.
- Mix the crust: combine the crumbs with 3 tbsp melted butter and a pinch of salt. Press firmly into the bottom of the springform pan. Chill in the fridge for 10 minutes.
- Prepare the filling: in a bowl, whisk together 2 cups Greek yogurt, 1/2 cup honey, 1 tbsp lemon zest, and 1 tsp vanilla extract until smooth.
- Optional gelatin step: if you want a firmer set, dissolve 1 tsp gelatin in 2 tbsp warm water, let it bloom for 5 minutes, then gently heat until clear. Mix into the yogurt blend quickly.
- Pour the filling: over the chilled crust, smoothing the top with a spatula. Cover loosely with plastic wrap.
- Chill the cheesecake: refrigerate for at least 4 hours, preferably overnight, until set. The center should be firm but slightly jiggly when gently shaken.
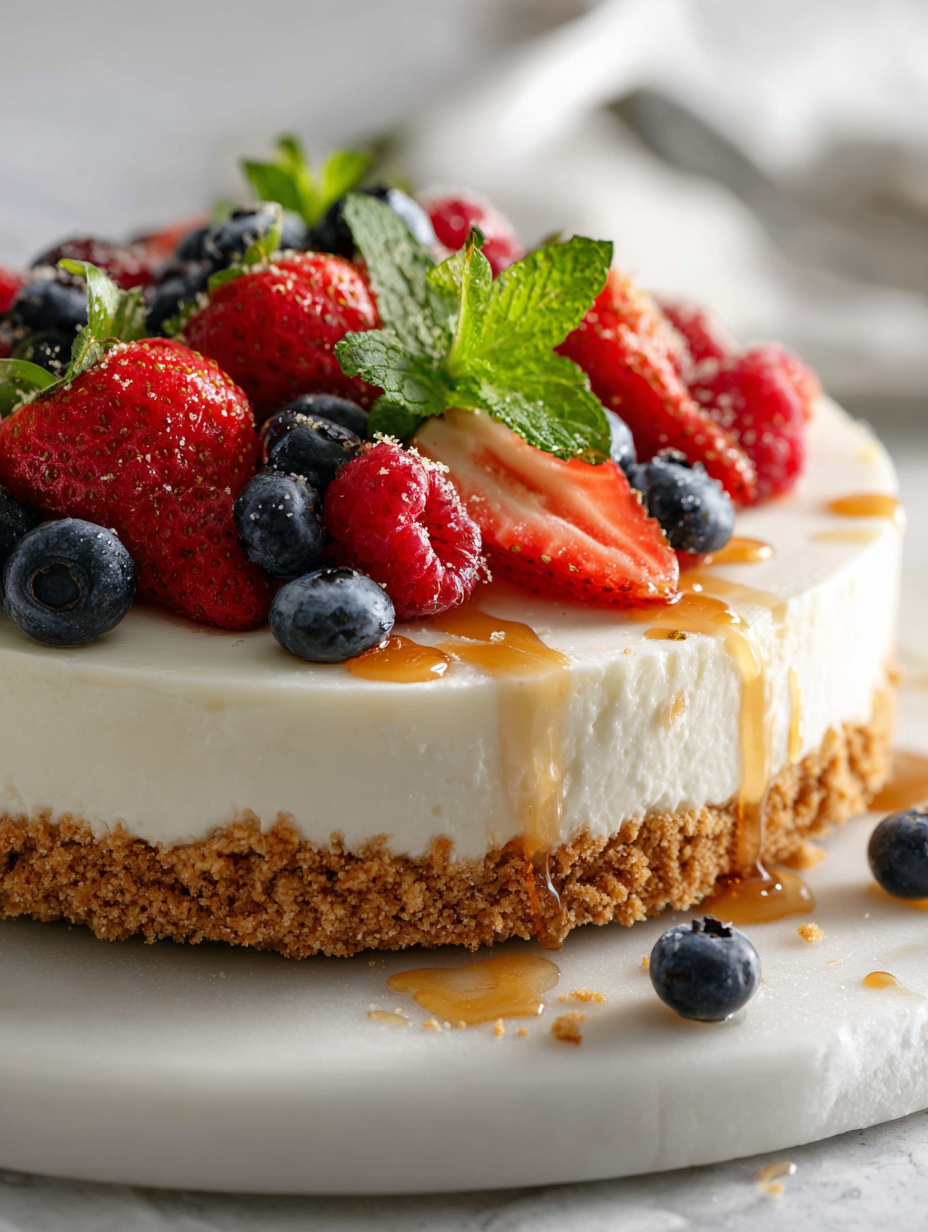
- Finish and serve: run a knife around the edges before unlocking the springform. Top with fresh berries, mint, or a drizzle of honey if desired.
Let the cheesecake rest in the fridge for at least 4 hours, preferably overnight. Before serving, run a knife around the edges and gently release the springform. Garnish with fresh toppings and slice with a sharp knife.
How to Know It’s Done
- Crust is firm and holds shape when pressed; edges are slightly golden.
- Filling is smooth, no lumps, with a slight jiggle in the center after chilling.
- Surface is matte and set, not sticky or runny.
No Bake Greek Yogurt Cheesecake
Ingredients
Equipment
Method
- Place the graham cracker crumbs in a zip-top bag and use a rolling pin to crush them into fine crumbs.
- Mix the crushed crumbs with the melted butter until the mixture resembles wet sand.
- Press the crumb mixture firmly into the bottom of a springform pan, creating an even layer. Chill in the fridge for 10 minutes to set.
- In a mixing bowl, whisk together Greek yogurt, honey, lemon zest, and vanilla extract until smooth and slightly fluffy.
- If using gelatin, dissolve it in a small amount of warm water, stirring until completely dissolved. Let it bloom for 5 minutes, then gently heat until clear and pour into the yogurt mixture, whisking quickly to combine.
- Pour the creamy filling over the chilled crust, smoothing the surface with a spatula for an even finish.
- Cover the pan loosely with plastic wrap and refrigerate for at least 4 hours, or overnight, until the filling is firm and set.
- Once set, run a knife around the edges of the springform pan and carefully release the sides. Top with fresh berries or your preferred toppings.
- Slice and serve chilled, enjoying the smooth, tangy, and refreshing texture of this easy cheesecake.
Notes
Tips and Tricks for Perfect Cheesecake
- Bolded Mini-Head: Use a gentle press when shaping the crust to avoid cracks and ensure even coverage.
- Bolded Mini-Head: Chill the crust thoroughly; a cold base helps prevent melting when adding the creamy filling.
- Bolded Mini-Head: Mix the filling just until smooth; over-mixing can incorporate air and cause cracks as it sets.
- Bolded Mini-Head: When dissolving gelatin, do it slowly over low heat to prevent clumping and ensure smooth incorporation.
- Bolded Mini-Head: Gently tap the pan on the counter before chilling to release air bubbles and achieve a smooth surface.
- Bolded Mini-Head: Cover the cheesecake with plastic wrap tightly; this prevents condensation from forming on the surface.
- Bolded Mini-Head: Before serving, let the cheesecake sit at room temperature for 10 minutes to soften slightly for the best texture.
Common mistakes and how to fix them
- FORGOT to chill crust → Chill for at least 10 minutes to prevent cracking.
- DUMPED the gelatin → Dissolve gelatin fully; lumps ruin the smooth texture.
- OVER-TORCHED the crust → Keep an eye; golden edges indicate perfect crunch.
- MISSED the setting test → Jiggles slightly in the center when done, not liquid or firm.
Quick fixes and pantry swaps
- If the crust crumbles, press it firmly again and chill for 10 minutes.
- When the filling is lumpy, dissolve gelatin thoroughly and whisk until smooth.
- Dumped the crust in the oven? Shield it with foil and lower the heat to prevent burning.
- Over-torched crust? Use a paper towel to blot excess heat and restore texture.
- When the cheesecake jiggles too much, extend chilling time or check for proper set.
Prep, store, and reheat tips
- Prepare the crust mixture and press it into the pan up to a day ahead. Keep it chilled in the fridge for a firm base.
- The cheesecake filling can be made a day in advance; store it covered in the fridge, where it stays fresh for up to 24 hours, maintaining its tangy aroma and creamy texture.
- Once assembled, the cheesecake benefits from at least 4 hours of chilling, but overnight is ideal for full set and flavor melding. Expect a smooth, slightly firm texture when ready.
- Refrigerate leftovers for up to 3 days. The flavor intensifies and the yogurt develops a slightly more pronounced tang; the texture remains creamy but less jiggle-y.
- To reheat slices, briefly warm in a microwave for 10-15 seconds until just softening—watch for a gentle shimmer and a slight release of aroma.
Top questions about no bake cheesecake
1. Can I use low-fat Greek yogurt?
Use full-fat Greek yogurt for creaminess; low-fat can make it less rich but still tasty.
2. How long should I chill it?
Chill the cheesecake for at least 4 hours, preferably overnight, until it feels firm and slightly jiggles in the center.
3. Can I swap the honey?
Yes, you can substitute honey with maple syrup or agave nectar; adjust sweetness to taste.
4. Can I change the crust ingredients?
Using digestive biscuits instead of graham crackers gives a nuttier flavor; just tweak the sweetness.
5. What if I want a different citrus flavor?
Add lemon zest for brightness; or swap with lime or orange zest for a citrus twist.
6. Do I need gelatin?
Dissolve gelatin fully in warm water before mixing; lumps can cause uneven setting.
7. How do I know when it’s set?
The texture should be smooth and creamy, with a slight jiggle when done; avoid cracks or runny filling.
8. How long does it last in the fridge?
Store leftovers covered in the fridge for up to 3 days; the flavor deepens slightly over time.
9. Should I bring it to room temp before serving?
To serve, let it sit at room temperature for 10 minutes to soften and enhance flavor.
10. What if it cracks after setting?
If it cracks, gently run a knife around edges or lightly press to smooth surface after chilling.
Making this no-bake Greek yogurt cheesecake is a small act of rebellion against heavy, processed desserts. It’s bright, tangy, and surprisingly satisfying without turning on the oven or feeling sluggish afterward. Sometimes, a simple dessert like this becomes the highlight of a busy week or a spontaneous gathering.
And honestly, it’s a reminder that good ingredients and a little patience can turn into something memorable. No fuss, just creamy goodness, a touch of citrus, and a crust that’s just right. Sometimes, that’s all I need to close out a day or celebrate a quiet moment.

Hello, I’m Oliver James, the person behind Melting Into Flavors. Cooking is my greatest passion, and it’s been the driving force in my life for as long as I can remember.
It’s not just about food for me; it’s about creating experiences, connecting with others, and sharing the love I have for what’s on the plate. Through this blog and my café, I’m able to share my journey with all of you and hopefully inspire some of your own culinary adventures along the way.


