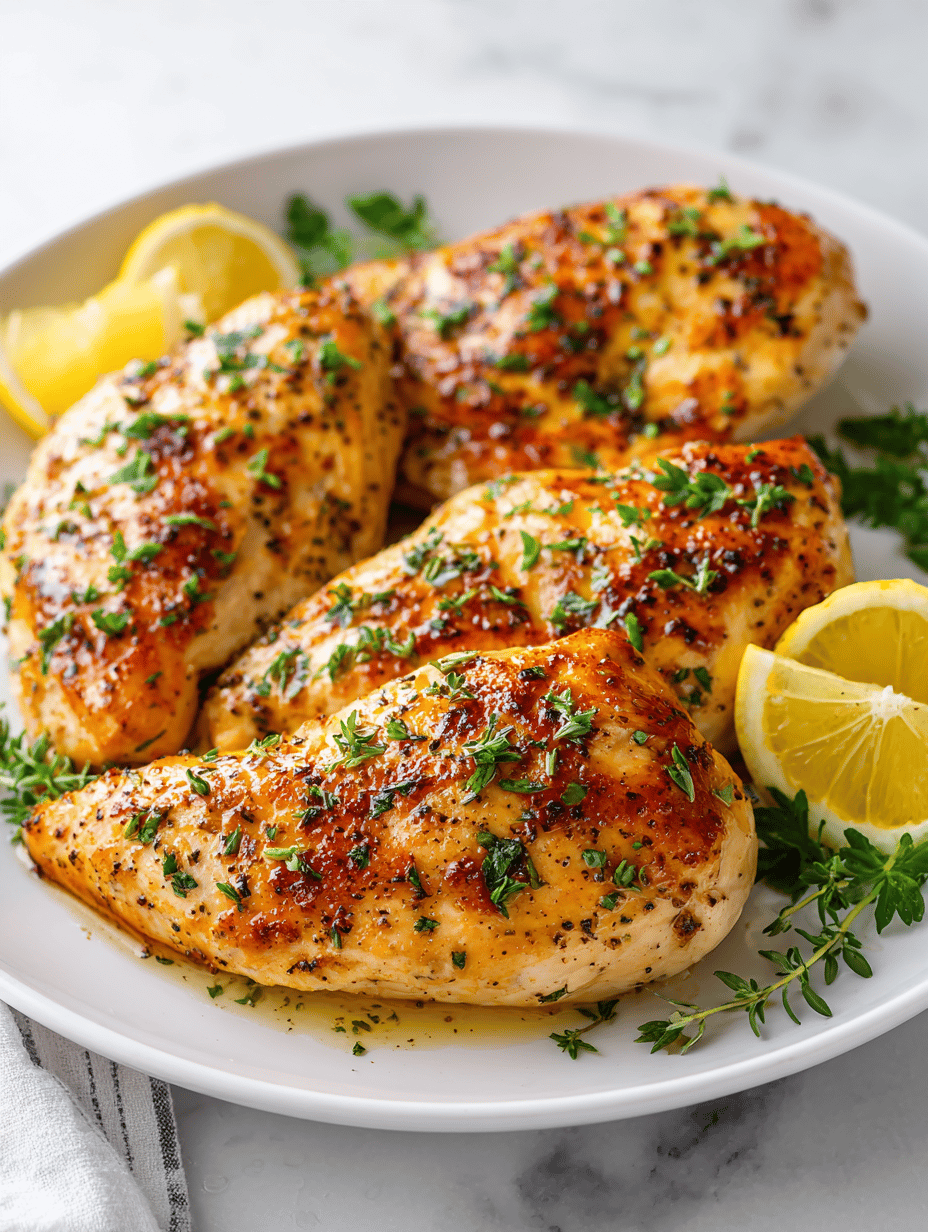
Chicken breasts are often dismissed as boring, but with a few tweaks, they can be transformed into a quick, satisfying meal. The secret is in the sear and proper rest—simple, honest, and forgiving. This recipe sidesteps the usual dry chicken trap by focusing on heat control and timing.
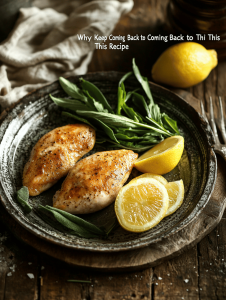
Why Keep Coming Back to This Recipe
It’s simple, forgiving, and always reliable. The quick sear locks in juices, creating a tender bite every time. Plus, it’s versatile—serve with salads, grains, or veggies. The process feels satisfying, knowing you can produce restaurant-quality chicken in under 20 minutes, no fuss, no stress.
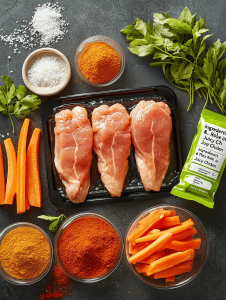
Ingredients & Their Role in Juicy Chicken
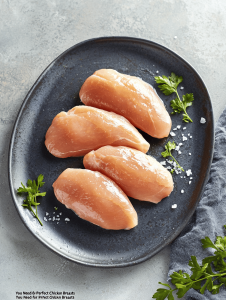
- Chicken breasts: Lean, tender meat that benefits from quick, high-heat cooking to stay moist.
- Salt & pepper: Basic seasoning that enhances natural flavor—don’t skimp.
- Smoked paprika: Adds a smoky, slightly sweet depth—skip if you prefer pure chicken flavor.
- Olive oil: Helps develop that golden crust and prevents sticking.
- Lemon (optional): Brightens up the flavor—squeeze over just before serving.
- Garlic powder (optional): A subtle savory note—can be swapped for fresh garlic.
- Herbs (thyme, rosemary): Fresh or dried—adds aromatic layers, especially during resting.
Tools You Need for Perfect Chicken Breasts
- Cast iron skillet: Provides even heat and a good sear.
- Meat thermometer: Ensures precise doneness.
- Tongs: Handles chicken without piercing, keeping juices in.
- Paper towels: Drying chicken for crispiness.
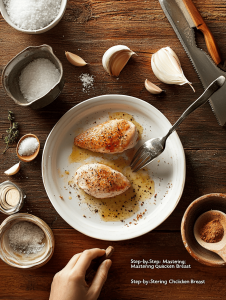
Step-by-Step: Mastering Quick Chicken Breast
Step 1: Start with a good hot pan—medium-high heat, around 200°C (390°F).
Step 2: Pat the chicken dry. Season generously with salt, pepper, and a pinch of smoked paprika.
Step 3: Place the chicken in the pan—lay it away from you to avoid splatters. Cook for 5-7 minutes without moving.
Step 4: Flip once the edges turn golden and release easily—look for a slight caramelization.
Step 5: Reduce heat to medium, cover loosely, and cook another 5 minutes, or until the internal temp hits 75°C (165°F).
Step 6: Remove from heat, rest for 5 minutes—juices redistribute, keeping meat moist.
Step 7: Slice against the grain, serve immediately, and enjoy the sizzle and aroma.
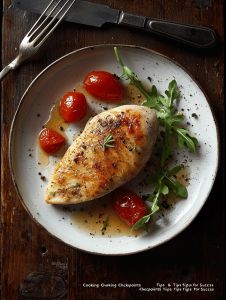
Cooking Checkpoints & Tips for Success
- Chicken should be opaque and firm but not rubbery.
- Look for a golden crust that’s not burnt, around 7 minutes per side.
- Use a digital thermometer—75°C (165°F) inside is perfect.
- The juices should run clear when you pierce the thickest part.
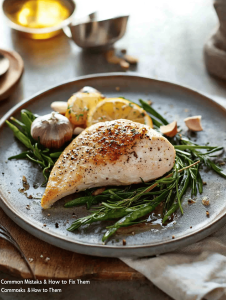
Common Mistakes & How to Fix Them
- Overcooking or high heat.? If chicken turns rubbery, lower heat and cook longer with lid on.
- Not using a thermometer.? If chicken is underdone, give it a few extra minutes on a lower temp.
- Insufficient searing.? If the crust isn’t crispy, bump the heat up for the last minute.
- Cutting into chicken too early.? If juices run pink, cook a bit longer to reach safe temp.
Perfect Searing Chicken Breasts
Ingredients
Equipment
Method
- Pat the chicken breasts dry with paper towels to ensure a good sear and season generously with salt, pepper, smoked paprika, and garlic powder on both sides.
- Heat the cast iron skillet over medium-high heat until it’s hot and starts to shimmer, about 2-3 minutes, with a faint smell of heating oil.
- Add the olive oil to the pan, swirling to coat the surface evenly, and listen for a gentle sizzle as the oil heats up.
- Place the chicken breasts in the pan, laying them away from you to avoid splashes, and let them cook undisturbed for 5-7 minutes until the edges turn golden and release easily from the pan.
- Flip each chicken breast using tongs, aiming for a deep golden brown crust, and cook for another 5 minutes on the second side, adjusting the heat if necessary.
- Insert a meat thermometer into the thickest part of each breast; once it reads 75°C (165°F), remove the chicken from the pan.
- Transfer the chicken to a plate, sprinkle with fresh herbs if using, and cover loosely with foil to rest for 5 minutes, allowing juices to redistribute.
- Squeeze fresh lemon over the rested chicken for a bright finish, then slice against the grain to serve.