These no-bake peanut butter bars are my secret weapon when I need something sweet and quick, especially after a long day. I love how they come together without any oven fuss—just a few simple ingredients and a little patience in the fridge. The best part? They taste like childhood in every chewy, peanutty bite.
There’s something about the simplicity of these bars that keeps me coming back. No fancy tools, no complicated steps—just a sturdy pan and a spoon. They’re perfect for last-minute cravings or when I want to bring a homemade treat to a gathering without breaking a sweat. Plus, the rich peanut butter aroma filling my kitchen is just unbeatable.
This recipe is inspired by my late-night snack cravings, where I wanted something quick, satisfying, and nostalgic. I love how the no-bake process keeps things simple and mess-free, perfect for those hectic days when I just need a sweet fix without turning on the oven. It’s my go-to treat for unexpected guests or when I need a comforting bite that comes together in minutes, reminding me of childhood afternoons spent sneaking bites of peanut butter from the jar.
The story behind this recipe
- This recipe came about during a night when I needed something quick, peanutty, and satisfying—no oven required. I remember rummaging through my pantry, grabbing whatever I had, and mixing it all up in a rush. The aroma of melting peanut butter and melting chocolate always takes me back to lazy weekends and childhood afternoons.
- I love how these bars are a bit chaotic—messy, a little gooey, but ultimately comforting. They’re my go-to when I’m craving something sweet that doesn’t demand much effort or time. Plus, every bite reminds me of simpler days, when a spoonful of peanut butter and a handful of chocolate chips could fix almost anything.
- heading: The story behind this recipe
Ingredient breakdown: key components
- Creamy peanut butter: I use a chunky variety for texture, but smooth works just fine. It’s the nutty aroma that makes these bars irresistible, so don’t skimp on quality here.
- Honey or corn syrup: Adds a sticky sweetness that binds everything together. If you prefer a less sweet treat, dial back a bit—just enough to keep the mixture from being crumbly.
- Graham cracker crumbs: I crush these until fine, but a few tiny bits give a nice crunch. If you’re out, crushed digestive biscuits can work as a substitute, adding a similar buttery flavor.
- Chocolate chips: I love semi-sweet for balance, but dark or milk chocolate can change the mood—darker for richness, milk for sweetness. Melted, they turn into a glossy, flavorful glaze.
- Butter: It’s the secret to that melt-in-your-mouth finish. Use unsalted to control salt levels, but a pinch of sea salt can enhance the peanut butter’s depth if you like.
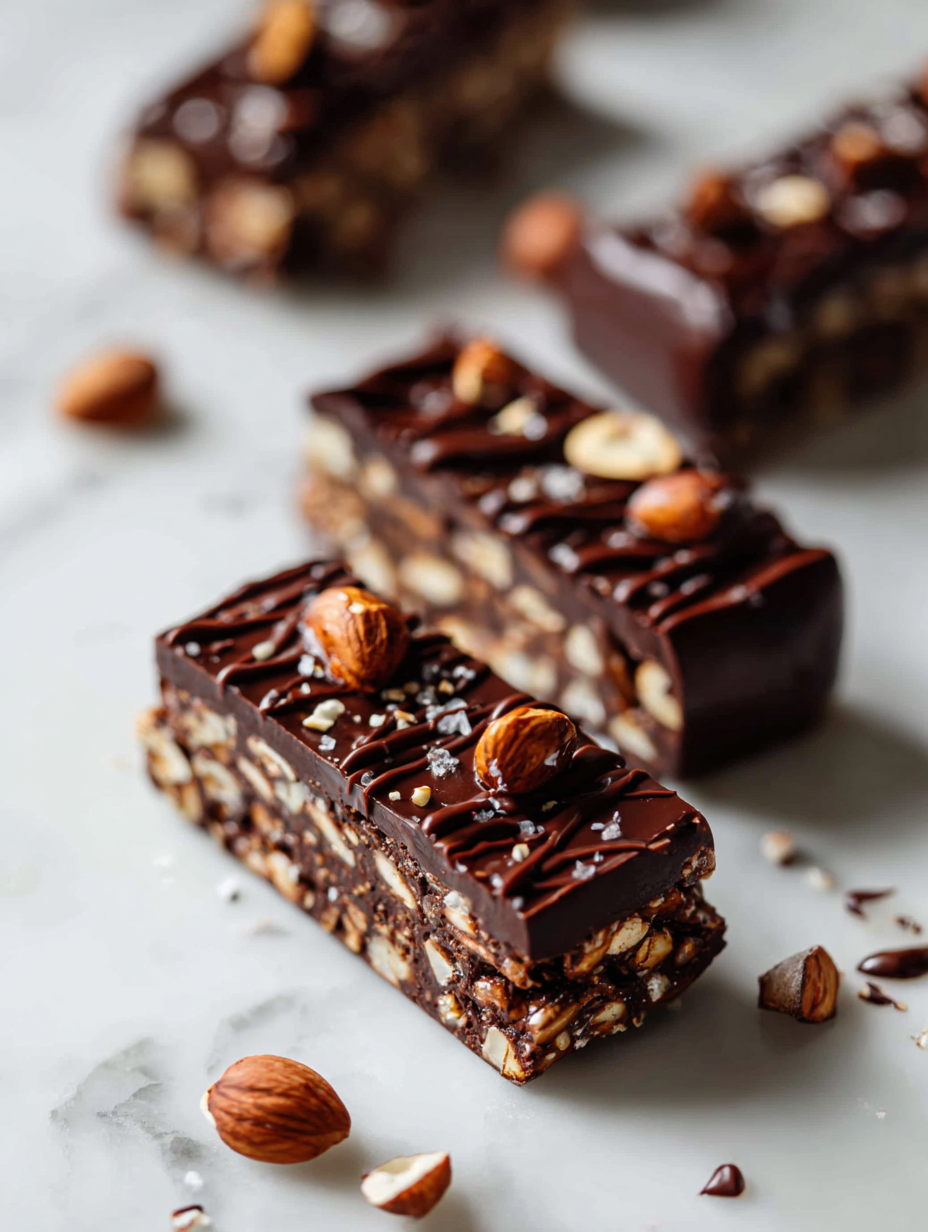
- Optional extras: A pinch of sea salt or a sprinkle of chopped peanuts on top can elevate the flavor, adding a salty crunch or a burst of nutty aroma. Play around and find your favorite combo.
Spotlight on key ingredients
Peanut Butter:
- Creamy peanut butter: I use a chunky variety for texture, but smooth works just fine. It’s the nutty aroma that makes these bars irresistible, so don’t skimp on quality here.
- Honey or corn syrup: Adds a sticky sweetness that binds everything together. If you prefer a less sweet treat, dial back a bit—just enough to keep the mixture from being crumbly.
- Chocolate chips: I love semi-sweet for balance, but dark or milk chocolate can change the mood—darker for richness, milk for sweetness. Melted, they turn into a glossy, flavorful glaze.
Graham Cracker & Butter:
- Graham cracker crumbs: I crush these until fine, but a few tiny bits give a nice crunch. If you’re out, crushed digestive biscuits can work as a substitute, adding a similar buttery flavor.
- Butter: It’s the secret to that melt-in-your-mouth finish. Use unsalted to control salt levels, but a pinch of sea salt can enhance the peanut butter’s depth if you like.
Notes for ingredient swaps
- Dairy-Free: Use coconut oil instead of butter for richness, but expect a slightly different melt and flavor profile.
- Sugar Substitutes: Swap honey with maple syrup or agave nectar for a different sweetness note and thinner consistency.
- Gluten-Free: Replace graham cracker crumbs with crushed gluten-free biscuits or rice cereal for crunch without gluten.
- Vegan: Use vegan peanut butter and dairy-free chocolate chips—expect a slightly different texture and flavor depth.
- Nut Variations: Almond or cashew butter can replace peanut butter, adding unique nuttiness and a different aroma.
- Sweetener: Brown sugar can replace honey for a deeper caramel note, but may affect stickiness and consistency.
- Chocolate: White chocolate or caramel chips can be used for a different flavor twist, but may melt differently and alter appearance.
Equipment & Tools
- 20cm (8-inch) square pan: Holds the mixture and shapes the bars
- Parchment paper: Ensures easy removal and clean edges
- Microwave-safe bowl: Melts peanut butter, honey, and chocolate evenly
- Spatula or spoon: Spreads and presses mixture and chocolate
- Sharp knife: Cuts the bars cleanly
Step-by-step guide to no-bake bars
- Equipment & Tools: Line a 20cm (8-inch) square pan with parchment paper for easy removal. Use a microwave-safe bowl for melting.
- In a microwave-safe bowl, combine 1 cup (250g) peanut butter and 1/2 cup (120ml) honey. Microwave in 30-second bursts, stirring until smooth. About 1-2 minutes total.
- Add 2 cups (200g) graham cracker crumbs to the peanut butter mixture. Mix well until evenly coated and slightly sticky.
- Pour the mixture into the prepared pan. Use a spatula or the back of a spoon to press it down firmly and evenly, about 2 minutes. The surface should be smooth and compact.
- Melt 1 cup (175g) chocolate chips in the microwave in 20-second bursts, stirring each time until fully melted and glossy. About 1 minute total.
- Spread the melted chocolate evenly over the pressed peanut butter mixture. Use a spatula or the back of a spoon to smooth out the top. Let the chocolate set for 10 minutes at room temperature, or 5 minutes in the fridge for faster setting.
- Once the chocolate is firm and shiny, carefully lift the bars out of the pan using the parchment paper. Place on a cutting board.
- Cut into 12 equal squares. For clean edges, wipe the knife with a warm cloth between cuts.
- Resting & Finishing: Store the bars in an airtight container in the fridge for up to a week. For a firmer texture, chill for at least 2 hours. Serve straight from the fridge for best chewiness and chocolate snap.
- Checkpoints & How to Know It’s Done: The chocolate should be glossy and set, not sticky. The bars should hold their shape when cut. The aroma of peanut butter and chocolate should be fragrant and inviting.
Chill the bars in the fridge at least 2 hours or until firm. Slice into squares and serve straight from the fridge for optimal texture and flavor.
How to Know It’s Done
- Chocolate is fully melted and glossy before spreading.
- Bars hold together when cut without crumbling.
- Chocolate topping is firm and shiny, not sticky.
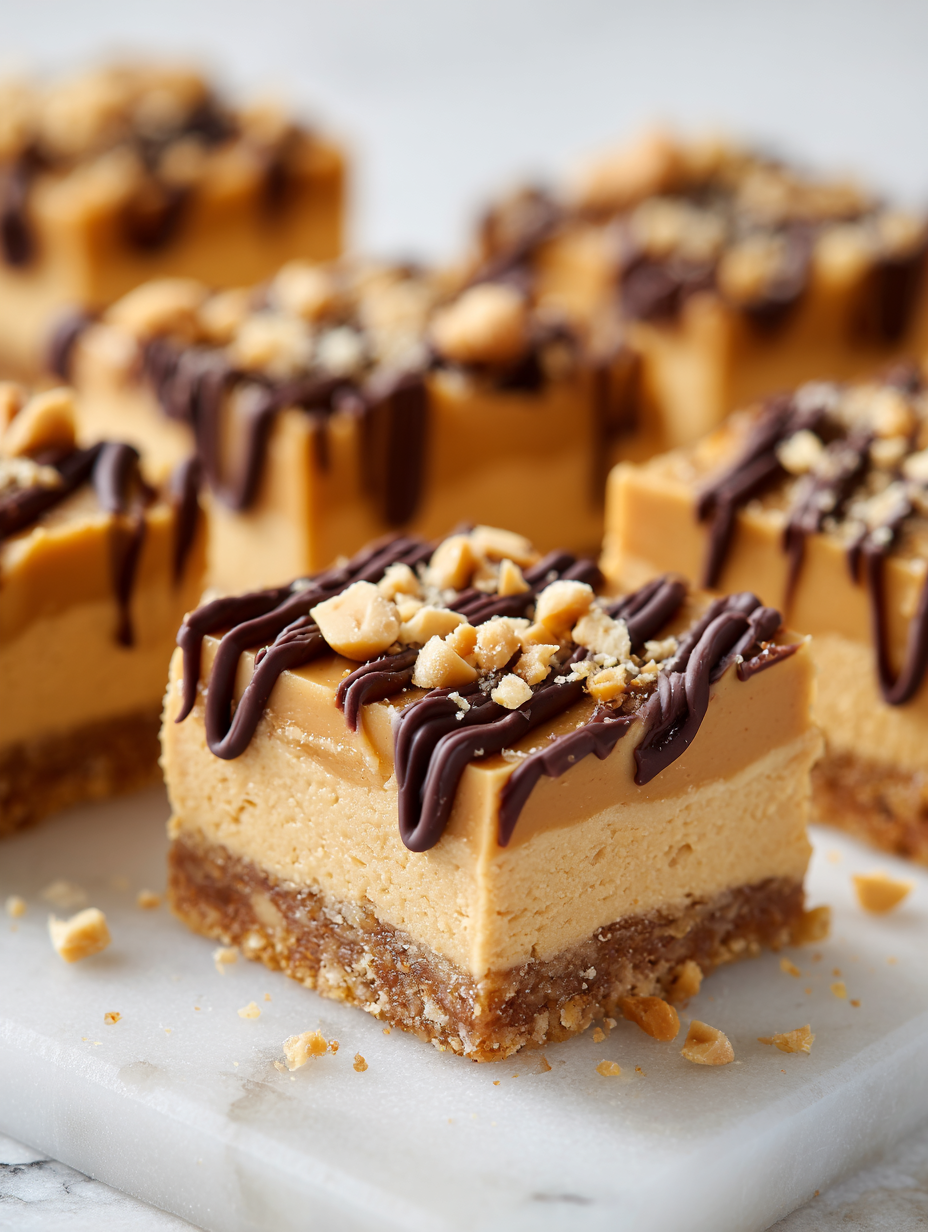
No-Bake Peanut Butter Bars
Ingredients
Equipment
Method
- Line your square pan with parchment paper to prevent sticking and make removal easy.
- In a microwave-safe bowl, combine the peanut butter and honey. Microwave in 30-second bursts, stirring well each time, until the mixture is smooth and fragrant—about 1-2 minutes total.
- Add the crushed graham cracker crumbs to the melted mixture. Stir thoroughly until everything is evenly coated and the mixture is sticky.
- Pour the peanut butter mixture into your prepared pan. Use a spatula or the back of a spoon to press it down firmly and evenly, creating a compact layer.
- In the same bowl, melt the chocolate chips with the tablespoon of butter. Microwave in 20-second bursts, stirring each time until the mixture is glossy and smooth—about 1 minute total.
- Spread the melted chocolate evenly over the pressed peanut butter layer using a spatula. Gently tap the pan to settle the chocolate and help it spread smoothly.
- Let the bars sit at room temperature for about 10 minutes, or place in the fridge for 5 minutes, until the chocolate is set and glossy.
- Once firm, lift the whole block out of the pan using the parchment paper and place on a cutting board.
- Use a sharp knife to cut into 12 even squares. Wipe the knife with a warm cloth between cuts for clean edges.
- Arrange the bars on a plate or store them in an airtight container in the fridge. Serve straight from the fridge for a chewy, chocolatey treat.
Pro tips for perfect bars
- Bolded mini-head: Use room temperature peanut butter for easier mixing and a smoother texture.
- Bolded mini-head: Melt chocolate slowly over low heat or in short bursts in the microwave to avoid burning and achieve glossy smoothness.
- Bolded mini-head: Press mixture firmly into the pan to compact and prevent crumbly bars when sliced.
- Bolded mini-head: Chill the bars thoroughly—at least 2 hours—to ensure they hold their shape and chocolate sets properly.
- Bolded mini-head: Wipe your knife with a warm cloth between cuts for clean, neat edges without crumbling.
- Bolded mini-head: For a shiny finish, let the melted chocolate cool slightly before spreading over the peanut butter layer.
- Bolded mini-head: If the chocolate cracks when spreading, gently warm it for a few seconds to restore smoothness.
Common mistakes and how to fix them
- FORGOT to chill? Rest in fridge for 2 hours to set properly.
- DUMPED in hot chocolate? Let melted chocolate cool slightly before spreading.
- OVER-TORCHED chocolate? Use low heat and stir constantly to prevent burning.
- MISSED the parchment? Use foil or non-stick pan to prevent sticking.
Quick fixes and pantry swaps
- When mixture is too dry, splash in a teaspoon of hot water and stir until smooth.
- If bars are crumbly, patch with a bit more melted chocolate to bind better.
- Splash cold milk on melted chocolate if it seizes or thickens too much.
- When chocolate cracks when spreading, shield with a warm spoon for a smoother top.
- DUMPED in over-melted chocolate? Rescue by stirring in a teaspoon of coconut oil for shine.
Make-Ahead and Storage Tips
- Prep the mixture ahead by measuring and combining ingredients; it firms up nicely in the fridge, making assembly quicker later.
- Store the assembled bars in an airtight container in the fridge for up to one week; the cool environment preserves freshness and keeps chocolate firm.
- For longer storage, freeze the bars wrapped tightly in plastic wrap and in a sealed container—best enjoyed within a month for optimal texture.
- Reheat slices briefly in the microwave at 10-15 seconds if you prefer slightly softer chocolate; the aroma of melting chocolate will tell you when it’s ready.
- Allow frozen or refrigerated bars to come to room temperature for 5-10 minutes before serving to enhance flavor and texture.
Top questions about no bake peanut butter bars
1. Can I use crunchy peanut butter?
Yes, using natural or crunchy peanut butter will give a different texture, but it still works well.
2. Can I make these with melted chocolate instead of chips?
Absolutely. Just melt the chocolate chips gently and spread quickly to avoid seizing.
3. How long do I need to chill the bars?
Yes, refrigerate for at least 2 hours to let the bars set properly before slicing.
4. What if I don’t have honey?
You can substitute honey with maple syrup, but expect a slightly different sticky consistency and flavor.
5. Can I swap peanut butter for other nut butters?
Using almond or cashew butter changes the flavor but keeps the texture rich and satisfying.
6. Why does my chocolate crack when I spread it?
To prevent cracking, warm the chocolate slightly before spreading, but avoid overheating.
7. How long do these bars keep?
Store bars in an airtight container in the fridge for up to a week for optimal freshness.
8. My mixture is crumbly, what can I do?
If your mixture is too crumbly, add a tiny splash of hot water or more peanut butter to loosen it.
9. How do I prevent sticking when removing the bars?
Use parchment paper to lift the bars easily and keep edges neat when slicing.
10. Should I serve these cold or at room temperature?
For a softer, more melty experience, let the bars sit at room temperature for 10 minutes before serving.
These bars are the kind of treat that sneaks up on you—rich, peanutty, with that glossy chocolate finish. They remind me of lazy afternoons and spontaneous gatherings, all without breaking a sweat in the kitchen.
When I make these, I’m often surprised at how simple ingredients come together into something so satisfying. No oven, no fuss, just a few minutes of prep and patience in the fridge. That smell of peanut butter and chocolate filling my space is a little reminder to keep things uncomplicated and real.