These no bake marshmallow bars aren’t just a treat; they’re a little piece of childhood that you can whip up whenever you need a quick dose of nostalgia. There’s something about that sticky, sweet marshmallow stretch combined with crunchy cereal that instantly transports me back to afternoons spent in my grandma’s kitchen, sticky fingers and all. It’s a simple recipe, but it’s packed with memories and comfort, making it more than just a snack.
I love how these bars come together with minimal fuss—no oven required, just a sturdy pot and a good spatula. The best part? They’re practically foolproof, forgiving enough to toss together on a hectic day, yet satisfying enough to bring a smile to anyone’s face. Sometimes the simplest treats hold the most power, especially when they’re made with love and a little bit of chaos from the kitchen.
Focusing on the nostalgic power of childhood treats, this recipe emphasizes how simple ingredients and quick assembly can evoke memories of carefree afternoons and family gatherings, making it feel like a warm, edible hug.
The story behind this recipe
- This recipe came from a lazy afternoon in my childhood kitchen, where I’d watch my mom throw together these bars when she needed a quick sweet fix. The smell of melting marshmallows and toasted cereal always made the house feel warm, even on the coldest days. I’ve tweaked her method over the years, but that simple, no-fuss magic remains the same.
- It’s one of those recipes that feels like a hug—messy, sweet, and a little bit chaotic, just like childhood itself. When I make these now, I’m transported back to those carefree afternoons, sticky fingers and all, reminding me that sometimes the simplest treats are the most meaningful.
- heading
- story_type
Key ingredients and tips
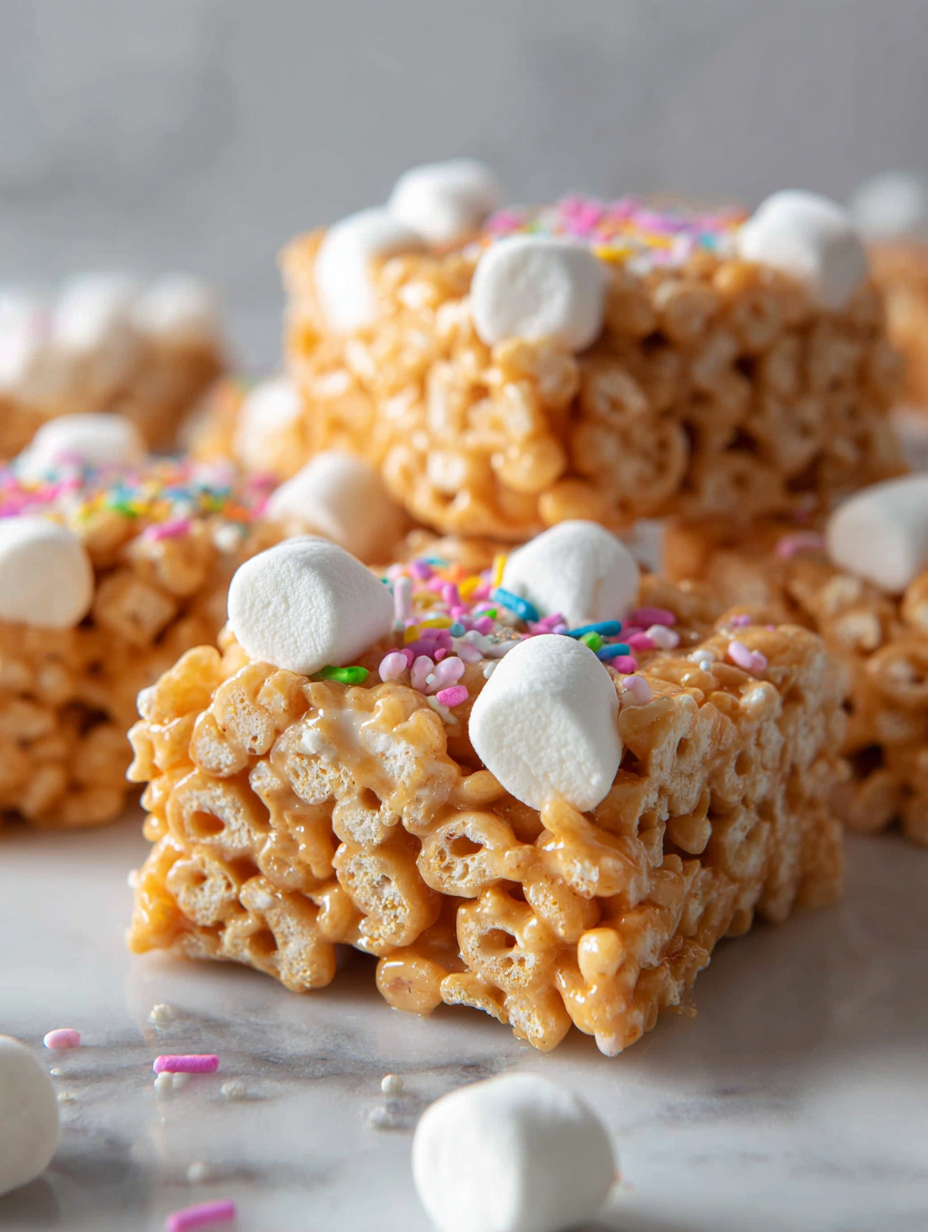
- Marshmallows: I use classic white marshmallows for that oozy, sticky melt that holds everything together—skip the mini ones if you want a gooey texture, but don’t stray too far from the original, or it’ll change the whole vibe.
- Butter: I melt butter slowly to keep it silky and smooth, giving the bars that rich, buttery aroma. If you’re dairy-free, a neutral oil won’t quite give the same depth but works in a pinch.
- Cereal: I love using crispy rice cereal for that crunch—make sure it’s fresh and not stale, or it’ll turn soggy faster. For a nutty twist, try adding a handful of toasted walnuts or pecans.
- Vanilla extract: Just a splash brightens everything up and enhances the marshmallow’s sweetness. If you’re out, a tiny bit of almond extract can add a different but lovely aroma.
- Salt: A pinch of salt balances the sweetness and makes the flavors pop—don’t skip it, even if you’re tempted to keep it purely sweet. Fine sea salt flakes sprinkle beautifully on top.
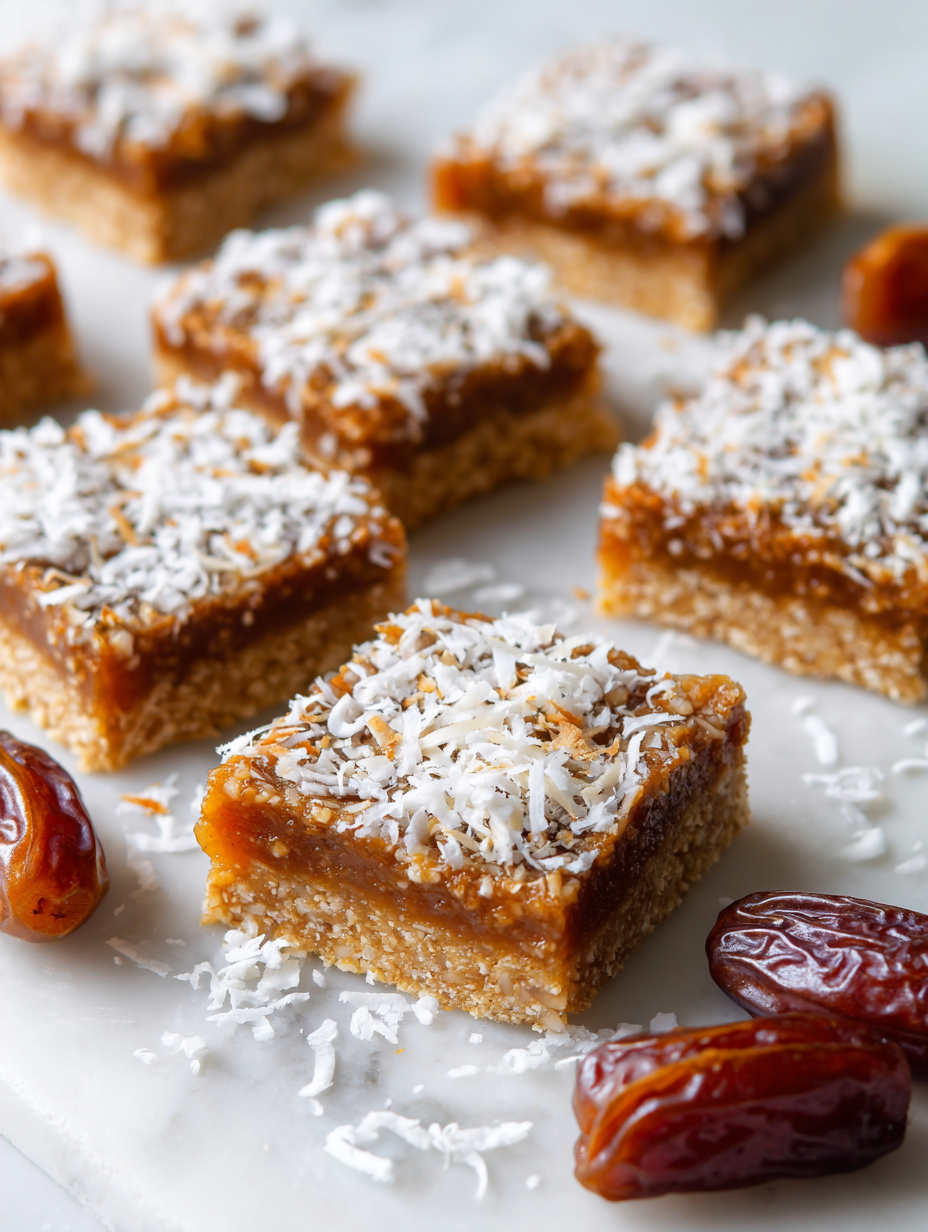
- Optional add-ins: Dried fruit, chocolate chips, or sprinkles can make these bars special. Add them after melting everything together, so they stay visible and vibrant.
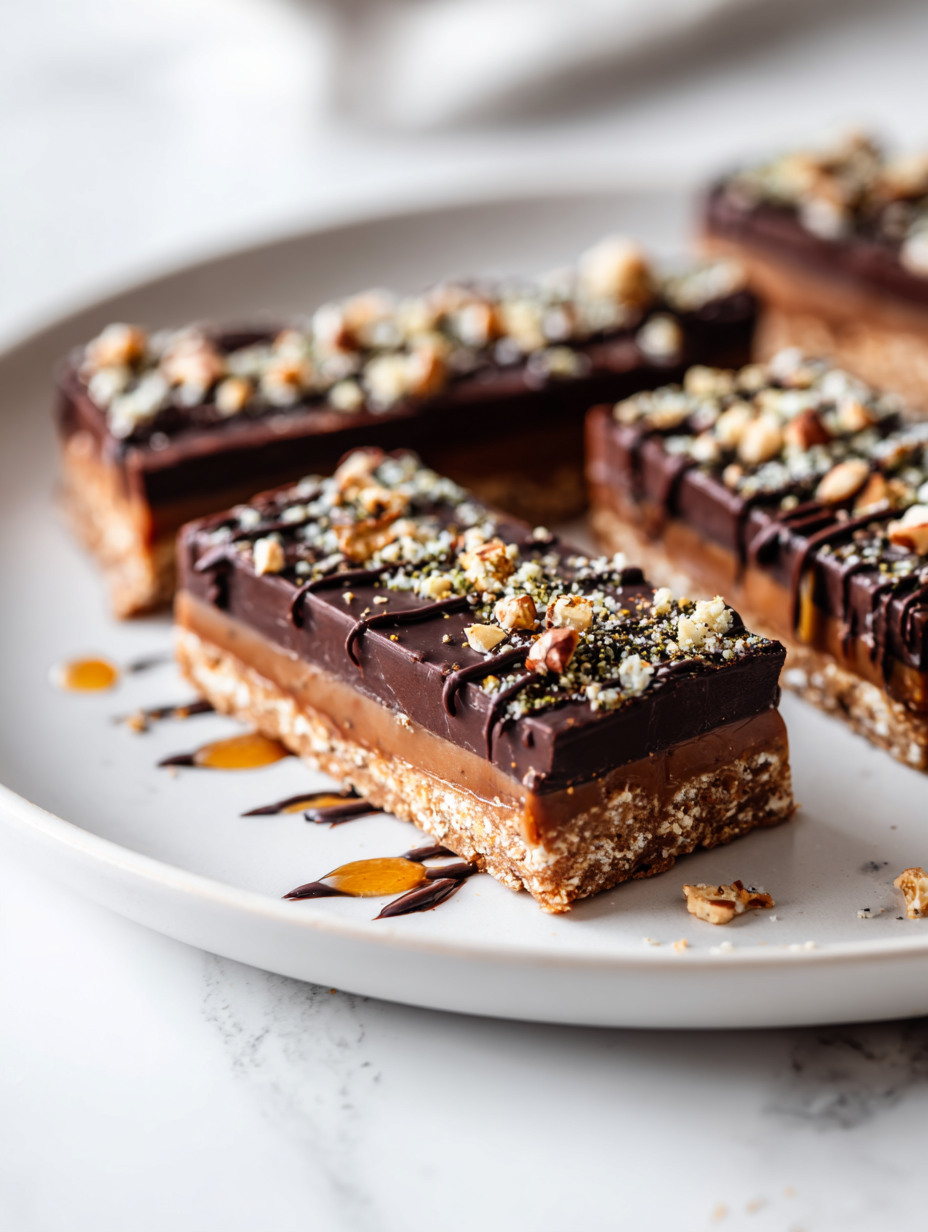
- Optional toppings: A drizzle of dark chocolate or a sprinkle of crushed graham crackers can elevate the look and flavor—use sparingly, so it doesn’t overpower the marshmallow punch.
Spotlight on key ingredients
Marshmallows:
- I use classic white marshmallows for that oozy, sticky melt that holds everything together—skip the mini ones if you want a gooey texture, but don’t stray too far from the original, or it’ll change the whole vibe.
- Butter: I melt butter slowly to keep it silky and smooth, giving the bars that rich, buttery aroma. If you’re dairy-free, a neutral oil won’t quite give the same depth but works in a pinch.
Cereal:
- I love using crispy rice cereal for that crunch—make sure it’s fresh and not stale, or it’ll turn soggy faster. For a nutty twist, try adding a handful of toasted walnuts or pecans.
- ingredient
- Cereal
Notes for ingredient swaps
- Dairy-Free: Use coconut oil instead of butter for richness, though it may add a slight coconut aroma.
- Vegan Marshmallows: Swap traditional marshmallows for plant-based versions; expect a different melt and slightly less gooey texture.
- Cereal: Whole grain or gluten-free cereals work, but the crunch and flavor will change—try toasted oats for nutty depth.
- Sweeteners: Honey or agave syrup can replace marshmallows in a pinch, but the texture will be chewier and less sticky.
- Flavor Boost: Add a pinch of cinnamon or nutmeg to the melted marshmallow mixture for a cozy twist.
- Add-ins: Chopped nuts or dried fruits can replace chocolate chips or sprinkles—more texture, less sweetness.
- Toppings: Drizzle with dark chocolate or caramel for extra richness—use sparingly to avoid overwhelming the marshmallow flavor.
Equipment & Tools
- Large saucepan: Melting butter and marshmallows evenly
- Spatula: Stirring mixture and pressing into the pan
- 9×13 inch baking dish: Holding and setting the bars
- Parchment paper: Easing removal and cleanup
Guide to No Bake Marshmallow Bars
- Gather your equipment: a large saucepan, a spatula, a 9×13 inch baking dish, and parchment paper. Line the dish with parchment for easy removal.
- In the saucepan, melt 4 tablespoons of butter over low heat. Stir occasionally, about 2 minutes, until melted and slightly bubbling.
- Add 10 cups of marshmallows to the melted butter. Stir constantly on low heat, about 3-4 minutes, until marshmallows are fully melted and smooth. Smell that sweet, toasted marshmallow aroma.
- Remove from heat. Quickly stir in 6 cups of crispy rice cereal and 1 teaspoon of vanilla extract. Mix until evenly coated, about 1-2 minutes. The cereal should be shiny and sticky.
- Transfer the mixture to your prepared dish. Use a spatula or wax paper to press it evenly into the pan. Don’t compress too hard, keep it a little fluffy on top.
- Let it sit at room temperature for at least 30 minutes. This allows the bars to set and firm up. If you’re in a rush, refrigerate for 20-25 minutes—just watch the edges for a slight shine.
- Once set, cut into squares with a sharp knife. Wipe the blade clean between cuts for neat edges. Check the texture — it should hold its shape but still be chewy.
- Serve immediately or store in an airtight container. For a firmer texture, refrigerate for an hour before slicing. These bars are best enjoyed within 3 days.
Allow the bars to cool and set at room temperature for at least 30 minutes. Slice into squares with a sharp knife and serve immediately or store in an airtight container. For cleaner cuts, refrigerate for 20-25 minutes before slicing.
How to Know It’s Done
- Marshmallow mixture is smooth and glossy before adding cereal.
- Even pressure during pressing creates a uniform surface without cracks.
- Bars hold shape but are still chewy and moist after setting.
No Bake Marshmallow Cereal Bars
Ingredients
Equipment
Method
- Line your 9x13 inch baking dish with parchment paper, leaving some overhang for easy removal.
- In a large saucepan, melt the butter over low heat until it’s silky and bubbling gently, filling your kitchen with a warm, buttery aroma.
- Add the marshmallows to the melted butter, stirring constantly with the spatula. Watch as they melt into a sticky, glossy mixture, releasing a sweet, toasted scent, about 3-4 minutes.
- Remove the saucepan from heat and quickly stir in the vanilla extract, mixing until fragrant and well combined.
- Immediately add the crispy rice cereal to the marshmallow mixture, folding gently with the spatula until the cereal is evenly coated and the mixture is shiny and sticky.
- Pour the mixture into your prepared dish and use the spatula or wax paper to press it evenly into the pan, smoothing the top without compressing too hard.
- Let the bars sit at room temperature for about 30 minutes, allowing them to set and develop a glossy, golden finish. For quicker setting, refrigerate for 20-25 minutes.
- Once set, lift the bars out of the dish using the parchment overhang and transfer to a cutting board. Use a sharp knife to cut into squares, wiping the blade clean between cuts for neat, straight edges.
- Serve immediately for the best chewy texture or store in an airtight container at room temperature for up to three days. For cleaner slices, refrigerate for 10-15 minutes before serving.
Pro tips for perfect bars
- Use fresh marshmallows for maximum stretch and gooeyness, avoiding stale ones that won’t melt smoothly.
- Melt butter and marshmallows slowly over low heat to prevent scorching and maintain a silky texture.
- Press the mixture firmly into the pan for even layers—use wax paper or a spatula for consistent pressure.
- Mix cereal quickly after adding marshmallows to avoid clumping and ensure even coating.
- Chill the bars in the fridge for at least 30 minutes to set properly and make slicing cleaner.
- Wipe your knife clean between cuts to prevent sticking and get neat, straight edges.
- For a glossy finish, lightly spray the top with a bit of cooking spray before slicing, if desired.
Common mistakes and how to fix them
- FORGOT to set a timer → Check doneness by texture and appearance.
- DUMPED too much marshmallow → Use the recommended amount for proper consistency.
- OVER-TORCHED mixture → Remove from heat immediately to prevent burning flavor.
- MISSED pressing evenly → Use firm pressure for uniform bars, avoid gaps or cracks.
Quick fixes and pantry swaps
- If marshmallow mixture is too stiff, splash in a tiny bit of warm water to loosen it.
- When bars are sticky and won’t cut cleanly, patch the edges with a warm knife for neater slices.
- Splash a few drops of oil on the knife if marshmallow sticks during slicing.
- When bars are too soft, refrigerate for 15-20 minutes to firm up before cutting.
- Shield your hands with a spatula if the mixture is too hot and sticky during pressing.
Prep, store, and reheat tips
- You can prepare the marshmallow mixture and press it into the pan a day ahead; cover tightly and chill in the fridge. The texture firms up slightly, making slicing easier later.
- Store the bars in an airtight container at room temperature for up to 3 days. The marshmallows stay chewy, and the cereal keeps its crunch if eaten fresh.
- For longer storage, refrigerate for up to a week. The bars will become slightly firmer and the marshmallow might lose some softness, so let them sit at room temp for 10 minutes before serving.
- Reheat slightly in the microwave for 10-15 seconds if you want the marshmallow to become gooey again. Watch for melting and smell that sweet, toasted aroma. Don’t overdo it—just enough to soften.
Top questions about marshmallow bars
1. Can I make these vegan?
Yes, using vegan marshmallows works well, but expect a slightly less gooey texture.
2. How long do they last?
Store them in an airtight container at room temperature for up to 3 days, or refrigerate for longer freshness.
3. Can I add chocolate topping?
Yes, just melt the chocolate separately and drizzle or spread over the cooled bars for a richer flavor.
4. Can I substitute the cereal?
Use crispy rice cereal for crunch, but Chex or cornflakes can work if you prefer different textures.
5. Can I change the pan size?
Yes, you can press mixture into a smaller or larger dish, but the thickness and texture may vary.
6. Should I add salt?
Adding a pinch of salt enhances sweetness and balances flavors—skip if you prefer a purely sweet treat.
7. How do I make cuts cleaner?
Refrigerate for 20-25 minutes to firm up before slicing, which helps prevent crumbling.
8. My mixture is too sticky, what now?
If mixture is too sticky, lightly spray your hands or spatula with cooking spray for easier pressing.
9. Can I use marshmallow fluff?
You can swap marshmallows with toasted marshmallow fluff for a different but still marshmallowy texture.
10. Can I customize with extras?
Add-ins like chopped nuts or dried fruit can be stirred in after melting, for extra texture and flavor.
These marshmallow bars aren’t just a quick fix, they’re a nostalgic reminder of simpler times when sweetness was just a stir away. Making them often brings back memories of childhood chaos and quiet afternoons alike, a little messy but always comforting. Sometimes, it’s the easiest recipes that hold the most meaning in a busy life.
Whenever you need a sweet escape or a no-fuss treat, these bars are there—crunchy, gooey, and full of memories. They’re a reminder that good things don’t need to be complicated, just honest and made with a little bit of chaos from the kitchen. That’s what makes them special, every single time.