This no bake chocolate oat cookies recipe takes me straight back to childhood afternoons spent in the kitchen, hands sticky with melted chocolate and oats. It’s a simple fix, especially when the oven’s out of commission or I need something sweet in a flash. There’s no fuss, just a handful of ingredients coming together into this fudgy, chewy treat that’s honestly more about nostalgia than perfection.
I’ve always loved how these cookies manage to be both indulgent and practically effortless. No baking means fewer dishes and less waiting, perfect for those moments when I need a quick sugar hit or want to share a batch with my family without heating up the house. It’s one of those recipes that feels like a little secret—something you can whip up anytime, with ingredients you usually have lying around.
Focusing on the nostalgic comfort of childhood treats that require no baking, perfect for a quick fix when the oven’s busy or broken.
A Childhood Comfort Revisited
- Making these cookies always takes me back to my grandma’s kitchen, where the smell of melting chocolate filled the air.
- I love how forgiving this recipe is—no oven, no fuss, just a spoon and a moment of quiet satisfaction.
- There’s a chaotic joy in mixing warm cocoa with oats, watching it turn into something fudgy and almost too easy.
- Sharing a batch of these always sparks a rush of pride—simple ingredients, instant gratification, and that chewy, chocolatey bite.
A Childhood Comfort Revisited
This recipe came from a lazy afternoon craving that needed something sweet and quick. I remembered how my mom used to whip up these cookies without turning on the oven—an easy, messy, and satisfying way to get that chocolate fix. Over the years, it’s become my go-to for a no-fuss treat that’s more about memories than perfection. Every batch feels like a little act of nostalgia, a reminder that sometimes, simple ingredients make the best comfort food.
Historical and Cultural Roots
- These cookies likely emerged during wartime shortages, where simplicity and minimal ingredients were key.
- The no-bake method became popular in the mid-20th century as a quick, energy-boosting treat for busy households.
- Many variations exist worldwide, with some adding peanut butter or coconut, reflecting regional pantry staples.
- They’ve maintained popularity because they’re a nostalgic comfort, easy to make, and require no oven—perfect for summer or limited kitchens.
- Historically, recipes like this were passed down through families, often tweaked based on what was available in the moment.
Ingredient breakdown: key components
- Cocoa powder: I love how it gives that deep, smoky richness. Make sure to sift it to avoid lumps, or your cookies might end up gritty.
- Rolled oats: They bring that chewy, hearty texture. For a softer cookie, try quick oats—just be mindful they can break down more during mixing.
- Sugar: I prefer brown sugar for a molasses undertone that adds warmth, but white sugar makes it a little brighter and crisper.
- Butter: It’s the fatty glue that keeps everything together. Use good quality butter for a richer flavor, or coconut oil for a dairy-free twist.
- Milk: I use whole milk for creaminess, but almond milk or other plant-based milks work if you want dairy-free or lighter cookies. Just watch the moisture content.
- Vanilla extract: Adds a subtle warmth and depth. Don’t skip it; it ties all the flavors together with a hint of sweetness.
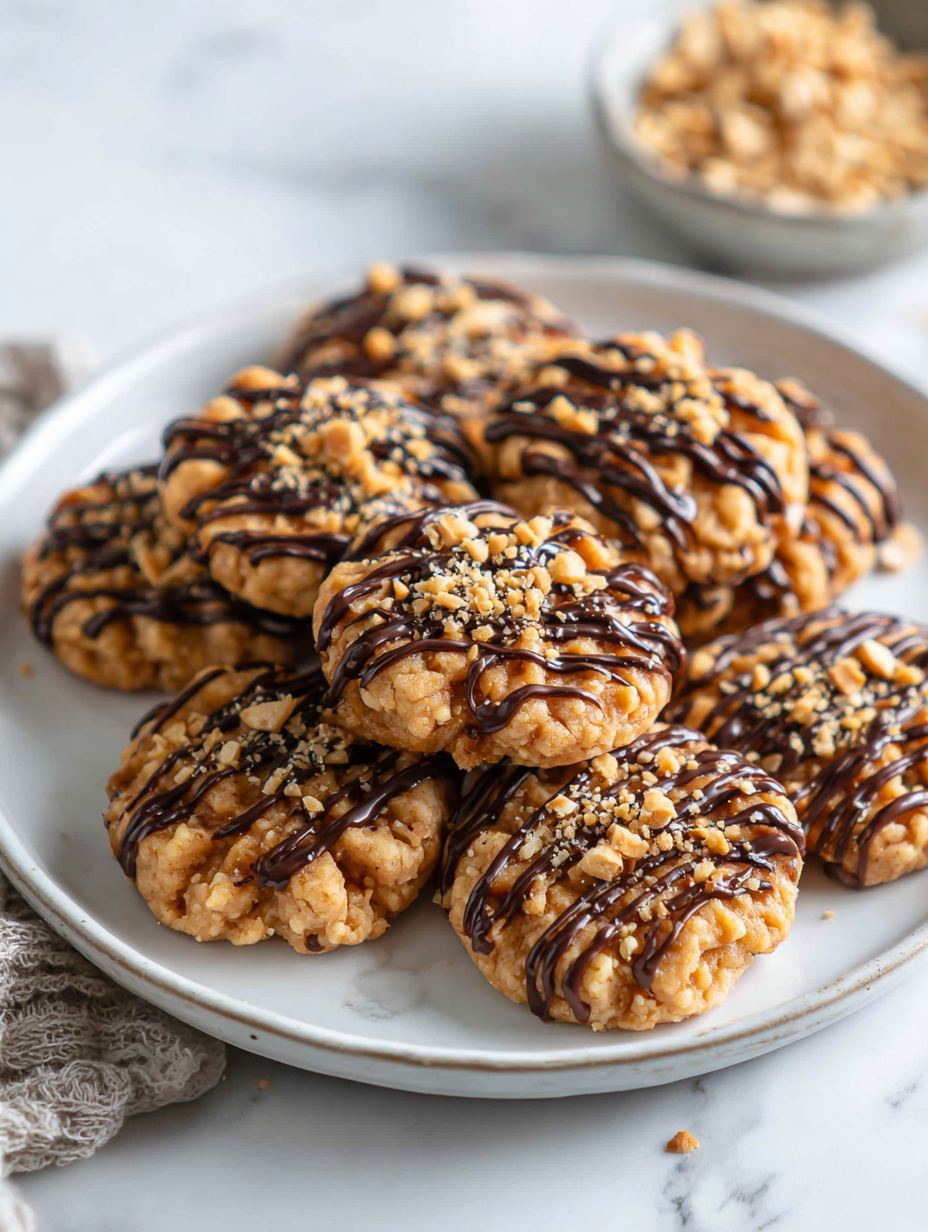
- Optional add-ins: Nuts, dried fruit, or even a sprinkle of sea salt on top—these can elevate your cookies with contrasting textures and flavors.
Spotlight on key ingredients
Cocoa powder:
- I love how it gives that deep, smoky richness. Make sure to sift it to avoid lumps, or your cookies might end up gritty.
- Rolled oats: They bring that chewy, hearty texture. For a softer cookie, try quick oats—just be mindful they can break down more during mixing.
- Sugar: I prefer brown sugar for a molasses undertone that adds warmth, but white sugar makes it a little brighter and crisper.
Rolled oats:
- These add a chewy, substantial bite. They swell slightly as they set, giving the cookie that signature texture.
- They behave differently depending on whether you use old-fashioned or quick oats—quick oats make a softer, more uniform cookie.
- Their nutty aroma when toasted lightly before mixing can really boost flavor and add a toasty depth.
Notes for ingredient swaps
- Dairy-Free: Swap butter for coconut oil or a neutral-flavored vegetable oil. Expect a slightly different richness and a softer set.
- Sweeteners: Use honey or maple syrup instead of sugar. These add moisture and a distinct flavor, but may alter the setting slightly.
- Oats: Replace rolled oats with quick oats for a softer, more uniform texture. Keep in mind they might break down more during mixing.
- Milk: Almond, soy, or oat milk can replace dairy milk. They bring a nuttier or brighter note but could slightly change the firmness.
- Cocoa Powder: Dutch-process cocoa offers a mellower, less acidic taste. Natural cocoa gives a brighter, more intense chocolate flavor.
- Add-ins: Nuts or dried fruit can be omitted or substituted with seeds or mini chocolate chips. These add texture and contrast.
- Flavor Enhancers: A pinch of sea salt or a splash of espresso can deepen chocolate flavor. Adjust to taste for balance.
Equipment & Tools
- medium saucepan: to melt and combine the ingredients gently
- spoon or spatula: for stirring and mixing the hot mixture
- parchment paper: to prevent sticking and for easy cleanup
- baking sheet or flat surface: to set the cookies as they cool
Step-by-step guide to no bake cookies
- Gather your equipment: a medium saucepan, a spoon or spatula, parchment paper, and a baking sheet or flat surface for setting the cookies.
- Combine ingredients: in the saucepan, mix 1/2 cup (115g) butter, 2 cups (150g) sugar, 1/2 cup (45g) cocoa powder, and 1/2 cup (120ml) milk. Heat over medium, stirring gently.
- Bring to a boil: let the mixture bubble gently for about 1 minute, until it’s shiny and slightly thickened. Smell that rich chocolate aroma filling the air.
- Remove from heat: once boiling, take the pan off the stove. Add 1 teaspoon vanilla extract and 3 cups (240g) rolled oats. Stir quickly to combine, ensuring oats are evenly coated.
- Test the mixture: it should be thick, fudgy, and slightly shiny. If it’s too runny, give it another 30 seconds on low heat. Too stiff? Add a splash of milk.
- Scoop and shape: using a spoon or cookie scoop, drop dollops onto parchment paper-lined surface. Flatten slightly if you prefer a cookie shape.
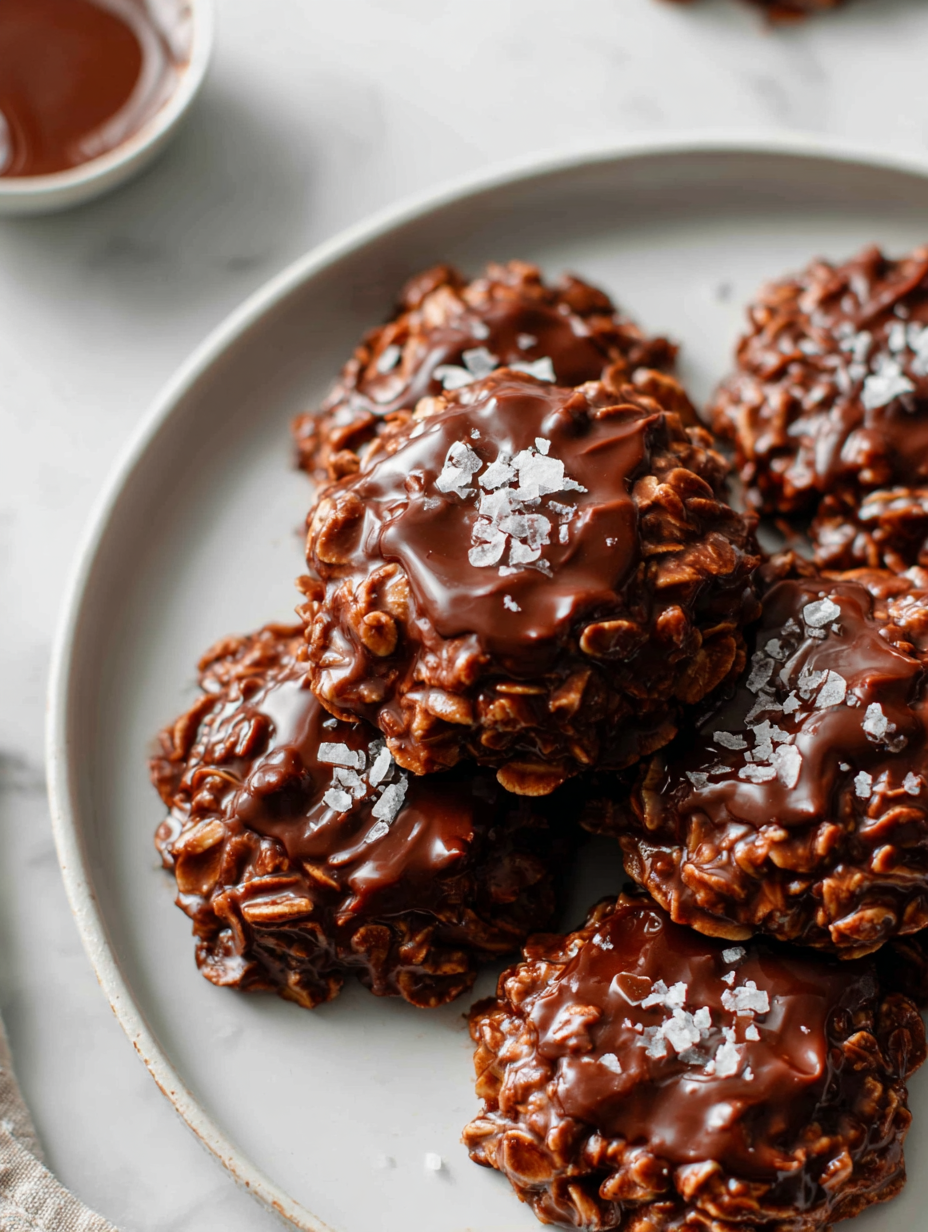
- Let cool and set: leave the cookies undisturbed at room temperature for at least 30 minutes. They’ll firm up as they cool, developing that chewy, fudgy texture.
- Final check: the cookies should be firm enough to hold shape but still chewy when bitten. They’ll crackle slightly on the outside and stay soft inside.
- Store: once cooled, transfer to an airtight container. Keep at room temp for up to 3 days, or refrigerate for a week. For longer storage, freeze them wrapped tightly.
Allow the cookies to cool completely at room temperature before handling. Serve once firm and set. For best texture, store in an airtight container at room temperature or fridge.
How to Know It’s Done
- Cookie surface should be matte with slight cracks, indicating firmness.
- When pressed gently, cookies should feel chewy but hold their shape.
- A quick taste test should reveal rich chocolate flavor with a hint of oats.
No Bake Chocolate Oat Cookies
Ingredients
Equipment
Method
- Gather your equipment: a medium saucepan, a spoon or spatula, parchment paper, and a baking sheet or flat surface for setting the cookies.
- Combine butter, sugar, and cocoa powder in the saucepan, then place over medium heat. Stir gently as the mixture begins to melt, filling your kitchen with a rich chocolate aroma.
- Bring the mixture to a gentle boil, stirring constantly. Let it bubble for about 1 minute until it’s shiny and slightly thickened, then remove from heat.
- Stir in the vanilla extract, then quickly add the rolled oats. Mix vigorously to coat all the oats evenly with the chocolate mixture—this creates a thick, fudgy dough.
- Once combined, use a spoon or cookie scoop to drop dollops of the mixture onto parchment-lined baking sheet. Slightly flatten each mound with the back of the spoon if you prefer a flatter cookie.
- Allow the cookies to cool at room temperature for at least 30 minutes, giving them time to firm up and develop that chewy, fudgy texture.
- Once set, enjoy these indulgent, nostalgic treats—perfect for sharing or savoring on your own. Store leftovers in an airtight container at room temperature for up to 3 days.
Tips & Tricks for Perfect Cookies
- Bolded Mini-Head: Sift cocoa powder → Prevent lumps and ensure smooth, velvety chocolate flavor.
- Bolded Mini-Head: Use fresh oats → They absorb moisture better and stay chewier, adding nice bite.
- Bolded Mini-Head: Adjust sweetness → Taste the mixture before scooping; add more sugar if needed for balance.
- Bolded Mini-Head: Keep heat moderate → Boil gently for 1 minute to avoid a grainy texture or burnt flavor.
- Bolded Mini-Head: Chill if too sticky → Refrigerate the mixture briefly if it’s too soft for easy scooping and shaping.
- Bolded Mini-Head: Flatten cookies slightly → Press down on scoops for more uniform shape and faster setting.
- Bolded Mini-Head: Use parchment paper → Keeps cookies from sticking and makes cleanup effortless.
Common mistakes and how to fix them
- FORGOT to stir continuously → Stir well to prevent burning and lumps.
- DUMPED in all ingredients at once → Add ingredients gradually for even mixing.
- OVER-TORCHED mixture → Remove from heat immediately to avoid bitter flavor.
- MISREAD boiling time → Boil for exactly 1 minute to set proper texture.
Quick fixes and pantry swaps
- When mixture is too sticky → Splash in a little more milk and stir until smooth.
- If cookies crack while cooling → Patch with a tiny dollop of melted chocolate for seamless finish.
- Splash cold water on your spoon → Makes scooping easier when mixture is too thick.
- DUMPED in too much sugar → Fix with a splash of hot water, stir, and re-test consistency.
- Over-torched mixture → Shield from heat immediately and stir in a splash of milk to mellow bitterness.
Prep, store, and reheat tips
- You can prepare the cookie mixture a day in advance; keep it covered in the fridge. The chocolate aroma will deepen overnight.
- Store the finished cookies in an airtight container at room temperature for up to 3 days, or in the fridge for a week. They get chewier and more fudgy over time.
- Refrigerate for longer storage; let come to room temp for about 10 minutes before serving to restore softness and aroma.
- If the cookies feel too firm after refrigeration, briefly microwave at medium power (about 10 seconds) until just softened, then enjoy that rich, melted chocolate scent.
FAQs about No Bake Chocolate Oat Cookies
1. Can I use natural cocoa instead of Dutch-process?
Yes, using natural cocoa powder can make the flavor brighter and slightly more acidic, so adjust the sugar accordingly for balance.
2. Can I substitute dairy milk with plant-based milk?
Absolutely. Using almond or other plant-based milks will give a nuttier or brighter flavor, but the texture might be slightly softer.
3. My cookies are too soft, what’s wrong?
If your mixture isn’t setting properly, try refrigerating it for 15-20 minutes. It firms up faster and becomes easier to shape.
4. How do I prevent the cookies from becoming tough?
Over-mixing can make them dense. Mix just until ingredients are combined to keep the cookies chewy and light.
5. Can I add other ingredients like nuts or dried fruit?
Yes, you can add chopped nuts, dried fruit, or mini chocolate chips to customize your batch. Just fold them in after mixing.
6. How long should I boil the mixture?
Keep the mixture at a gentle boil for exactly 1 minute to ensure proper setting and avoid a grainy texture.
7. Should I use rolled oats or quick oats?
Using quick oats will give a softer, more uniform texture, but they might break down more during mixing than rolled oats.
8. What if the mixture is too sticky to scoop?
If your mixture is too sticky to handle, refrigerate it briefly or add a little more oats to absorb excess moisture.
9. How should I store the cookies?
Storing in an airtight container at room temperature keeps them chewy for up to 3 days. Refrigerate for longer freshness.
10. Can I reheat or soften the cookies?
Yes, you can microwave refrigerated cookies for about 10 seconds to soften them and bring out their rich chocolate aroma.
These cookies are more than just a quick treat; they’re a nostalgic reminder of childhood afternoons and simple pleasures. When I make them, I’m often struck by how a handful of pantry staples can turn into something so satisfying, especially when shared with loved ones. It’s a little act of comfort that feels just right for right now.
In a season that’s busy and unpredictable, these no bake cookies offer a moment of calm and instant gratification. They’re imperfect, messy, and utterly honest—a sweet reminder that sometimes, the simplest things are exactly what we need.