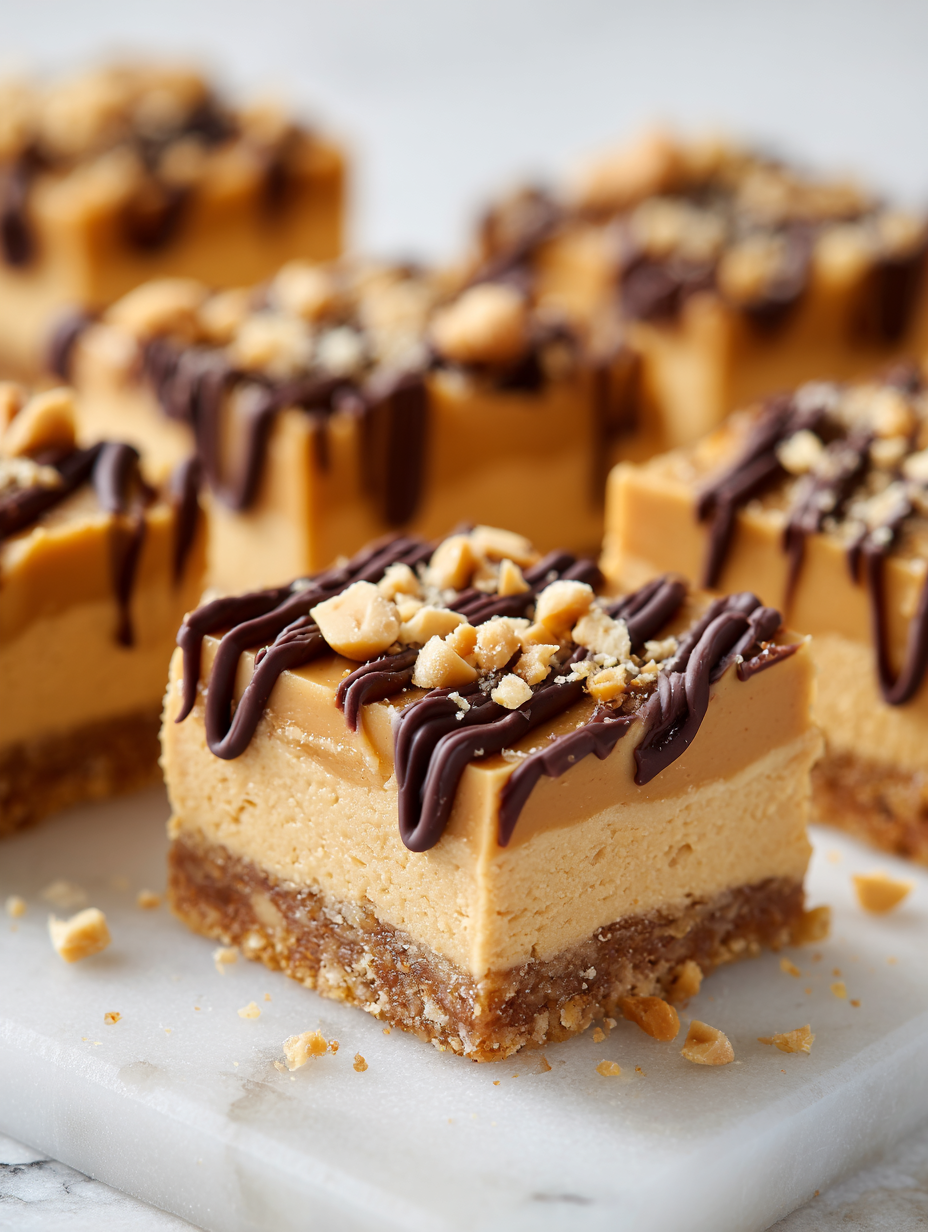
Sometimes you just need a sweet fix that doesn’t involve heating up the kitchen or waiting ages for something to bake. These no bake chocolate oat bars are my go-to when I want a quick, satisfying treat that feels indulgent but is honestly pretty straightforward to throw together. They’re the kind of thing you stash in the fridge and forget about until a craving hits.
What I love most is how adaptable they are—using whatever nuts, seeds, or dried fruit I have on hand. Plus, the rich chocolate flavor paired with chewy oats makes every bite feel like a little bit of comfort, no matter how chaotic the day has been. It’s a no-fuss recipe that makes me feel like I’ve got my act together, even when I don’t.
This recipe is inspired by the idea of creating a satisfying, indulgent treat with minimal fuss, perfect for those moments when you want something sweet but don’t want to turn on the oven or spend ages in the kitchen. It’s about harnessing the comfort of chocolate and the hearty texture of oats in a quick, no-fuss way that still feels special.
Inspiration Behind These Bars
This recipe comes from a moment of realizing how much I rely on quick fixes during busy weeks. I wanted something that satisfies my chocolate cravings without turning on the oven or pulling out complicated ingredients. It’s basically my kitchen’s version of a hug when time is tight, and I need a little sweet comfort. I also love how it reminds me of childhood afternoons when my mom would make simple, no-fuss treats with whatever was in the pantry. Those memories still make me smile every time I whip up a batch.
Ingredient breakdown: key components
- Oats: I prefer using old-fashioned rolled oats—they give the bars a hearty chew and nutty flavor. Skip quick oats if you want a chunkier bite.
- Dark chocolate: I love a rich, slightly bitter dark chocolate—around 70% works perfectly. If you’re feeling sweeter, go for semi-sweet, but don’t skimp on quality.
- Butter or coconut oil: I use butter for a creamy, familiar flavor, but coconut oil adds a subtle tropical note and makes everything extra fudgy. Both help set the bars nicely.
- Sweetener: I often stick with honey for a mellow sweetness, but maple syrup works beautifully too—especially if you want a hint of caramel in every bite.
- Add-ins: Nuts, dried fruit, or seeds—these are your chance to customize. I like chopped almonds for crunch, but sunflower seeds add a smoky contrast that’s underrated.
- Salt: A pinch of flaky sea salt on top elevates everything—brightens the chocolate and keeps the sweetness in check. Don’t skip this step, it’s the secret to balance.
- Vanilla extract: Just a splash brings out the chocolate’s depth. If you’re feeling daring, a tiny dash of cinnamon or espresso powder can add an unexpected twist.
Spotlight on key ingredients
Oats and chocolate:
- Oats: I prefer using old-fashioned rolled oats—they give the bars a hearty chew and nutty flavor. Skip quick oats if you want a chunkier bite.
- Dark chocolate: I love a rich, slightly bitter dark chocolate—around 70% works perfectly. If you’re feeling sweeter, go for semi-sweet, but don’t skimp on quality.
- Butter or coconut oil: I use butter for a creamy, familiar flavor, but coconut oil adds a subtle tropical note and makes everything extra fudgy. Both help set the bars nicely.
Notes for ingredient swaps
- Dairy-Free: Swap regular butter for coconut oil or vegan butter. Expect a slightly different richness and a hint of coconut aroma.
- Sweetener: Use agave syrup or brown rice syrup instead of honey. These will add a different depth and sometimes a touch more sweetness.
- Chocolate: Try dark cocoa nibs or carob chips if you want a different chocolate experience—less sweet, more intense cacao flavor.
- Oats: Gluten-free rolled oats work perfectly if you need a gluten-free option. They keep the texture hearty and chewy.
- Add-ins: Use pumpkin seeds or chopped dried apricots for a different crunch or fruity burst—just keep the quantity moderate so bars hold together.
- Salt: Flaky sea salt is best, but a pinch of smoked salt can add a subtle smoky dimension—just don’t overdo it.
- Flavor Enhancer: A tiny dash of espresso powder or cinnamon can deepen the chocolate flavor without overpowering.
Equipment & Tools
- Baking pan: Holds the mixture and shapes the bars.
- Spatula: Folds ingredients and presses mixture down.
- Microwave-safe bowl: Melts chocolate and butter evenly.
- Parchment paper: Prevents sticking and makes removal easy.
- Knife: Cuts into bars cleanly.
Step-by-step guide to no bake bars
- Gather your equipment: a 20x20cm (8×8 inch) baking pan, a heatproof spatula, a microwave-safe bowl, and parchment paper to line the pan.
- Line the pan with parchment, leaving a slight overhang for easy removal. Set aside.
- In the microwave-safe bowl, combine 1 cup (170g) dark chocolate chips with 1/2 cup (113g) unsalted butter or coconut oil. Microwave in 30-second bursts, stirring after each, until fully melted and smooth. (Approx. 1-2 minutes total.)
- In a large mixing bowl, pour 2 cups (160g) rolled oats. Add 1/4 teaspoon sea salt and any mix-ins like chopped nuts or dried fruit if desired.
- Pour the melted chocolate mixture over the oats. Use the spatula to fold everything together until thoroughly coated and sticky.
- Transfer the mixture into the prepared pan. Press it down firmly with the back of the spatula or a piece of parchment. Aim for an even surface, about 1 inch thick.
- Refrigerate uncovered for at least 2 hours, or until firm. For quicker setting, place in the freezer for 1 hour. The mixture should feel solid and slightly shiny.
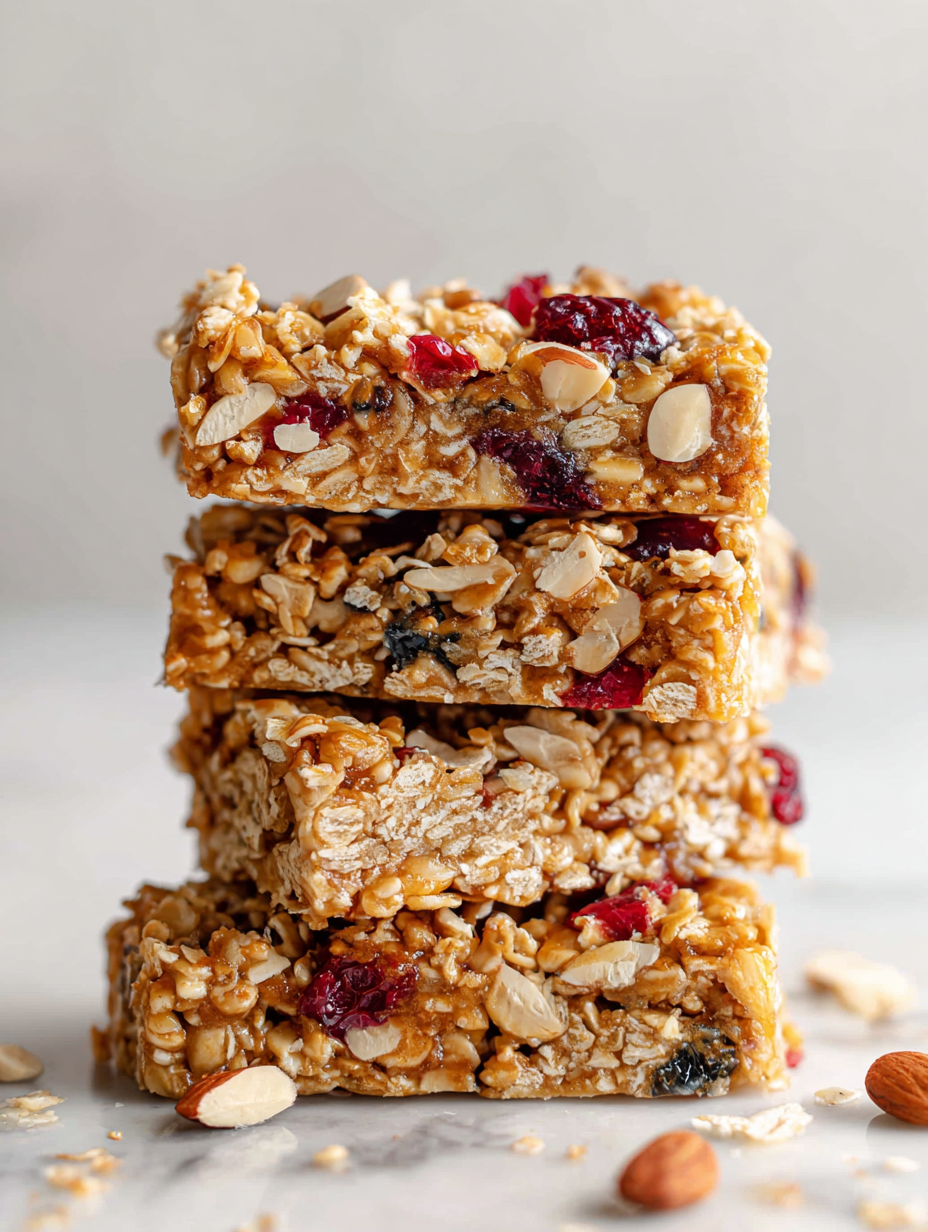
- Once set, lift out the bars using the parchment overhang. Cut into squares or rectangles with a sharp knife. For cleaner edges, wipe the knife between cuts.
- Optional: sprinkle a pinch of flaky sea salt on top before cutting for extra flavor contrast.
- Serve immediately, or store in an airtight container in the fridge. These bars stay good for up to a week in the fridge or freeze for longer storage.
Refrigerate uncovered until firm, about 2 hours. Once set, lift out using parchment and cut into bars. Serve immediately or store in an airtight container in the fridge for up to a week.
How to Know It’s Done
- Chocolate is fully melted and glossy before mixing.
- Mixture is evenly pressed and compacted in the pan.
- Bars are firm and hold shape after refrigeration.

No Bake Chocolate Oat Bars
Ingredients
Equipment
Method
- Line your baking pan with parchment paper, leaving a slight overhang for easy removal.
- Combine the dark chocolate chips and butter or coconut oil in a microwave-safe bowl. Microwave in 30-second bursts, stirring after each, until the mixture is smooth and glossy.
- Pour the oats into a large mixing bowl. Add the sea salt and any optional add-ins like chopped nuts or dried fruit.
- Pour the melted chocolate mixture over the oats. Use a spatula to fold everything together until the oats are fully coated and the mixture feels sticky and well combined.
- Transfer the mixture into the prepared pan. Press it down firmly with the back of the spatula or a piece of parchment to create an even, compact layer about 1 inch thick.
- Refrigerate uncovered for at least 2 hours, or until the bars are firm and shiny. For quicker setting, place the pan in the freezer for about 1 hour.
- Once set, lift the entire block out of the pan using the parchment overhang. Use a sharp knife to cut into even squares or rectangles.
- Optional: sprinkle a pinch of flaky sea salt on top of the bars before serving for an extra flavor boost.
- Enjoy your chewy, glossy chocolate oat bars immediately, or store them in an airtight container in the fridge for up to a week. For longer storage, freeze and thaw before serving.
Tips & Tricks for Perfect Bars
- Bolded mini-head: Use high-quality chocolate for a glossy, rich finish that melts smoothly.
- Bolded mini-head: Slightly underheat the chocolate to prevent burning and ensure a silky texture.
- Bolded mini-head: Press mixture firmly into the pan to avoid crumbly, loose bars.
- Bolded mini-head: Chill the bars in the fridge until just firm—avoid freezing to prevent excess moisture.
- Bolded mini-head: Wipe the knife between cuts for clean, neat edges without squashed corners.
- Bolded mini-head: Add a pinch of flaky salt on top before chilling to enhance chocolate flavor.
- Bolded mini-head: Use a spatula or the back of a spoon to evenly press and smooth the mixture in the pan.
Common mistakes and how to fix them
- FORGOT to measure ingredients precisely? Use standard cups and scales for consistency.
- DUMPED melted chocolate too hot? Let it cool slightly to prevent seizing or graininess.
- OVER-TORCHED the chocolate? Stir immediately and add a splash of hot milk to smooth it out.
- MISSED lining the pan with parchment? Expect difficulty removing bars; always line for easy lift-out.
Quick fixes and pantry swaps
- If melted chocolate seizes, splash in a tiny bit of hot milk to smooth out.
- When bars are crumbly, press mixture firmly and chill longer to set properly.
- Splash a pinch of salt on top to balance overly sweet or bitter flavors.
- Patch over cracks by gently pressing the mixture back together before chilling.
- Shield delicate chocolate with a paper towel if you see shiny streaks or shimmer.
Prep, store, and reheat tips
- Pre-chop any nuts or dried fruit a day ahead to save time and keep ingredients fresh in the fridge.
- Bars can be made a day in advance; store them tightly wrapped in the fridge for up to a week, their flavor deepens overnight.
- For longer storage, freeze the bars in an airtight container for up to 3 months; thaw in the fridge before serving for best texture.
- Refrigerated bars develop a firmer, more chewy texture; allow them to sit at room temperature for 5-10 minutes before cutting for optimal softness.
- To reheat, briefly warm in the microwave for 10-15 seconds until just soft, then enjoy the rich chocolate aroma and gooey texture.
Top questions about no bake bars
1. Why does the quality of chocolate matter?
Use high-quality chocolate chips for a glossy, rich finish that melts smoothly and makes a noticeable difference in flavor.
2. My mixture is crumbly, what can I do?
If the mixture feels too dry, add a tiny splash of warm melted butter or honey to help it stick together better.
3. Can I make these vegan or dairy-free?
Yes, you can substitute coconut oil for butter. Expect a slightly more tropical flavor and a softer set.
4. How do I know when the bars are ready to cut?
Chill the bars until firm, about 2 hours. They should be solid, shiny, and hold their shape when you cut them.
5. Do I need to line the pan?
Line your pan with parchment paper so you can lift out the whole block easily for clean cuts.
6. How should I store these bars?
Store in an airtight container in the fridge for up to a week, or freeze for longer storage. Thaw before serving.
7. How can I get clean cuts?
Use a sharp knife wiped between cuts for clean, neat edges—preventing squashed corners and uneven pieces.
8. My melted chocolate looks weird, what now?
If chocolate seizes or becomes grainy, add a splash of hot milk or water to smooth it out again.
9. Can I customize the ingredients?
For extra crunch and flavor, mix in chopped nuts or dried fruit before pressing into the pan.
10. Can I speed up the setting process?
Yes, refrigerate the mixture for at least 2 hours or until firm. For quicker setting, freeze for 1 hour.
These no-bake chocolate oat bars are like a little secret stash of comfort that’s easy to whip up at a moment’s notice. There’s something deeply satisfying about the way the rich chocolate and chewy oats come together—no oven, no fuss, just straightforward ingredients and honest flavor.
Whenever I need a quick treat that feels indulgent but doesn’t require much effort, this recipe is my fallback. They’re perfect for times when I want something sweet without the chaos of baking, and they always seem to disappear faster than I expect. Sometimes, simple really is best.