This no-bake chocolate chewies recipe is my way of holding onto the chaotic joy of childhood afternoons, when my hands would be sticky with melted chocolate and my nose was filled with the scent of toasted marshmallows. It’s not about perfection, but about the messy, satisfying process of turning simple ingredients into something that sticks to your fingers and leaves a smile on your face.
I love how these chewies come together in no time at all—no oven needed, just a bit of melting, mixing, and pressing. They remind me that sometimes, the most comforting treats are the easiest to make, especially when life gets busy or when I just need a quick moment of indulgence. It’s a recipe born from the chaos of everyday life, but with a sweet reward that’s worth every messy spoonful.
This recipe is inspired by my grandma’s secret stash of leftover Halloween candies. I love how it turns sweet, discarded bits into something rich and chewy, almost like a love letter to fleeting childhood treats.
A Sweet Escape from Discarded Candy
- Making these cheaties always reminds me of lazy Sunday afternoons spent with my grandma, mixing chocolate and butter in her old saucepan.
- There’s a strange comfort in how quick and forgiving this recipe is—no oven, no fuss, just pure chocolatey chaos.
- I love how these treats are a messy, sticky ritual that melts away worries with each bite, a small act of rebellion during busy weeks.
- Every time I make them, I feel a little nostalgic for childhood afternoons when the only thing that mattered was the next sweet, chewy bite.
The story behind this recipe
- This recipe was born out of a lazy afternoon when I was digging through my pantry and found a bag of forgotten chocolate chips. Instead of just melting them down for a quick snack, I wanted something that felt more like a treat—something chewy and satisfying, without the fuss of baking. The idea of no-bake came naturally, but I also wanted it to be a bit nostalgic, reminiscent of childhood fudge sessions with my mom.
- Every time I make these, I think about how simple ingredients can come together into something unexpectedly rich and addictive. They’re a reminder that you don’t need fancy equipment or hours in the kitchen to make something truly indulgent. Just a handful of pantry staples, a little patience, and a lot of tasting along the way.
- heading: The story behind this recipe
Historical & Cultural Tidbits
- These no-bake chocolate chewies trace back to mid-20th century home kitchens, where resourcefulness meant turning pantry staples into quick treats.
- They gained popularity during times of rationing, as they require minimal ingredients and no oven, making them a practical comfort food.
- The texture mimics childhood fudge, but the simplicity makes it a timeless, adaptable recipe for all ages.
- In some regions, similar recipes emerged under different names, reflecting local tastes and available ingredients.
Key Ingredients & Tips
- Chocolate chips: I love how they melt into gooey pockets, infusing every bite with rich cocoa. If yours seem dull or dry, try using a mix of semi-sweet and milk chocolate for a balanced melt and flavor.
- Butter: I use unsalted because it lets the chocolate shine, but salted butter adds a subtle savory depth—just cut back on the salt if you swap. Watch it melt into the chocolate, smelling warm and inviting.
- Sweetened condensed milk: It’s my secret to that sticky, chewy texture—think velvet with a bit of shine. If you want less sweetness, try a splash of coconut milk, but keep the richness intact.
- Vanilla extract: I add a splash for depth, but a tiny bit of almond extract gives a nutty twist. Be careful with the quantity; too much can overpower the chocolate’s richness.
- Oats (optional): I love the chewiness they add, but skip if you want pure chocolate decadence. Toasted oats bring a smoky crunch, so if you do use them, give them a quick toast for more flavor.
- Salt: Just a pinch to enhance the chocolate’s depth. If using salted butter, reduce or omit the salt to avoid over-seasoning.
- Optional add-ins: Nuts, dried fruit, or coconut flakes—these add texture and surprise. Use sparingly; a handful is enough to keep the chewies balanced and not over-bulked.
Spotlight on key ingredients
Chocolate chips:
- I love how they melt into gooey pockets, infusing every bite with rich cocoa. If yours seem dull or dry, try using a mix of semi-sweet and milk chocolate for a balanced melt and flavor.
- Butter: I use unsalted because it lets the chocolate shine, but salted butter adds a subtle savory depth—just cut back on the salt if you swap. Watch it melt into the chocolate, smelling warm and inviting.
Sweetened condensed milk:
- It’s my secret to that sticky, chewy texture—think velvet with a bit of shine. If you want less sweetness, try a splash of coconut milk, but keep the richness intact.
- Vanilla extract: I add a splash for depth, but a tiny bit of almond extract gives a nutty twist. Be careful with the quantity; too much can overpower the chocolate’s richness.
Notes for ingredient swaps
- Dairy-Free: Swap butter for coconut oil or vegan margarine. The texture stays rich, but the flavor is a bit more tropical or neutral.
- Vegan Chocolate: Use dairy-free chocolate chips or chunks, which melt just as smoothly and keep that luscious chocolate flavor.
- Sweetener Alternative: Replace condensed milk with coconut condensed milk or a thick honey, but expect slight changes in sweetness and stickiness.
- Nuts & Add-ins: Substitute with dried fruit, seeds, or coconut flakes for crunch and flavor variations. Keep quantities modest to prevent overwhelming the chewiness.
- Oats (optional): Omit or replace with toasted rice cereal for a different crunch—less chewy, more crispy texture.
- Flavor Boosters: Add a pinch of espresso powder or chili flakes to deepen the chocolate flavor or add a smoky note.
- Sweetener Adjustment: Use less sugar or darker chocolate if you prefer a less sweet, more intense chocolate flavor.
Equipment & Tools
- Square pan (20×20 cm): Holds the mixture and shapes the chewies.
- Parchment paper: Prevents sticking and aids removal.
- Microwave-safe bowl: Melts the chocolate and butter evenly.
- Spatula: Stirs the mixture and spreads it smoothly.
- Sharp knife: Slices the set treat cleanly.
Step-by-step guide to no bake chewies
- Gather your equipment: a 20×20 cm (8×8 inch) square pan, heatproof spatula, and a mixing bowl—these keep everything straightforward and manageable.
- Line the pan with parchment paper, leaving a little overhang for easy removal. This prevents sticking and makes slicing easier.
- In a microwave-safe bowl, combine 200g (7 oz) chocolate chips and 50g (1.75 oz) unsalted butter. Microwave on 30-second bursts, stirring each time, until glossy and smooth (~1-2 minutes).
- Add 150g (5.3 oz) sweetened condensed milk and 1 teaspoon vanilla extract to the melted mixture. Stir well until fully integrated—smells rich and inviting.
- Pour the mixture into your prepared pan. Use a spatula to spread evenly, pressing down gently so it’s compact and smooth on top.
- Let it sit at room temperature for 15-20 minutes, then transfer to the fridge. Cool until set, about 2 hours; the mixture should be firm and shiny.
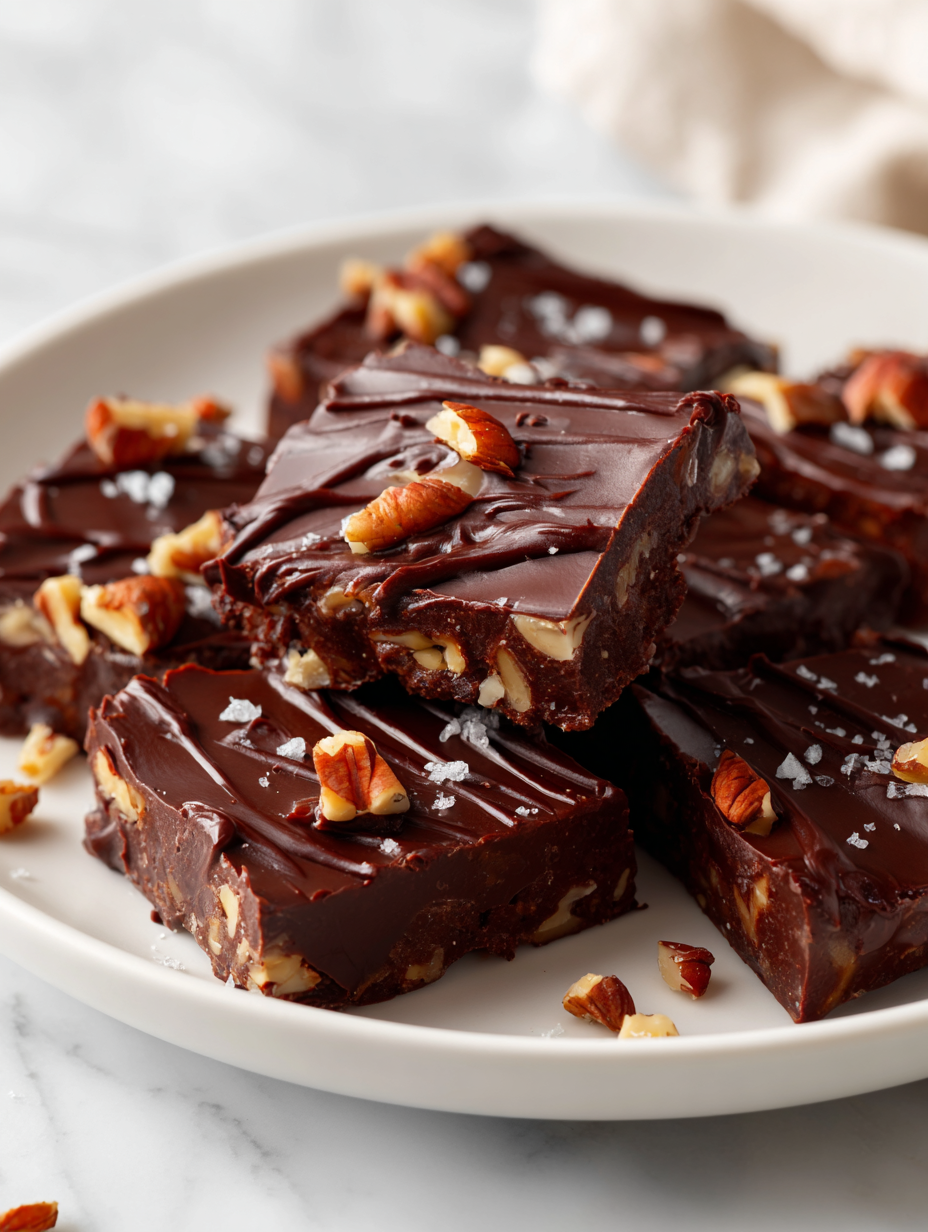
- Once firm, lift out the block using the parchment overhang. Slice into 16 squares with a sharp knife, pressing gently to avoid cracks.
- Serve immediately or store. For clean cuts, wipe the knife between slices. These keep well in an airtight container in the fridge for up to a week.
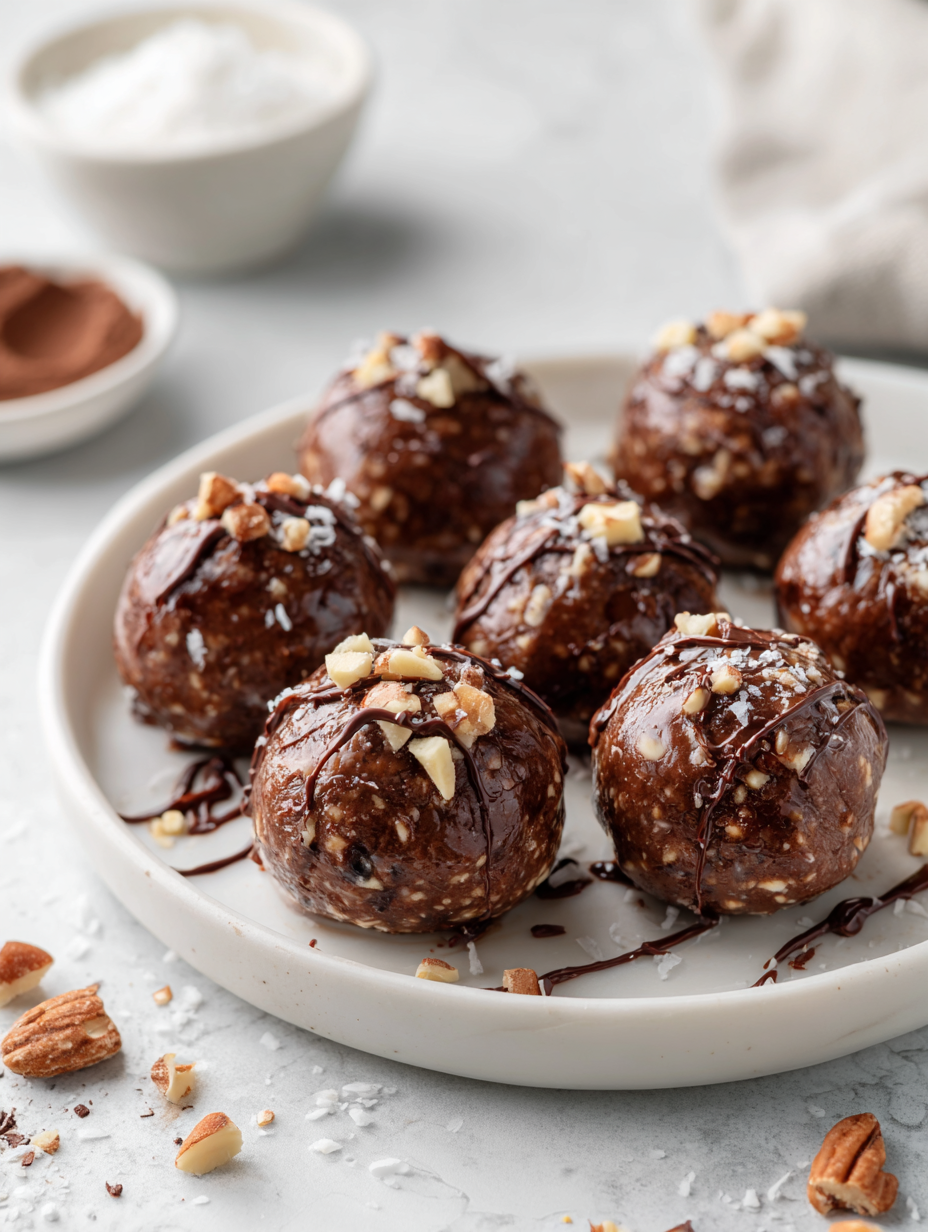
- Optional finishing: melt a little extra chocolate and drizzle over the top for a glossy, decadent look. Let set for a few minutes before serving.
Allow the chewies to set in the fridge until firm. Slice into squares, then serve immediately or store in an airtight container in the fridge for up to a week. For an extra touch, drizzle with melted chocolate and let it set before serving.
How to Know It’s Done
- Mixture is smooth, glossy, and fully combined before pouring.
- The set block is firm and shiny, with no sticky or soft spots.
- Slices hold together without crumbling, with clean edges.
No-Bake Chocolate Chewies
Ingredients
Equipment
Method
- Line your square pan with parchment paper, leaving overhang for easy removal.
- Combine the chocolate chips and butter in a microwave-safe bowl. Microwave in 30-second bursts, stirring each time, until the mixture is glossy and smooth, about 1-2 minutes.
- Add the sweetened condensed milk and vanilla extract to the melted chocolate mixture. Stir well until fully combined, creating a thick, shiny chocolate paste.
- Pour the mixture into the prepared pan, then use a spatula to spread it evenly across the surface. Press down gently to ensure it’s compact and smooth on top.
- Let the mixture sit at room temperature for about 15 minutes to slightly relax, then transfer to the fridge. Chill for around 2 hours until the mixture is firm and glossy.
- Once set, lift out the block using the parchment overhang. Use a sharp knife to cut into 16 even squares, pressing gently and wiping the knife between slices for clean edges.
- Serve immediately, or store in an airtight container in the fridge for up to a week. For a decorative touch, drizzle with melted chocolate and let it set before serving.
Tips for perfect no-bake chewies
- Bolded mini-head: Use low heat when melting chocolate → Prevents burning and ensures a glossy finish.
- Bolded mini-head: Chill mixture slightly before pouring → Helps control spreading and reduces melting in the fridge.
- Bolded mini-head: Press firmly when spreading → Ensures a compact, even layer for clean slicing.
- Bolded mini-head: Wipe knife between cuts → Keeps edges sharp and prevents crumbling.
- Bolded mini-head: Add a pinch of salt to enhance flavor → Balances the sweetness and deepens the chocolate notes.
- Bolded mini-head: Let set at room temp for 10 min before chilling → Develops a better sheen and easier slicing.
- Bolded mini-head: Mix in a handful of toasted oats or nuts → Adds crunch and a smoky aroma, elevating texture.
Common mistakes and how to fix them
- FORGOT TO PRE-CHILL the mixture → keeps chewies firm and prevents melting too quickly.
- DUMPED in all ingredients at once → add gradually, stirring well for an even texture.
- OVER-TORCHED the chocolate → causes bitterness; melt slowly on low heat or in short bursts.
- MISSED the chilling step → ensures set and holds shape; don’t skip cooling time for best texture.
Quick fixes and pantry swaps
- When mixture is too thick, splash in a little hot water to loosen it up.
- If chocolate seizes, quickly add a teaspoon of vegetable oil and stir vigorously.
- Splash a tiny bit of milk if the mixture isn’t sticky enough for easy spreading.
- Patch cracks by pressing the edges back together with a warm spatula.
- Shield melting chocolate from drafts for a smoother, glossy finish.
Prep, store, and reheat tips
- Prepare the mixture a day ahead by melting and combining all ingredients, then refrigerate. It firms up faster and saves time when you’re ready to serve, and the chocolate develops a richer, more melded flavor overnight.
- Store the cut chewies in an airtight container in the fridge for up to a week. Their texture stays chewy and chocolatey, but the flavors deepen slightly, like a well-rested dessert.
- Reheat slightly in short bursts in the microwave (10 seconds) if you prefer softer, warmer chewies. Watch for a glossy sheen and a gentle wobble—avoid overheating to prevent melting completely.
- For longer storage, freeze the chewies in a sealed container for up to 3 months. Thaw at room temperature for 10-15 minutes; they’ll regain their chewy bite and intense chocolate aroma.
Top questions about no bake chewies
1. Can I use different types of chocolate?
Use high-quality chocolate chips for better melt and richer flavor. Cheaper brands might be dull or dry when melted.
2. Is this recipe dairy-free?
Yes, you can substitute coconut oil for butter for a dairy-free version. Expect a slightly different texture—more tender and less rich.
3. Why is my mixture too sticky?
Chill the mixture for about 30 minutes before pressing into the pan to help it firm up and make spreading easier.
4. My chocolate seized—what now?
Overheating the chocolate can cause it to seize and become grainy. Melt slowly on low heat, stirring frequently.
5. How should I store leftover chewies?
Store in an airtight container in the fridge for up to a week. For longer storage, freeze for up to 3 months and thaw at room temp.
6. Can I customize the ingredients?
Yes, adding nuts, dried fruit, or coconut flakes can give extra crunch and flavor. Just keep add-ins to a handful to avoid overwhelming the texture.
7. My mixture is too stiff to spread?
If the mixture is too thick to spread, stir in a teaspoon of hot water or milk to loosen it slightly.
8. How do I make them look more appealing?
For a shinier, prettier finish, drizzle melted chocolate over the set chewies and let it firm up before slicing.
9. How do I get clean slices?
Use a sharp, warm knife to cut the set block for clean, crumb-free slices. Wipe the blade between cuts for best results.
10. Can I prepare these in advance?
Yes, these can be made a day ahead. The flavors meld overnight, making them even more delicious and chewy the next day.
These no-bake chocolate chewies are a reminder that sometimes, simple ingredients and a bit of patience create the most satisfying treats. I love how they come together quickly, especially when I need something sweet without the fuss of baking. They’re perfect for those moments when you crave a chewy, chocolatey bite that feels like a little rebellion against busy days.
Sharing these with friends or keeping a batch in the fridge makes life a little sweeter. They’re a humble, honest dessert that’s easy to make and even easier to enjoy—no oven required, just good ingredients and a bit of time. Sometimes, the best snacks are the simplest ones, and these chewies hit that mark every time.