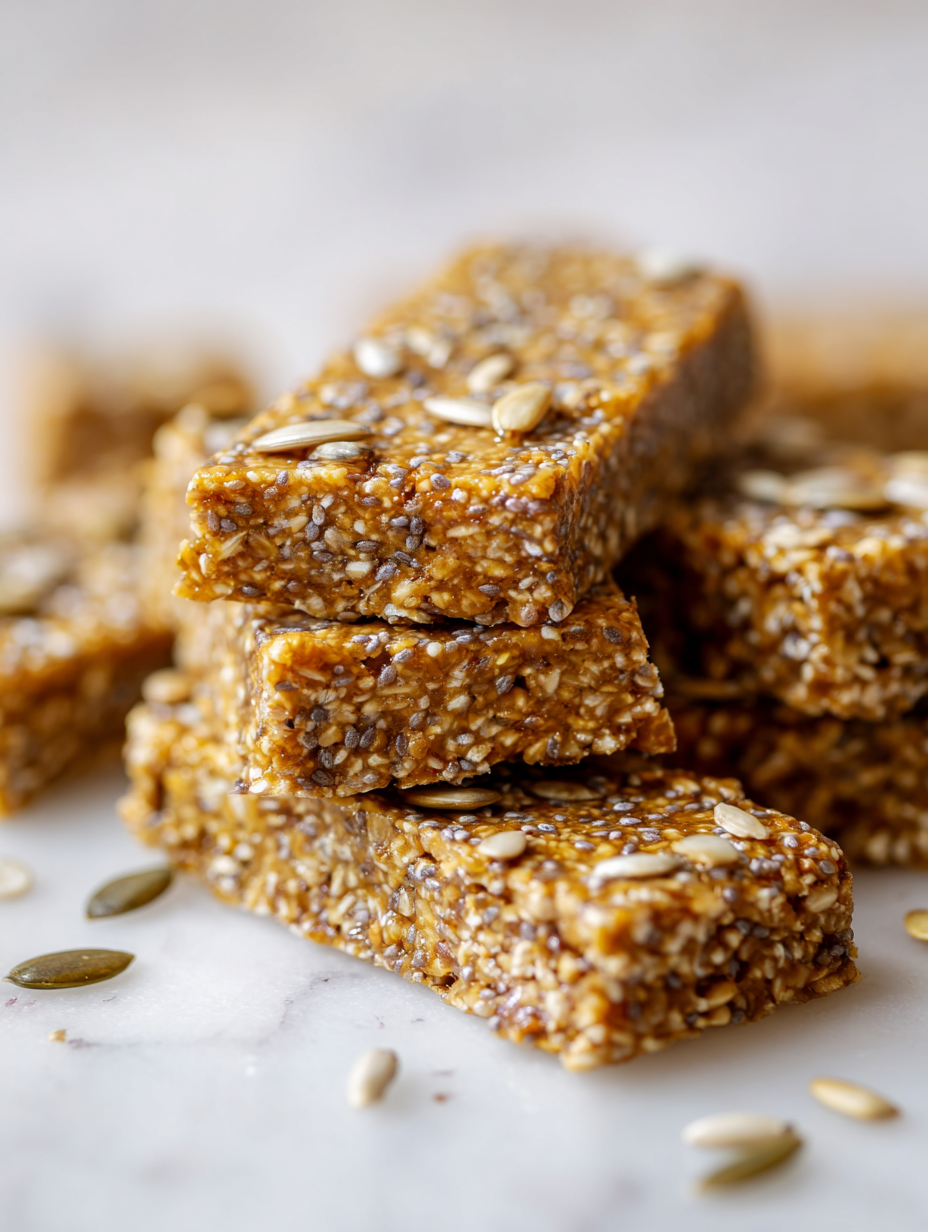
Seeds often get overlooked in the world of snacks, but they hold a quiet power. This no-bake seed bar recipe is a nod to their versatility—crunchy, nutty, and surprisingly satisfying in every bite. It’s a quick fix when I need a boost and want to keep things simple.
What I love most is how these bars can be customized with what I’ve got on hand—pumpkin, sunflower, flax, or chia seeds all play nicely together. No oven, no fuss, just a mix of textures and flavors that keeps me coming back. Plus, they’re honestly better than store-bought energy bars, fresher and way more honest.
Focusing on the overlooked power of seeds in creating a nutrient-dense snack that’s both satisfying and surprisingly versatile, these bars are my go-to for a quick energy boost that’s packed with texture and subtle flavor.
The story behind this recipe
- I stumbled on this recipe during a chaotic weekend. I had a jar of mixed seeds and a desperate need for a snack that wouldn’t require turning on the oven. The idea of pressing everything into a tray and letting it set seemed too simple, but it worked—fast and honest.
- What really sparked my love for these bars was how forgiving they are. I can toss in whatever seeds I have—pumpkin, sesame, hemp—and they still turn out crunchy and satisfying. It’s become my go-to for busy mornings or when I need something nutrient-dense without the fuss.
- heading
- story_type
Ingredient breakdown: key components
- Sunflower seeds: I love their nutty, slightly sweet flavor and crunchy texture. If you don’t have them, try pumpkin seeds for a more earthy bite.
- Chia seeds: They become gooey and help bind everything together. Skip if you prefer a crisper bar, but they add a subtle crunch and boost fiber.
- Honey: It’s my go-to for natural sweetness and helps everything stick. If I’m out, maple syrup works but gives a different, richer flavor.
- Rolled oats: They give structure and a chewy bite. Skip or swap with gluten-free oats if needed, but don’t skip the oats entirely.
- Coconut oil: Adds richness and helps set the bars firm. If you want a milder flavor, try neutral-tasting vegetable oil or melted butter.
- Dried berries or chopped dates: They add bursts of sweetness. Use fresh or dried fruit based on what’s in your pantry; dried is more concentrated.
- Salt: Just a pinch heightens all the flavors and balances the sweetness. Don’t skip; it’s the secret to making seeds pop.
Spotlight on key ingredients
Sunflower seeds:
- I love their nutty, slightly sweet flavor and crunchy texture. If you don’t have them, try pumpkin seeds for a more earthy bite.
- Chia seeds: They become gooey and help bind everything together. Skip if you prefer a crisper bar, but they add a subtle crunch and boost fiber.
- Honey: It’s my go-to for natural sweetness and helps everything stick. If I’m out, maple syrup works but gives a different, richer flavor.
Chia seeds:
- They swell and turn gelatinous, creating a sticky, cohesive mixture. They also add a faint crunch and boost nutrition.
- Honey: It oozes and thickens as it warms, making the mixture glossy and easy to spread. Without it, bars might be crumbly and dry.
Notes for ingredient swaps
- Nuts or seeds: I often swap sunflower seeds for pumpkin seeds or chopped almonds for a different crunch. It’s all about what’s in the pantry and what textures you crave.
- Sweeteners: Honey is my default, but maple syrup or agave work well too, giving a slightly different flavor profile and consistency. Adjust the sweetness to your taste.
- Oil choices: Coconut oil adds richness and helps set the bars firm, but you can use neutral oils like vegetable or melted butter for a milder taste and texture.
- Binder options: If honey or syrup isn’t available, mashed bananas or date paste can add sweetness and stickiness, but expect a softer, more moist bar.
- Add-ins: Dried fruits like cranberries or chopped dates can replace berries, adding sweetness and chew. Fresh fruit might make the bars too moist, so dried is safer.
- Flavor enhancers: A pinch of cinnamon, vanilla extract, or a sprinkle of sea salt can elevate the seeds’ natural flavors without overpowering. Use sparingly to keep it balanced.
Equipment & Tools
- 20x20cm (8×8 inch) square baking dish: Holds the mixture for setting and slicing.
- Parchment paper: Prevents sticking and makes removal easy.
- Mixing bowl: Combines seeds and syrup.
- Spatula: Stirs and presses the mixture evenly.
- Saucepan: Warms the honey and oil mixture.
Step-by-step guide to no bake seed bars
- Gather your equipment: a 20x20cm (8×8 inch) square baking dish, parchment paper, a mixing bowl, a spatula, and a saucepan.
- Line the baking dish with parchment paper, leaving an overhang for easy removal.
- In the saucepan, combine 1/4 cup (60 ml) honey or maple syrup, 2 tablespoons (30 ml) coconut oil, and a pinch of salt. Warm over low heat until melted and fragrant, about 2 minutes, stirring occasionally.
- While the mixture warms, measure out 1 1/2 cups (150 g) mixed seeds (sunflower, pumpkin, flax, chia). If your seeds are large, give them a quick chop or pulse in a food processor for better cohesion.
- Pour the warm syrup mixture over the seeds in the bowl. Stir thoroughly with a spatula until all seeds are evenly coated and sticky.
- Transfer the seed mixture into the prepared dish. Press firmly with the back of the spatula or your hands to create an even layer, about 1.5 inches (4 cm) thick. Use a piece of parchment to smooth the top if needed.
- Place the dish in the fridge for at least 2 hours, or until firm. The longer they set, the easier they’ll cut and hold together.
- Once set, lift the block out using the parchment overhang. Slice into bars or squares as desired.
- Store in an airtight container in the fridge for up to a week, or freeze for longer storage. Keep chilled for best texture and freshness.
Chill the assembled bars in the fridge for at least 2 hours until firm. Cut into squares and serve immediately or store in an airtight container in the fridge for up to a week. For longer storage, freeze and thaw as needed, keeping an eye on texture and moisture.
How to Know It’s Done
- The mixture is evenly coated and sticky when stirred.
- The pressed seed layer is firm and holds shape after setting.
- Bars are evenly sliced without crumbling when chilled.
No-Bake Seed Bars
Ingredients
Equipment
Method
- Line your square baking dish with parchment paper, leaving overhang on the sides for easy removal.
- In a saucepan over low heat, combine honey and coconut oil, stirring until the mixture is smooth, fragrant, and just starts to bubble, about 2 minutes.
- Meanwhile, in a large mixing bowl, measure out your mixed seeds, oats, and a pinch of salt. If you prefer extra flavor, toast the seeds lightly beforehand for a richer crunch.
- Pour the warm syrup mixture over the seeds and oats, stirring thoroughly with a spatula until all ingredients are evenly coated and sticky.
- If using, fold in the dried berries or chopped dates for bursts of sweetness and chewy texture.
- Transfer the mixture into the prepared dish, pressing firmly with the back of your spatula or your hands to create an even, compact layer about 1.5 inches thick. Use parchment paper to help press and smooth the top.
- Place the dish in the fridge and chill for at least 2 hours, or until the mixture is firm and set.
- Once firm, lift the seed block out of the dish using the parchment overhang and transfer to a cutting board.
- Slice into bars or squares of your desired size, then serve immediately or store in an airtight container in the fridge for up to a week.
- Enjoy your crunchy, nutty seed bars as a quick snack or energizing breakfast on the go!
Pro tips for perfect seed bars
- Use toasted seeds: Toast seeds lightly before mixing for a deeper, nuttier flavor and enhanced crunch.
- Chill thoroughly: Ensure the mixture is well chilled and set in the fridge for a firm, clean slice.
- Press firmly: Use the back of a spatula or parchment to press mixture tightly into the pan for even bars.
- Adjust sweetness: Taste the warmed syrup and seeds before setting; add more honey if you like a sweeter bar.
- Layer with parchment: Line your pan with parchment for easy removal and cleanup, especially when pressing down.
- Mix quickly: Combine ingredients swiftly to prevent the syrup from cooling and becoming difficult to coat evenly.
- Add variety: Mix in chopped nuts, dried fruits, or chocolate chips after initial stirring for added texture and flavor.
Common mistakes and how to fix them
- FORGOT to pack mixture tightly → Press firmly to prevent crumbling.
- DUMPED in too much liquid → Reduce or adjust sweetener for better binding.
- OVER-TORCHED seeds → Stir constantly and keep heat low to avoid burning.
- MISSED setting time → Patience is key; let bars chill until fully firm before slicing.
Quick fixes and pantry swaps
- IF mixture is too dry → Splash a bit more honey or oil to loosen it.
- WHEN bars crumble → Patch with a dab of warm honey and press again.
- IF seeds stick unevenly → Shield with parchment and press firmly.
- WHEN aroma smells burnt → DUMP the batch, start fresh with lower heat.
- If no seeds available → Swap with chopped nuts for a different crunch and flavor.
Prep, store, and reheat tips
- Prepare the seed mixture and press into the pan ahead of time; it firms up best after a few hours in the fridge.
- Store the bars in an airtight container in the fridge for up to a week; the cool keeps them chewy and fresh.
- For longer storage, freeze the bars; they stay good for up to a month and thaw in the fridge for a few hours.
- Reheat slightly in the fridge or at room temperature for a softer bite; a quick 10-second zap in the microwave can refresh texture.
- The flavor deepens as they sit, so making them a day ahead enhances nuttiness and cohesion.
Top questions about seed bars
1. How do I know when the seed bars are done?
Look for bars that are firm and hold shape when pressed gently. They should have a shiny, sticky appearance on top.
2. What texture should I expect?
The bars should be firm and not crumbly when you press them. If they crack or crumble, they need more chilling.
3. How do I cut the bars neatly?
Use a sharp knife to cut them into clean squares. Chilling helps prevent crumbling during slicing.
4. How long do they last?
Store in an airtight container in the fridge for up to a week. For longer, freeze and thaw as needed.
5. Can I substitute the sweetener?
Yes, you can swap honey for maple syrup or agave. Keep in mind it might slightly change the flavor and texture.
6. Can I customize the seeds?
Use any combination of seeds you like—pumpkin, sunflower, flax, chia. Toast seeds beforehand for extra flavor.
7. What if my mixture is too wet or dry?
If your mixture is too sticky, add a bit more seeds or oats. If it’s too dry, drizzle a little more honey or oil.
8. Why add chia seeds?
Chia seeds help bind everything and add a subtle crunch. They also boost fiber and omega-3 content.
9. Should I toast the seeds?
Toasting seeds first enhances their nutty flavor and crunch. Do it lightly—just until they smell fragrant.
10. My bars are crumbly, what now?
When mixture is too crumbly, press firmly and chill longer. Use parchment paper to help press evenly.
These no-bake seed bars are a testament to simplicity and honest ingredients. They come together quickly, and the aroma of toasted seeds and honey fills the kitchen in a way that feels both comforting and grounding.
Once chilled and sliced, I find myself reaching for them throughout busy mornings or after a long day. They’re not just snacks—they’re a small, crunchy reminder that good things don’t need to be complicated to be satisfying.

Hello, I’m Oliver James, the person behind Melting Into Flavors. Cooking is my greatest passion, and it’s been the driving force in my life for as long as I can remember.
It’s not just about food for me; it’s about creating experiences, connecting with others, and sharing the love I have for what’s on the plate. Through this blog and my café, I’m able to share my journey with all of you and hopefully inspire some of your own culinary adventures along the way.


