This no bake coffee cheesecake is my go-to when I need a pick-me-up that’s easy and satisfying. It’s like capturing that perfect coffee shop moment—rich, creamy, with just enough caffeine kick—without firing up the oven. I love how quick it is to put together, especially after a hectic day when I crave something indulgent but don’t want the fuss of baking.
There’s something about the cool, smooth texture paired with the deep aroma of coffee that feels like a small act of self-care. It’s a bit rebellious, really—skipping the heat and still ending up with a dessert that’s fancy enough for guests or just a treat for myself. This recipe is a reminder that sometimes, the best things happen with a little simplicity and a lot of flavor.
This recipe is inspired by my late-night coffee cravings, blending the soothing ritual of a warm mug with the indulgence of dessert. It’s a way to keep that comforting coffee moment alive, even when I don’t want to turn on the oven. Plus, no bake means I can whip it up in the chaos of a busy weekend or after a long day.
Coffee’s Unexpected Cheesecake Companion
- Sharing this recipe felt like a secret handshake with fellow coffee lovers—rich, familiar, and a little rebellious.
- I still get a rush seeing the smooth, coffee-scented top after chilling—the perfect reward for a quick prep.
- Baking isn’t my thing, but this cheesecake proves you don’t need heat to make something truly indulgent.
- Every time I serve it, I remember that some of the best desserts come from keeping things simple and honest.
- There’s a quiet joy in watching guests’ faces light up when they taste that deep, coffee-kissed cream.
The story behind this recipe
- This recipe started as a way to combine my love for strong coffee and no-fuss desserts during those mornings when I needed a caffeine boost and something sweet, fast. I wanted something that feels decadent but doesn’t demand oven time or complicated layers—just simple, honest ingredients coming together effortlessly. It’s become a go-to for when I want a quick coffee fix with a creamy, satisfying twist.
- Once, I was rushing to get out the door, craving both coffee and dessert, and realized I could mash up a cheesecake with my favorite brew—no bake, no fuss. That moment of spontaneous creativity turned into this recipe, which I keep tweaking based on what’s in my pantry or how strong I want the coffee hit. It’s proof that some of the best ideas are born from the chaos of daily life.
- heading
- story_type
Historical & Cultural Notes
- This recipe has roots in late-night coffee shop cravings, blending café comforts with home ease.
- It’s inspired by the 1970s no-bake cheesecake trend that gained popularity in quick-fix dessert circles.
- The combination of coffee and cheesecake emerged as a way to elevate simple desserts in European kitchens during the 1950s.
Ingredient breakdown
- Coffee: I opt for strong, freshly brewed dark roast—its deep, smoky aroma really wakes up the senses. If you prefer a milder flavor, cut back on the brew strength, but don’t skip the rich coffee scent.
- Cream Cheese: I use full-fat cream cheese for that velvety, luscious texture that melts in your mouth. For a lighter version, try Neufchâtel, but expect a slightly less rich bite.
- Sweetener: I prefer a touch of honey because it adds a subtle floral note and smooths out the bitterness of coffee. You can swap in maple syrup, but the flavor will be a bit earthier and more prominent.
- Graham Cracker Crust: I crush my graham crackers until fine, then mix with melted butter and a pinch of salt; it’s buttery and slightly crunchy. For a gluten-free option, try digestive biscuits or almond meal, which give a different texture but still work well.
- Gelatin: I use unflavored gelatin to set the cheesecake softly—just enough to hold its shape without being firm. If you prefer a softer, more mousse-like texture, reduce the gelatin slightly or use gelatin sheets for a smoother melt-in-your-mouth feel.
- Cocoa Powder: I sift it in to deepen the color and add a hint of bitterness that balances the sweetness. If you want a more intense chocolate flavor, try Dutch-processed cocoa, which also enhances the color.
- Vanilla Extract: I add a splash for warmth and roundness. Skip it if you want a more pronounced coffee flavor, but it helps prevent the dessert from tasting flat.
Spotlight on key ingredients
Coffee:
- I use strong, freshly brewed dark roast—its deep, smoky aroma really wakes up the senses. If you prefer a milder flavor, cut back on the brew strength, but don’t skip the rich coffee scent.
- Cream Cheese: I use full-fat cream cheese for that velvety, luscious texture that melts in your mouth. For a lighter version, try Neufchâtel, but expect a slightly less rich bite.
- Cocoa Powder: I sift it in to deepen the color and add a hint of bitterness that balances the sweetness. If you want a more intense chocolate flavor, try Dutch-processed cocoa, which also enhances the color.
Cream Cheese:
- Its soft, creamy texture is essential for that smooth, rich filling. It blends effortlessly and sets beautifully when chilled.
- Gelatin: Unflavored gelatin is my secret to a cheesecake that holds its shape without firmness. It melts into the mixture, giving just enough structure without rubberiness.
Notes for ingredient swaps
- Coffee: I use strong brewed dark roast for that smoky, rich aroma. Swap with espresso or cold brew for an intense caffeine kick.
- Cream Cheese: Full-fat is my choice for silky texture. Neufchâtel or mascarpone can lighten it up, but expect a softer set.
- Sweetener: Honey adds floral notes and smoothness—substitute with maple syrup for earthier flavor, or agave for neutral sweetness.
- Graham Crackers: Crush until fine, mix with butter. Gluten-free digestives or almond flour work well, adding different textures and nutty notes.
- Gelatin: Unflavored, for gentle setting. Agar-agar can be a vegan alternative, but it sets faster and can be a bit firmer.
- Cocoa Powder: Sift for deep color and bitterness. Dutch-processed cocoa offers a richer, more intense chocolate flavor.
- Vanilla Extract: Adds warmth and rounds flavors. Skip if you want a more pronounced coffee taste, or try coffee liqueur for extra depth.
Equipment & Tools
- Springform pan: To shape and hold the cheesecake during chilling.
- Mixing bowls: For preparing crust and filling components.
- Whisk: To blend gelatin and incorporate air into whipped cream.
- Saucepan: To gently melt gelatin and avoid lumps.
- Spatula: To smooth the filling and transfer ingredients.
Step-by-step guide to no bake coffee cheesecake
- Equipment & Tools: Prepare a 9-inch springform pan, a mixing bowl, a spatula, a whisk, a small saucepan, and a fine sieve. The pan holds your crust and filling; bowls and tools help mix and smooth everything properly.
- Make the crust: Crush graham crackers fine, about 1 1/2 cups. Mix with 1/3 cup melted butter and a pinch of salt. Press evenly into the bottom of the springform pan. Chill for 15 minutes to set.
- Brew strong coffee: About 1/2 cup, hot and fresh. You need that deep, smoky aroma—don’t skimp on the strength. Set aside to cool slightly, about 5 minutes.
- Soften the gelatin: Sprinkle 1 tablespoon unflavored gelatin over 2 tablespoons cold water in a small saucepan. Let sit 5 minutes. Then, melt gently over low heat, stirring until clear and smooth. Remove from heat and set aside.
- Mix the filling: In a large bowl, beat 16 oz full-fat cream cheese until smooth. Add 1/4 cup honey, 1 teaspoon vanilla, and the brewed coffee. Mix until well combined. Add the melted gelatin gradually, whisking continuously to incorporate fully.
- Whip the cream: In a separate bowl, whip 1 cup heavy cream until soft peaks form. Gently fold into the coffee mixture until just combined. Be careful not to deflate the air.
- Assemble: Pour the filling over the chilled crust. Smooth the top with a spatula. Tap the pan gently on the counter to release bubbles and level the surface.
- Chill: Cover with plastic wrap and refrigerate for at least 4 hours, preferably overnight. The cheesecake should be firm but tender, with a slight jiggle in the center.
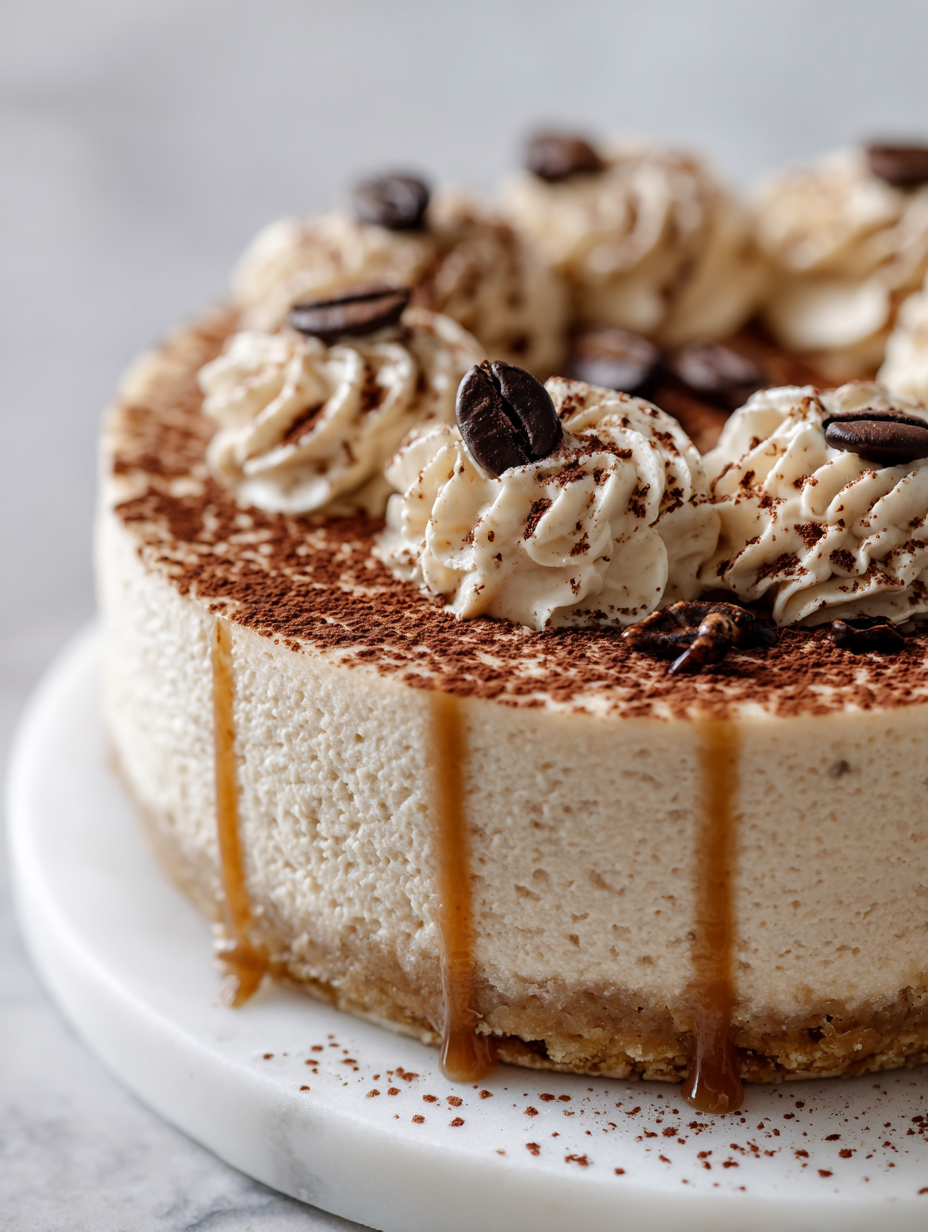
- Final check & serve: The edges should be set and smooth. When ready, release the springform sides, cut with a warm knife, and serve with a dusting of cocoa or coffee grounds if desired.
Once chilled and set, carefully remove the sides of the springform pan. Slice with a warm, sharp knife for clean edges. Serve directly or with a dusting of cocoa powder or a few coffee beans for visual punch. Keep leftovers refrigerated and consume within 2 days for best texture and flavor.
How to Know It’s Done
- The crust is firm and holds shape when pressed lightly.
- The cheesecake jiggles slightly in the center but isn’t liquid.
- The surface is smooth and slightly matte, not shiny or wet.
No Bake Coffee Cheesecake
Ingredients
Equipment
Method
- Begin by crushing graham crackers until fine, then mix with melted butter to create a crumbly, buttery crust. Press this mixture evenly into the bottom of a springform pan and refrigerate for 15 minutes to set.
- Brew about half a cup of strong coffee, hot and fresh, then let it cool slightly to prevent melting the crust. Set aside.
- Sprinkle the unflavored gelatin over the cold water in a small saucepan and let it bloom for 5 minutes. Gently heat over low heat, stirring until completely dissolved and clear. Remove from heat and set aside.
- In a large bowl, beat the softened cream cheese until smooth and creamy. Add honey, vanilla extract, and the slightly cooled brewed coffee, mixing until well combined and fragrant.
- Gradually pour the melted gelatin into the cream cheese mixture, whisking constantly to incorporate fully and prevent lumps. The mixture should be smooth and slightly frothy.
- Whip the heavy cream in a separate bowl until soft peaks form. Gently fold the whipped cream into the coffee and cream cheese mixture, preserving the airy texture.
- Pour the filling over the chilled crust, smoothing the top with a spatula. Tap the pan gently on the counter to release any air bubbles and create an even surface.
- Cover the cheesecake with plastic wrap and refrigerate for at least 4 hours, or overnight, until set and firm to the touch.
- Once set, carefully remove the sides of the springform pan. Dust with cocoa powder or garnish with coffee grounds for presentation, then slice and serve chilled.
Tips & Tricks for Perfect Results
- Use finely crushed graham crackers for a compact, even crust that holds together well.
- Dissolve gelatin gently over low heat—avoid boiling to prevent clumps and ensure smooth setting.
- Whip heavy cream to soft peaks before folding—this creates a light, airy texture in the filling.
- Cool brewed coffee slightly before mixing—hot coffee can melt the crust or weaken the set.
- Tap the assembled cheesecake gently on the counter—this helps release air bubbles and smooth the surface.
- Chill the cheesecake at least 4 hours, ideally overnight—this ensures it’s firm and slices cleanly.
- Use a sharp, warm knife to cut—wipe between slices for perfect, clean edges.
Common mistakes and how to fix them
- FORGOT to chill crust; fix by refrigerating 15 minutes before adding filling.
- DUMPED coffee; ensure it’s cooled slightly to prevent melting the crust.
- OVER-TORCHED gelatin; melt gently over low heat, avoid boiling to prevent clumping.
- SKIPPED setting time; refrigerate at least 4 hours for proper firming.
Quick fixes and pantry swaps
- When the cheesecake cracks, splash a little hot water on the knife for clean cuts.
- If the filling is too runny, dump it back in the fridge for 30 minutes to firm up.
- Over-torched gelatin? Patch it with a quick stir over low heat—smooth and clear again.
- When crust is soggy, shield with a quick sprinkle of crushed cookies on top before serving.
- If the coffee aroma is faint, rescue with a few coffee grounds dusted on the top for punch.
Prep, store, and reheat tips
- You can prepare the crust and coffee mixture up to a day ahead; keep covered in the fridge to preserve freshness and aroma.
- The assembled cheesecake can be stored covered in the fridge for up to 2 days; the flavors deepen slightly, with a richer coffee scent emerging overnight.
- For best texture, serve straight from the fridge. If you prefer a slightly softer slice, let it sit at room temperature for 10–15 minutes before serving, watching for a slight give and a more pronounced aroma.
- Reheat individual slices briefly in the microwave—about 10 seconds—until slightly warm and the coffee aroma shimmers in the air. Avoid overheating to prevent melting or melting the crust.
- Leftovers keep well for 48 hours in the fridge. Avoid freezing, as the cream filling may become grainy upon thawing.
Top questions about no bake coffee cheesecake
1. Can I use decaf coffee?
Use strong brewed coffee, hot or cold, for that deep, smoky aroma that wakes up the flavors. It’s key to a bold taste.
2. Can I skip the coffee altogether?
Yes, but it will be less caffeinated and slightly milder. Consider increasing the coffee amount or using espresso for more punch.
3. What if I don’t want coffee?
Absolutely. Just replace the coffee with flavored liqueur or omit it for a vanilla or chocolate twist.
4. How long does it need to chill?
Chill the cheesecake for at least 4 hours, or overnight if possible. It needs time to set and develop flavor.
5. How can I tell when it’s ready?
Look for a slight jiggle in the middle, a firm but tender texture, and smooth, matte surface when done.
6. Why did my cheesecake crack?
If the top cracks, gently smooth it with a warm spatula or dust with cocoa powder to hide imperfections.
7. How do I keep it creamy and fluffy?
Use softened cream cheese for easy blending, and fold whipped cream gently to keep it airy and light.
8. How should I store leftovers?
Store leftovers covered in the fridge for up to 2 days. Let sit at room temp for 10-15 minutes before slicing for best texture.
9. The filling is too soft, what now?
To fix a runny filling, return it to the fridge for 30 minutes until it firms up before serving.
10. Can I substitute the crust ingredients?
Swapping graham crackers with digestive biscuits or almond meal can add different textures and flavors, but may alter the crunch.
This cheesecake isn’t just about coffee; it’s about those quiet moments when you pause and savor simplicity. It’s a reminder that some of the best desserts come from honest ingredients and a bit of patience, even if it’s no bake.
Whenever I make this, I think of how comforting it is—deep coffee aroma, creamy texture, and that slight chill on the tongue. It’s honest, straightforward, and perfect for those cozy afternoons or last-minute gatherings. Sometimes, the simplest recipes leave the strongest impressions.

Hello, I’m Oliver James, the person behind Melting Into Flavors. Cooking is my greatest passion, and it’s been the driving force in my life for as long as I can remember.
It’s not just about food for me; it’s about creating experiences, connecting with others, and sharing the love I have for what’s on the plate. Through this blog and my café, I’m able to share my journey with all of you and hopefully inspire some of your own culinary adventures along the way.


